Advertisement
FORD PX RANGER XLT 9/2011- 7/2015 2.2 & 3.2L DIESEL
FORD PX RANGER Mk II XLT 7/2015+ 2.2 & 3.2L DIESEL
•
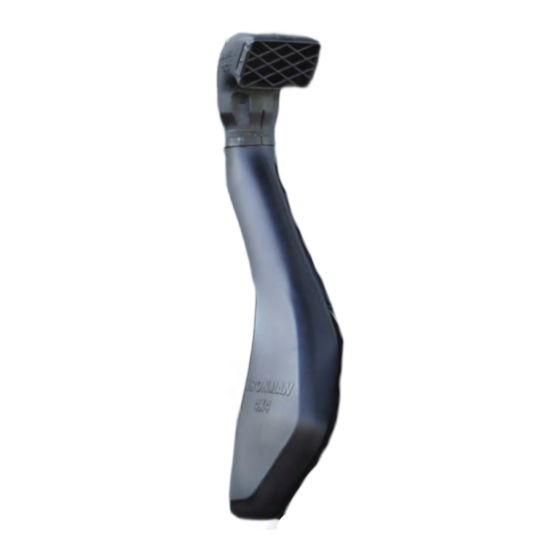
Ironman 4x4 Snorkel fits to the right hand side of the
Ford PX Ranger XLT and PX Ranger Mk II XLT.
•
It will take about 3 hours to install.
•
Below is a list of some required tools for installing
your Ironman 4x4 Snorkel:
-
Step Drill
-
Spanner (13mm)
-
Pop Rivet Gun
NOTE: Only use "sensor safe" sealant during installation
IMPORTANT: Snorkel installations should only be done by a qualified person and it is the
responsibility of this person to ensure correct fitment and to ensure the installation is water tight.
INSTALLATION
ISNORKEL034XLT
GUIDE
Advertisement
Table of Contents

Subscribe to Our Youtube Channel
Related Manuals for Ironman4x4 ISNORKEL034XLT


Summary of Contents for Ironman4x4 ISNORKEL034XLT
- Page 1 INSTALLATION GUIDE ISNORKEL034XLT FORD PX RANGER XLT 9/2011- 7/2015 2.2 & 3.2L DIESEL FORD PX RANGER Mk II XLT 7/2015+ 2.2 & 3.2L DIESEL • Ironman 4x4 Snorkel fits to the right hand side of the Ford PX Ranger XLT and PX Ranger Mk II XLT.
- Page 2 Before installation check snorkel application is compatible with your vehicle These instructions are for PX XL or PX XL Mk II only. Refer to headings throughout these instructions for directions specific to your vehicle. PX Mk II 2A. Remove right hand front mud guard liner, mud flap, air box, air entry duct to air box, mud guard stuffer, front mud guard grill and side marker indicator.
- Page 3 2B. Remove right hand front mud guard liner, mud flap, air box, air entry duct to air box, mud guard stuffer, front mud guard grill and side marker indicator. 3B. Apply masking tape to right hand windscreen pillar. 4B. Attach snorkel securing bracket from inside of mud guard using pop rivets supplied as shown.
- Page 4 7A&B. Hold snorkel body in position on mud guard. Mark location of top mounting bracket onto screen pillar. NOTE: Make sure that snorkel mounting bracket clears the driver’s side door. 8A&B. Remove mounting bracket from snorkel. Hold bracket in position previously marked on pillar and mark three mounting holes.
- Page 5 PX and PX Mk II 10A&B. Drill hole in mounting flange for rear air duct to 8.5mm. Hole is marked by a dimple. Apply a liberal amount of silicone to snorkel body and rear air duct. Engage mounting flange for rear air duct to long stud on snorkel and secure using M8 Nyloc nut and washer provided.
- Page 6 13A&B. Attach front duct mounting bracket as shown and secure using hardware provided. NOTE: Factory bracket may need to be bent up to allow clearance for front air duct as shown in red circle. 14A&B. Remove factory adaptor from air cleaner as shown.
- Page 7 16A&B. Apply a liberal amount of silicone to air box adaptor and air entry duct and refit air box to vehicle. NOTE: Ensure connection is properly sealed. 17A&B. Check all hose connections and air box for potential leaks and seal as required. 18A&B.
Need help?
Do you have a question about the ISNORKEL034XLT and is the answer not in the manual?
Questions and answers