Advertisement
Quick Links
Advertisement

Related Manuals for WATSON Tonic Conference Tables


Summary of Contents for WATSON Tonic Conference Tables
- Page 1 ASSEMBLY Tonic Conference Tables 360.394.1300 watsonfurniture.com V.23.1 10/2023...
-
Page 2: Important Safety Instructions
Important Safety Instructions This product is for commercial use only. If ordered as an electrical furnishing, basic precautions should always be followed, including the following: Read all instructions before using (this furnishing). WARNING - To reduce the risk of burns, fire, electric shock, or injury to persons: Unplug from outlet before putting on or taking off parts. - Page 3 Hardware #10 X 5/8" WOOD SCREW M6 1.00 x 12mm #10 X 1" WOOD SCREW (0002148) Screw (125285) (0002147) Wing Nut Tite Joint (888101) (0002294) 3 TONIC CONFERENCE TABLE ASSEMBLY INSTRUCTIONS...
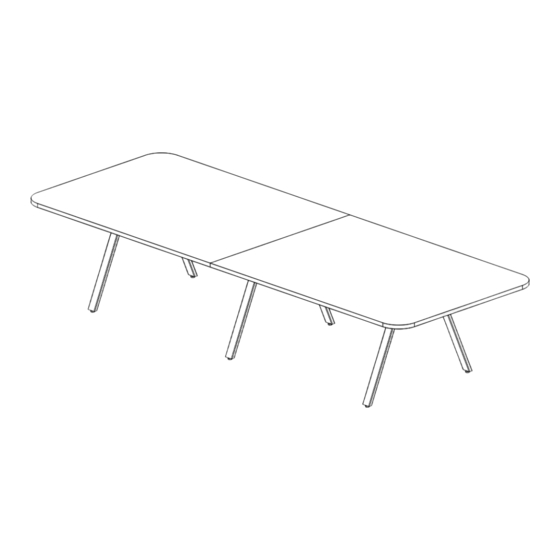
- Page 4 Tonic Conference Table Components END COVER SPLICE PLATE TOP SUPPORT RAIL CABLE TRAY END LEG ASSEMBLY MID LEG ASSEMBLY 4 TONIC CONFERENCE TABLE ASSEMBLY INSTRUCTIONS...
- Page 5 Tools P2 Phillips 4mm Hex Drill/ Electric Drill Driver Bit Driver Bit Additional tools such as a 90 Degree Bit and an 18” Extension are helpful for some steps *No torque or ball bits should be used 5 TONIC CONFERENCE TABLE ASSEMBLY INSTRUCTIONS...
- Page 6 Top Support Rail Orient a pair of leg assemblies upright and loosely attach top support rails with 4 screws (125285) per top support rail. For conference tables with multiple tops position the remaining Leg Assemblies and loosely attach the additional top support rails.
- Page 7 Attach End Cover Attach end covers to legs with 4 wingnuts (888101) per end cover. Hand Tighten and avoid over tightening. Wing Nut (888101) 7 TONIC CONFERENCE TABLE ASSEMBLY INSTRUCTIONS...
- Page 8 Attach Surfaces Together) Place the surfaces offset on the base as shown to allow access to the tite joint locations. Push the surfaces together making sure to align them depth-wise. Place tite joints into the corresponding cutouts and tighten them with a 4mm hex bit to close the gap between the surfaces. 8 TONIC CONFERENCE TABLE ASSEMBLY INSTRUCTIONS...
- Page 9 Attach Surface to Base Align the worksurface pilot holes with the slots in the legs and drive the appropriate number of woods screws. Tip: Get at least one hole aligned and loosely drive a screw in that hole before trying to align other holes. 9 TONIC CONFERENCE TABLE ASSEMBLY INSTRUCTIONS...
- Page 10 Attach Optional Cable Tray Align the worksurface pilot holes with the holes in the cable trays and drive the appropriate number of woods screws (0002148). #10 X 5/8" WOOD SCREW (0002148) 10 TONIC CONFERENCE TABLE ASSEMBLY INSTRUCTIONS...
Need help?
Do you have a question about the Tonic Conference Tables and is the answer not in the manual?
Questions and answers