Advertisement
Quick Links
Advertisement

Subscribe to Our Youtube Channel
Related Manuals for WATSON Haven Social Tables


Summary of Contents for WATSON Haven Social Tables
- Page 1 ASSEMBLY Haven Social Tables 360.394.1300 watsonfurniture.com V.21.0 11/2021...
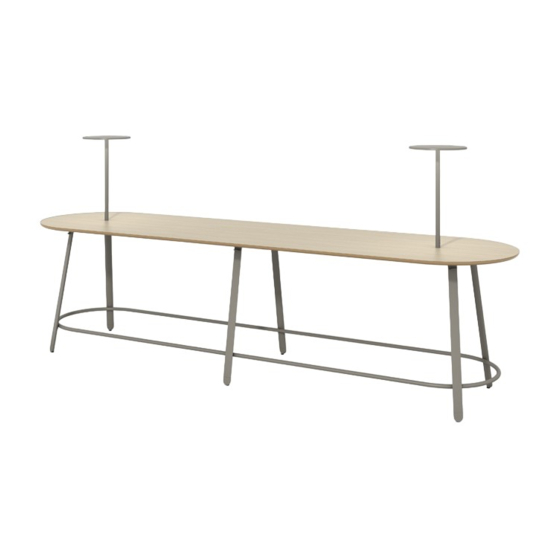
- Page 2 Haven Social Table Components - Four Leg Surfaces (Four Leg Shown) Legs Support Rails (only included on certain size tables) Coat Hooks (only included on 36”H and 42”H tables) Optional: Foot Bar Components Optional: Cable Tray 2 HAVEN SOCIAL TABLES ASSEMBLY INSTRUCTIONS...
- Page 3 Haven Social Table Components - Six and Eight Leg Surfaces (Six Leg Shown) Bridge Legs Support Tubes Optional: Foot Bar Components Coat Hooks (only included on 36”H and 42”H tables) Optional: Cable Tray Cable Tray Bracket (only needed for certain size tables) 3 HAVEN SOCIAL TABLES ASSEMBLY INSTRUCTIONS...
- Page 4 Foot Bar Connector 1/4 - 20 X 3.5” Bolt Tite-Joint (0002146) Connector (490006) For 6-Leg and 8-Leg tables only Tools Electric Drill Phillips Bit 3mm Hex Bit 4mm Hex Bit T25 Tor x Bit 13mm Wrench 4 HAVEN SOCIAL TABLES ASSEMBLY INSTRUCTIONS...
-
Page 5: General Assembly Notes
General Assembly Notes Haven Social Tables are offered in 4-Leg (one-surface), 6-Leg (two-surface), and 8-Leg (three-surface) sizes. The 4-Leg tables are assembled with different parts than the 6-Leg and 8-Leg tables, each with their own set of instructions. Please skip to page 8 for the 6-Leg and 8-Leg instructions. - Page 6 Drive one screw (0002150) per leg to affix the Foot Bar (b.). M6 - 1.0 X 20mm M6 - 1.0 X 6mm Flat Head Screw Cup Point Set Screw (0002150) (0002246) Centerline Indicator 6 HAVEN SOCIAL TABLES ASSEMBLY INSTRUCTIONS...
- Page 7 Insert the Cable Tray tabs into the slots in the Support Rail (a.). Swing the Cable Tray up until the keyslots on the opposite side of the Cable Tray line up with the holes in the Support Rail. Thread in (2) thumb screws to lock the tray in place (b.). 10-32 Plastic Head Thumb Screw (0000638) 7 HAVEN SOCIAL TABLES ASSEMBLY INSTRUCTIONS...
- Page 8 Secure each support tube end with (2) screws each. M6 - 1.0 X 12mm Screw (125285) For 6 and 8-Leg Tables 8 HAVEN SOCIAL TABLES ASSEMBLY INSTRUCTIONS...
- Page 9 Drive one screw (0002150) per leg to affix the Foot Bar (b.). M6 - 1.0 X 20mm M6 - 1.0 X 6mm Flat Head Screw Cup Point Set Screw (0002150) (0002246) Centerline Indicator 9 HAVEN SOCIAL TABLES ASSEMBLY INSTRUCTIONS...
- Page 10 Flip the base over so it’s sitting upright. Place the surfaces offset on the base as shown to allow access to the tite joint locations. Push the surfaces together making sure to align them depth-wise. Place tite joints into the corresponding cutouts and tighten them to close the gap between the surfaces. 10 HAVEN SOCIAL TABLES ASSEMBLY INSTRUCTIONS...
- Page 11 Align the worksurface pilot holes with the slots in the bridge legs and drive the appropriate number of woods screws. Tip: get at least one hole aligned and loosely drive a screw in that hole before trying to align other holes. #10 X 1” Tor x Head Screw (0002147) 11 HAVEN SOCIAL TABLES ASSEMBLY INSTRUCTIONS...
- Page 12 Align the holes on the hook with the square holes in the leg plates and secure the hook with (2) screws. Repeat for the remaining legs. #10 X 1” Tor x Head Screw (0002147) 12 HAVEN SOCIAL TABLES ASSEMBLY INSTRUCTIONS...
- Page 13 Cable Tray line up with the holes in the Support Rail or bracket. Thread in (2) thumb screws to lock the tray in place. 10-32 Plastic Head Thumb Screw (0000638) 13 HAVEN SOCIAL TABLES ASSEMBLY INSTRUCTIONS...
- Page 14 6 and 8-Leg Tables: Attach Cable Tray Bracket Attach the cable tray bracket with (2) screws per bracket to the pilot holes in the surface, as shown below. Attach cable tray using the brackets in the same manner as step 6. 14 HAVEN SOCIAL TABLES ASSEMBLY INSTRUCTIONS...
Need help?
Do you have a question about the Haven Social Tables and is the answer not in the manual?
Questions and answers