Advertisement
Quick Links
Advertisement

Subscribe to Our Youtube Channel
Summary of Contents for WATSON Haven HighLow Float Tables
- Page 1 ASSEMBLY Haven HighLow & HighLow Float Tables 360.394.1300 watsonfurniture.com V.21.0 12/2021...
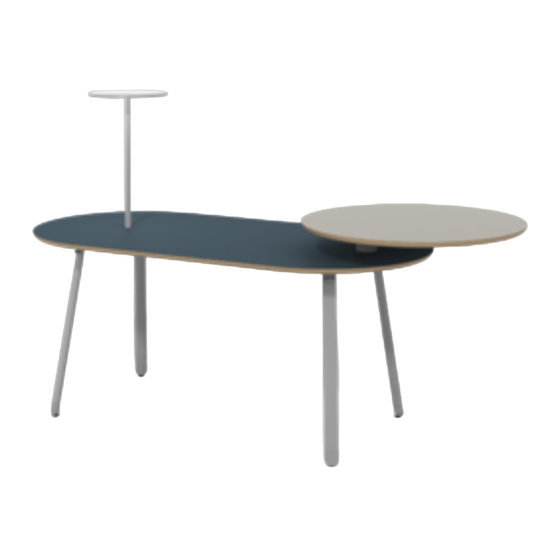
- Page 2 HighLow Table Components - Low Surface Low Surface Legs Low Surface Clamp Assembly Low Surface Bag Hooks Support Rails HighLow Table Components - High Surface High Surface Legs High Surface High Surface Bag Hooks High Surface Post High Surface Support Rails HighLow Float Table Components - Floating Surface Floating Surface Post Floating Surface...
- Page 3 Hardware #10 X 1” Tor x Head M6 X 25mm Screw (0002147) Button Head Screw (0002180) Tools Electric Drill 4mm Hex Bit T25 Tor x Bit 3 HAVEN HIGHLOW TABLES ASSEMBLY INSTRUCTIONS...
- Page 4 Low Surface: Attach Legs, Support Rails, and Bag Hooks Align the top plate of each leg to the corresponding pilot holes in the low surface. Secure the leg with (8) screws each (a.). Align both support rails to the corresponding pilot holes in the low surface and secure them using (5) screws each (b.). Attach a bag hook to each leg by aligning the holes on the hook with the square holes in the leg plate.
- Page 5 Low Surface: Install Clamp Assembly Create a stack with the circular rings: the two rings with plastic bearings should be in the center of the stack. Align all the holes with the inserts in the low surface and drive (8) screws through the stacked assembly. Leave the screws loose enough that the center middle plate can move freely.
- Page 6 High Surface: Attach Legs, Support Rails, and Bag Hooks Align the top plate of each leg to the corresponding pilot holes in the surface. Secure each leg with (8) screws. Attach a hook to each leg by aligning the holes on the hook with the square holes in the leg plate. Secure the hook bracket in place with two screws each (a.).
- Page 7 High Surface: Attach Post Align the post with the corresponding pilot holes in the high surface. Drive (6) screws to secure the post in place. #10 X 1” Tor x Head Screw (0002147) 7 HAVEN HIGHLOW TABLES ASSEMBLY INSTRUCTIONS...
- Page 8 High Surface: Attach High Surface to Low Surface Place the high surface post into the hole in the low surface (a.). Manipulate the floating plate in the clamp assembly until the screw holes line up with the threaded holes in the post bottom. Once aligned, drive (5) screws to secure the post to the clamp.
- Page 9 Floating Surface: Attach Post Align the post with the corresponding pilot holes in the floating surface. Drive (10) screws to secure the post in place. #10 X 1” Tor x Head Screw (0002147) Floating Surface: Attach Floating Surface to Low Surface Place the floating surface post into the hole in the low surface (a.).


Need help?
Do you have a question about the Haven HighLow Float Tables and is the answer not in the manual?
Questions and answers