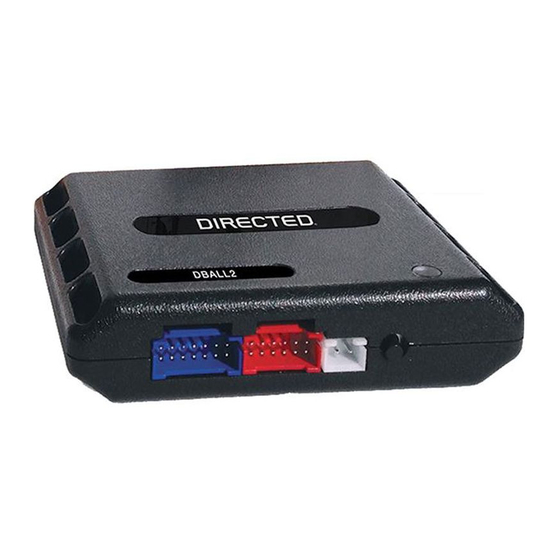
Directed DBALL2 Installation Manual
Hide thumbs
Also See for DBALL2:
- Installation manual (36 pages) ,
- Manual (28 pages) ,
- Installation and quick reference manual (16 pages)
Table of Contents
Advertisement
Quick Links
Platform: DBALL2
Firmware: REN11
Update Alert: Firmware updates are posted to the web on a regular basis. We recommend
that you check for firmware and/or install guide updates prior to installing this product.
Installation Guide
CAN interface for Dacia cars. Features include door lock control, turn signal control, door trigger
sensing, trunk/hatch pin, brake status, ignition status, handbrake status and tach output.
One (1) OEM key must be wired into the vehicle to complete the installation.
Index
Vehicle Application Guide................................................................................................................................................
Installation
Wiring Diagram...............................................................................................................................................................
Mounting loop antenna ...................................................................................................................................................
Programming
Module Programming......................................................................................................................................................
Module Reset..................................................................................................................................................................
Feature Programming.....................................................................................................................................................
LED Diagnostics and Troubleshooting............................................................................................................................
Warranty...........................................................................................................................................................................
Rev.: 20230129
02
03
04
05
06
07
08
09
© 2022 Directed. All rights reserved.
Advertisement
Table of Contents

Subscribe to Our Youtube Channel
Summary of Contents for Directed DBALL2
- Page 1 One (1) OEM key must be wired into the vehicle to complete the installation. Index Vehicle Application Guide..............................Installation Wiring Diagram................................Mounting loop antenna ..............................Programming Module Programming..............................Module Reset.................................. Feature Programming..............................LED Diagnostics and Troubleshooting..........................Warranty................................... © 2022 Directed. All rights reserved.
-
Page 3: Wiring Diagram
Not required in D2D mode. Tach wire is an optional connection required on some remote starters, which do not support a tach signal in D2D. All adapters are displayed from the wire side (unless specified otherwise). © 2022 Directed. All rights reserved. - Page 4 11 : Ye l l o w : COM Rellay2 (DBALL) to pin 12: Brown: NO Rellay2 (DBALL) Remove the battery then make 8 loops and fasten to the back of the OEM remote. OEM Remote © 2022 Directed. All rights reserved.
-
Page 5: Module Programming
Solid Green x3 secs Feature Programming No feature programming are available for this firmware. Refer to the LED Diagnostics section on page 6 for more information and for troubleshooting purposes. © 2022 Directed. All rights reserved. -
Page 6: Module Reset
Wait 3 seconds until the LED turns ON solid orange, and wait 10 more seconds & until the LED starts to flash orange and red. Solid Flashes & Release the programming button. The LED turns ON solid red. Release Solid © 2022 Directed. All rights reserved. -
Page 7: Feature & Option List
No activity for 30 seconds; after 30 seconds, the LED will turn ON orange for 2 seconds to confirm the end of the programming sequence. Press and HOLD the programming button for 3 seconds. After 3 seconds, the LED will turn ON orange for 2 seconds to confirm the end of the programming sequence. © 2022 Directed. All rights reserved. -
Page 8: Led Diagnostics And Troubleshooting
If it does not flash, the bypass module did not receive the AUX 1 command has been Flashes Green 4x signal. Verify the connections between the bypass and Flashes x4 received. the remote starter module. © 2022 Directed. All rights reserved. -
Page 9: Limited One Year Consumer Warranty
Part was purchased from an authorized DIRECTED dealer; and the Part is returned to DIRECTED, postage prepaid, along with a clear, legible copy of the receipt or bill of sale bearing the following information: consumer’s name, address, telephone number, the authorized licensed dealer’s name and complete...


Need help?
Do you have a question about the DBALL2 and is the answer not in the manual?
Questions and answers