Table of Contents
Advertisement
Quick Links
Assembly Instructions
Assembly Instructions
Important
Before you begin, read and comply with all safety and operating instructions,
and ensure all parts and correct quantities are included.
Any parts damaged during shipment must be reported within 5 days of receipt.
To report information regarding missing parts or damage, to purchase parts or
accessories, or if you have any questions, please contact us.
www.spectrumfurniture.com
800-235-1262, 715-723-6750
Thank you for purchasing Spectrum products!
(1) 0176901
Worksurface
(2) 0176749
Shelf
(1) 0176747
Base panel
(2) 0176590
Leg
(2) 039622
2" grommet
with cover
(4) 0105662
60mm 5/16-18 x 1"
Stem Caster
(1) 0176803
Top channel
(1) 0176855
Worksurface
support bracket
Assembly tip: Do not tighten component fasteners completely
until all have been installed. Keeping them loose will help with
alignment between parts during assembly.
(1) 0176631
Audience-side
panel
1
Attach casters to legs
1. Attach casters to legs and tighten.
(2) 0176618
Leg insert panel
(2) 059984
2" grommet
(37) 035594
#10 x 5/8"
PHSM
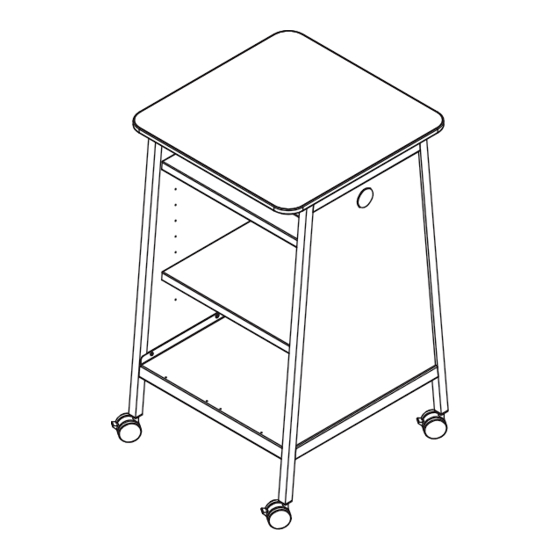
Aspire Workstation
55569
1
/
2
X4
Leg
"
0193938 Page 1 of 3
Advertisement
Table of Contents

Subscribe to Our Youtube Channel
Summary of Contents for Spectrum Industries Aspire 55569
- Page 1 Assembly Instructions Assembly Instructions Important Before you begin, read and comply with all safety and operating instructions, and ensure all parts and correct quantities are included. Any parts damaged during shipment must be reported within 5 days of receipt. To report information regarding missing parts or damage, to purchase parts or accessories, or if you have any questions, please contact us.
- Page 2 Attach legs to worksurface Install leg insert panels 1. Place the worksurface face-down onto a non-abrasive surface. 1. Set an insert panel into each leg and attach each 2. Orient the legs as shown with the flange toward the center. with (2) screws in the center holes only.
- Page 3 3rd set of mounting holes from the bottom. 1500 RIVER STREET, PO BOX 400, CHIPPEWA FALLS, WI 54729 / 800-235-1262 / 715-723-6750 / WWW.SPECTRUMFURNITURE.COM © 2023 Spectrum Industries Inc., All rights reserved. 0193938 Page 3 of 3...


Need help?
Do you have a question about the Aspire 55569 and is the answer not in the manual?
Questions and answers