Parker H Series Installation And Operation Manual
Needle valves & ball valves
Hide thumbs
Also See for H Series:
- Installation & service instructions manual (9 pages) ,
- Installation & service instructions manual (344 pages)
Table of Contents
Advertisement
Quick Links
Advertisement
Table of Contents

Related Manuals for Parker H Series


Summary of Contents for Parker H Series
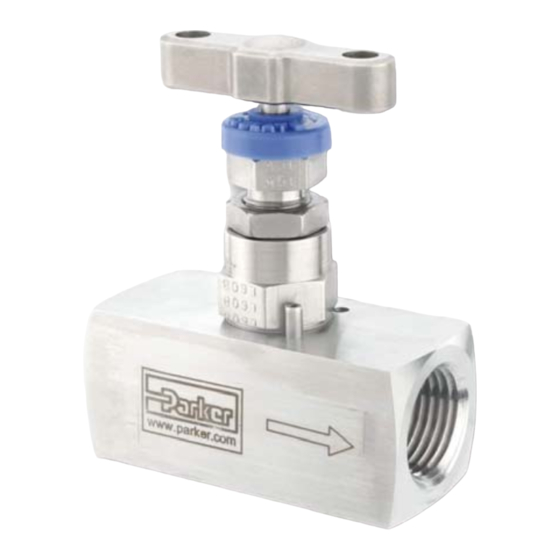
- Page 1 Effective: July 2018 IPDE-IOM-NEEDLE-VALVE-BALL-VALVE Effective: REV A : July 2023 Installation and Operation Manual Needle Valves & Ball Valves Note - These Instructions apply to Parker Products that utilise Needle and Ball Valves such as the ones shown above...
-
Page 2: Identification Of Hazards
Needle valves supplied with weld connections will generally be supplied, unless specified and/or agreed with customer, fully assembled. Prior to welding Parker recommend removing the Head Assembly from the body to protect from heat. The valve body should be welded into the system following the appropriate welding procedures. -
Page 3: Handling And Storage
*For text versions of these QR codes, please See ‘Further Information’ at the end of this guide. HANDLING AND STORAGE Handling Parker Products that utilise Needle and Ball Valves may be heavy. Ensure that local manual handling requirements are followed. Do not lift or carry by the operating handles, as this may cause damage. -
Page 4: Operation
To open: Rotate the handle (1) Counter Clockwise until the backstop is located. The valve will be in its fully open position after approximately 3 turns of the handle H Series Outside Screw & Yoke Head: To close: Rotate the handle (1) Clockwise until a positive stop is felt up to a maximum torque of 6Nm. - Page 5 Page 4 of 7 ECO-0438955 REV:A Installation and Operation Manual Needle Valves & Ball Valves Hi-Pro Ball Valve: To close: Operate the handle (17) until it is at 90° from the valve body centreline. To open: Operate the handle (17) until it is in line with the centreline of the body and reaches the stop pin.
-
Page 6: Maintenance
Needle Valves & Ball Valves MAINTENANCE H Series Screwed Head/Bonnet: CAUTION: Adjustment of the gland must be carried out at zero pressure 1. Fully close the valve by turning the handle (1) in a clockwise direction to stop lightly on seat 2. - Page 7 Installation and Operation Manual Needle Valves & Ball Valves H Series Outside Screw & Yoke Head: CAUTION: Adjustment of the gland must be carried out at zero pressure 1. Fully close the valve by turning the handle (1) in a clockwise direction to stop lightly on seat (max.
-
Page 8: Further Information
(Note, these are generic values for our range and may vary for specific items/connections. If in doubt, please contact our technical support) Text versions of QR codes https://qr.parker.com/203785 Tube Fitting Installation Manual (A-lok/CPI) https://qr.parker.com/203784 Tube Assembly (O-lok: please refer to page 55) Technical Support: IPDE.Technical@support.parker.com...