Table of Contents
Advertisement
Quick Links
Advertisement
Table of Contents

Related Manuals for Omni Q55 Ultrasonic


Summary of Contents for Omni Q55 Ultrasonic
- Page 1 Q55 Ultrasonic Homogenizer User Manual...
-
Page 2: Warranty
1. WARRANTY Your Q55 Ultrasonic Homogenizers warrantied and backed by the manufacturer for a period of two years from the date of shipment against defects in material and workman- ship under normal use as described in this instruction manual. During the warranty peri-... - Page 3 • Install the Q55 Ultrasonic Homogenizer in an area free from excessive dust, dirt, explosive or corrosive fumes and protected from extremes in temperature and hu- midity. Do not place the Generator within a Fume Hood.
-
Page 4: Specifications
3. SPECIFICATIONS AC Adapter Input Voltage 90 to 264 VAC @ 50/60 Hz 1.5A Output Voltage 24V DC, 3.75A Rated Power 90 Watts Power Supply Input Voltage 24 VDC Rated Power 55 Watts Weight 3 lbs. (1.36 kg) Dimensions W: 8” (20.0 cm), D: 7.5” (19.0 cm), H: 5.75” (14.6 cm) Output Voltage 250 VRMS Output Frequency... - Page 5 Relative humidity Other For indoor use only The AC adapter Supplied with the Q55 Ultrasonic Homogenizer must be used. If the 230V plug is not configured to match the wall receptacle, a properly grounded universal AC socket adapter must be added.
-
Page 6: Principles Of Operation
4. PRINCIPLES OF OPERATION The Q55 ultrasonic electronic generator transforms DC line power to a 20 KHz signal that drives a piezoelectric converter/transducer. This electrical signal is converted by the transducer to a mechanical vibration due to the characteristics of the internal piezo- electric crystals. - Page 7 5. DESCRIPTIONS OF COMPONENTS / FUNCTIONS OF CONTROLS 5.1. Q55 FRONT PANEL Convertor Cable Convertor Probe Power Supply Lab Stand with Clamp 5.2. Q55 REAR PANEL Convertor Cable Connector DC Power Input Footswitch Jack...
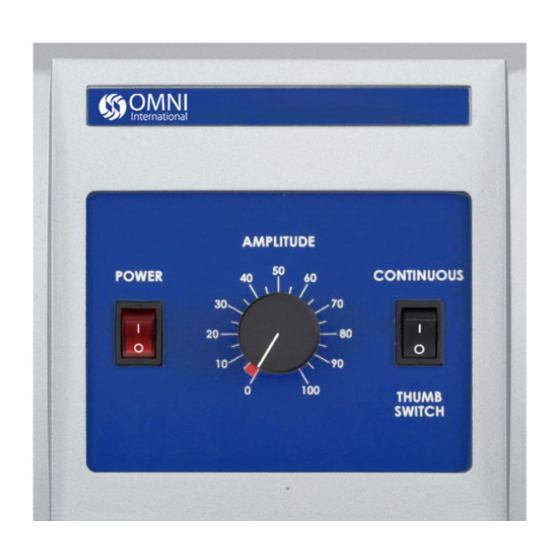
- Page 8 5.3. FUNCTIONS OF KEYS CONTROLS & CONNECTORS FRONT PANEL ON Position – energizes the power supply. OFF Position – de-energizes the power supply. Power Switch Illuminates when the power supply is energized Controls the amplitude/intensity of vibrations at the Amplitude Control Knob probe tip Continuous Position –...
- Page 9 5.4. CONVERTER CLAMPING Improper clamping can damage the system and void the warranty. Using a sound en- closure (part #060-12) or stand (part #060-10) will ensure a proper fit. Improper Clamping Proper Clamping...
-
Page 10: Preparation For Use
INSTALLING THE Q55 ULTRASONIC HOMOGENIZER The Q55 Ultrasonic Homogenizer should be installed in an area that is free from exces- sive dust, dirt, explosive and corrosive fumes, and extremes of temperature and humid- ity. - Page 11 7. OPERATING INSTRUCTIONS 7.1. CAUTION • Do not operate continuously for more than 1 minute. • Do not operate the power supply unless it is connected to the converter. • Never allow liquid to spill into the converter. • Do not allow a probe to vibrate in air for more than 10 seconds. •...
-
Page 12: Operation
If using a laboratory stand, mount the converter/probe assembly using a clamp. Be sure to secure the clamp to the upper section of the convertor housing only (see page 10). Do not secure the clamp to any other portion of the convertor/probe assembly. -
Page 13: Probe Maintenance
8. MAINTENANCE It is recommended to periodically inspect the unit, both visually and physically, to en- sure optimum and safe performance. This inspection should be scheduled as a routine maintenance procedure, done with the unit power OFF and with the unit unplugged from the AC power source. - Page 14 8.2. ATTACHING & DETACHING PROBES Disconnect probe from convertor. Use the wrench set provided with the system. Clean threaded stud. Use alcohol and a cotton swab to remove any debris on the threading of the connecting stud. Allow the alcohol to dry completely. Clean threading in converter.
-
Page 15: Troubleshooting
8.3. SYSTEM CLEANING INSTRUCTIONS The power supply and converter may be cleaned using an acid-free cleaning solution (i.e. glass cleaner). Probes should be cleaned using isopropyl alcohol. Probes are made from titanium and can be autoclaved (the converter is an electrical part and cannot be sterilized in this manner). -
Page 16: Frequently Asked Questions
10. FREQUENTLY ASKED QUESTIONS Probe size vs. Sample volume Selecting the proper size probe is a critical factor when sonicating a sample. The sample volume to be processed must correlate with the tip diameter. Each probe has a recom- mended sample volume range. This range may overlap with other probes. For example the 1/8”... - Page 17 The probe should be submerged approximately halfway into the liquid but there are exceptions. Before processing actual samples, it is recommended to test the probe in a vessel filled with water to observe the ultrasonic energy and the flow pattern of the liquid.
- Page 18 935 Cobb Place Blvd. Kennesaw, GA 30144 800.776.4431 • 770.421.0058 www.omni-inc.com PN: 03-2021-55 Rev. A...
Need help?
Do you have a question about the Q55 Ultrasonic and is the answer not in the manual?
Questions and answers