Sign In
Upload
Download
Table of Contents
Contents
Add to my manuals
Delete from my manuals
Share
URL of this page:
HTML Link:
Bookmark this page
Add
Manual will be automatically added to "My Manuals"
Print this page
×
Bookmark added
×
Added to my manuals
Manuals
Brands
iLoq Manuals
Locks
S50
User manual
iLoq S50 User Manual
Europrofile lock cylinder
Hide thumbs
Also See for S50
:
User manual
(34 pages)
,
User manual
(17 pages)
,
User manual
(15 pages)
1
Table Of Contents
2
3
4
5
6
7
8
9
10
11
12
13
14
15
16
17
18
19
20
21
22
23
24
25
26
27
28
29
page
of
29
Go
/
29
Contents
Table of Contents
Bookmarks
Table of Contents
Table of Contents
Content
Safety Information
Safety Signs
Overview
Before Installation
Mandatory Precautions
General Notes
Manufacturers Involvement
Installation
Iloq D50S.1XX(A).SD Series
Iloq D50S.2XX(A).SD Series
Iloq D50S.3XX(A).SD Series
Iloq D50S.7XX(A).SD Series
Knob Change / Distance Adjustment
Cylinder Extensions
One Side - Version 1
One Side - Version 2 (5 - 15 MM)
One Side - Version 2 (20 - 30 MM)
One Side - Version 2 (35 - 70 MM)
Instructions for Use
After Installation
Disposal of Decommissioned Products
Compliance
Advertisement
Quick Links
Download this manual
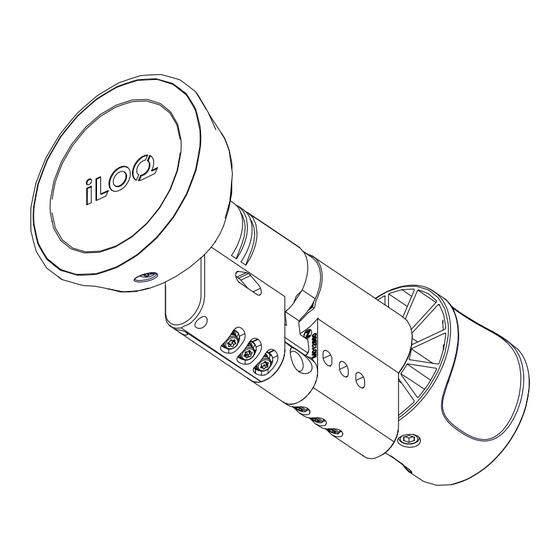
iLOQ S50
Europrofile Lock Cylinder
iLOQ D50S.XXX(A).SD
User Guide
06/2023
Rev. 2.0
Document ID
143173
iLOQ Oy
support.iloq.com
Table of
Contents
Previous
Page
Next
Page
1
2
3
4
5
Advertisement
Table of Contents
Need help?
Do you have a question about the S50 and is the answer not in the manual?
Ask a question
Questions and answers
Related Manuals for iLoq S50
Locks iLoq S50 User Manual
X50s mortise cylinder and rim cylinder (34 pages)
Locks iLoq S50 User Manual
Kik schlage for deadbolt cylinder (34 pages)
Locks iLoq S50 User Manual
(17 pages)
Locks iLoq S10 User Manual
(16 pages)
Locks iLoq S5 User Manual
Padlock (15 pages)
Remote Control iLoq S50 User Manual
Key fob (11 pages)
Locks iLoq S50 Z50S User Manual
Cylindrical leverset (44 pages)
Locks iLoq S50 D50S B.SD Series User Manual
Europrofile lock cylinder (28 pages)
Locks iLoq P55S.1 User Manual
Programming key for s50 (14 pages)
Locks iLoq D50S.511.SD User Manual
Europrofile lock cylinder (29 pages)
Locks iLoq C10S User Manual
Lock cylinder (6 pages)
Locks iLoq D10 Series Mounting And Care Instructions
Lock cylinder (6 pages)
Locks iLoq D50S Series Mounting And Care Instructions
Europrofile lock cylinder (11 pages)
Locks iLoq D5S.5X0.SB User Manual
Europrofile half cylinder with adjustable cam (7 pages)
Locks iLoq K55S User Manual
Key fob (6 pages)
Locks iLoq D50S.531.SB Mounting And Care Instructions
Europrofile half cylinder for swing handle (9 pages)
This manual is also suitable for:
D50s.511.sd
S50 series
D50s.111a.sd
D50s.711.sd.50
D50s.241.sd
D50s.121.sd
...
Show all
D50s.231.sd.ch
D50s.711a.sd.85
D50s.251.sd.es
Table of Contents
Print
Rename the bookmark
Delete bookmark?
Delete from my manuals?
Login
Sign In
OR
Sign in with Facebook
Sign in with Google
Upload manual
Upload from disk
Upload from URL


Need help?
Do you have a question about the S50 and is the answer not in the manual?
Questions and answers