Table of Contents
Advertisement
Quick Links
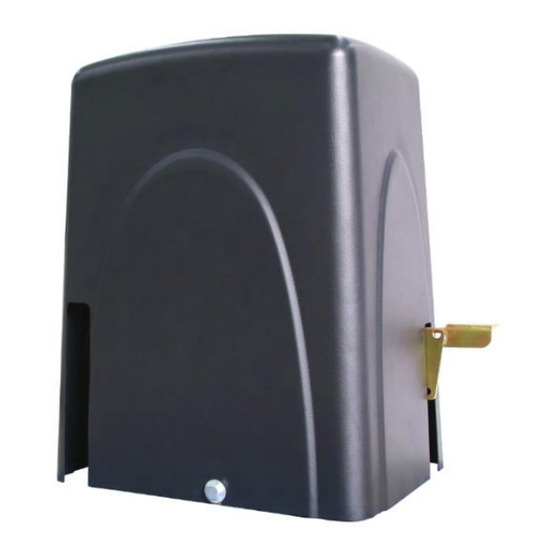
Sliding Gate Opener
User's Manual
Model:
LC1100
TOPENS Website
www.topens.com
Email: support@topens.com
★ Please read and follow all warnings, precautions and instructions before
installation and use.
★ Periodic checks of the opener are required to ensure safe operation.
★ Save this manual.
C030688
VER 23b
Advertisement
Table of Contents

Related Manuals for Topens LC1100


Summary of Contents for Topens LC1100
- Page 1 Sliding Gate Opener User’s Manual Model: LC1100 TOPENS Website www.topens.com Email: support@topens.com ★ Please read and follow all warnings, precautions and instructions before installation and use. ★ Periodic checks of the opener are required to ensure safe operation. ★ Save this manual.
- Page 2 Visit: www.topens.com Please record the product model, your email address etc. in the spaces provided below. Refer to this list when contacting TOPENS for technical service or assistance with your automatic gate opener. Where did you purchase? (Amazon.com; Amazon.ca: Amazon.co.uk, Amazon.de; Other, Please...
-
Page 3: Table Of Contents
IMPORTANT SAFETY INSTRUCTIONS ......................1 Parts List ................................2 Accessories Parts (Included in some models, refers to the actual package) ............2 Optional Accessories Parts List (Available at TOPENS Store) ................2 Replacement Parts ............................... 3 Tools Needed ..............................3 Technical Specifications &... -
Page 4: Check Your Gate Before Installation
Thank you for purchasing our gate opener. We are sure that the products will be greatly satisfying as soon as you start to use it. The product is supplied with a user’s manual which encloses installation and safety precautions. These should be read carefully before installation and operation as they provide important information about safety, installation, operation and maintenance. -
Page 5: Parts List
Parts List Accessories Parts (Included in some models, refers to the actual package) Optional Accessories Parts List (Available at TOPENS Store) ERM12 External TC196 Tuya WIFI TC188 Universal Wireless M12 Remote Control Receiver remote control and Wired Keypad TC175P Wired... -
Page 6: Replacement Parts
ACPYMJ9A MS8013A1BBC1 Control Board (120V) Limit switch WARNING: Changes or modifications not expressly specified by this user manual, TOPENS could void the warranty of this equipment. Tools Needed ·Power Drill ·Portable Electric Welder ·Tape Measure ·Level ·Hammer ·Wire Strippers ·Screwdriver ·Hex Key Wrench ·Open End Wrenches or Adjustable Wrenches ·An extra person should be needed... -
Page 7: Opener Installation
·Reverse in case of obstruction during gate closing ·Built in adjustable auto-close (0-99 seconds) ·Built in max. Motor Running Time (MRT) for multiple safety protection (90 seconds) ·Reliable microswitch limit for easy adjustment ·Can be equipped with wide range accessories Opener Installation Prior to beginning the installation of sliding Gate opener, we suggest that you become familiar with instructions and illustrations in this manual. -
Page 8: Mounting Opener To Concrete Pad
EMERGENCY RELEASE 1. Exclusive foot pedal release disengages the gate from the motor so it can be opened manually. 2. After proper use of the foot pedal, be sure to lightly kick the pedal towards the right side to spring the pedal up and re-engage your gate. -
Page 9: Types Of Installations
Types of Installations ........................................ -
Page 10: Adjust The Limit Switches
Adjust the Limit Switches ★ Turn power off before attempting adjustment ★ To adjust the limit switches, depress spring loaded bracket and spin each Adjustment Nut to the required position. -
Page 11: Connection Of Power Supply
Connection of Power Supply WARNING: NEVER connect the gate opener to the power supply before all the installations have been done. CAUTION: The gate opener is classified to permanent connected appliances, CONNECTED the power supply to the ELECTRIC GRID directly. A 10A breaker with GFCI protection (Not included) must be added in wire connection for single gate opener. -
Page 12: Connection Between Master And Slave Gate Opener
Connection between Master and Slave Gate Opener In the dual gate opener system, the slave gate opener is controlled by the master gate opener, so the slave gate opener must be connected to the master gate opener for communication. Use a 2-core shield twisted-pair wire (minimum size of the wire is 20AWG) to connect the two control board refers to the following illustration. - Page 13 1. Motor The WHITE wire of the motor should be connected into the “5” terminal. The RED wire of the motor should be connected into the “6” terminal. The BLACK wire of the motor should be connected into the “7” terminal.
- Page 14 2. Limit Switches The YELLOW wire of the limit switches should be connected into the “10” terminal. The GREEN wire of the limit switches should be connected into the “11” terminal. The BLUE wire of the limit switches should be connected into the “12” terminal. 3.
-
Page 15: How To Program Or Erase The Remote
Press and hold the Learn Button until the Learn LED is off. Now all remote codes have been erased. NOTE: Max. 8 remotes can be programmed for the opener. An External Receiver (optional) allows up to 250pcs remotes to be programmed for the opener. TOPENS ERM12 Universal External Receiver is available at TOPENS Store. -
Page 16: Dip Switches
the dip switch #1. That means in the dual gate opener system, all the settings of the slave gate opener is invalid except dip switch #1. 1. DIP Switches The DIP switches are used to configure the master/slave gate opener, enable/disable open interval between the master and slave gate opener, enable/disable close interval between the master and slave gate opener, enable/disable the auto close function and fast change the open direction which is determined by the position of the gate opener installed. -
Page 17: Potentiometers
DIP Switch #4: Enable/disable open interval between the master and slave gate opener For SINGLE GATE OPENER, the switch should be set to OFF. For DUAL GATE OPENER, if you want the master gate opener open earlier than the slave gate opener, the switch #4 of the master gate opener must be set to ON. -
Page 18: How To Use The Remote To Operate Your Gate Opener
Each remote has four buttons, from top to bottom are separately A, B, C and D. You may use this remote to operate as many as 4 sets TOPENS swing gate openers or 1 set TOPENS sliding gate opener and 2 sets TOPENS swing gate openers. -
Page 19: Trouble Shooting
can use the default password “888888” to operate the opener after programming. You can press “PIN” “8 8 8 8 8 8” and then press “OK” to confirm to operate the opener. Also you can change the password of the keypad follow the below steps. Press “PIN” and then input the six digits old password and then press ”PIN”... - Page 20 Your comments and suggestions are important to us as they help us provide the best possible service. Should you have any need to contact us, the info below will help you get in touch: TOPENS Website www.topens.com Contact Us: E-mail: support@topens.com Kindly include your Product Model, Purchasing Date &...
Need help?
Do you have a question about the LC1100 and is the answer not in the manual?
Questions and answers