Bluetti EP600, B500 - Storage System Quick Guide
- Installation manual (113 pages) ,
- User manual (88 pages) ,
- Quick manual (11 pages)
Advertisement
- 1 Overview
- 2 Installation
-
3
Electrical connection
- 3.1 Overview
- 3.2 Connect the communication cable
- 3.3 Connect the Grounding Cables
- 3.4 Connect the GRID and BACKUP cables
- 3.5 Connect the battery power cables
- 3.6 Connect PV cables
- 3.7 Attach the CT
- 3.8 Install the transfer switch
- 3.9 Electrical connection mode 1: DC coupling
- 3.10 Electrical connection mode 2: AC coupling
- 4 Power on
- 5 Service and contact
- 6 Documents / Resources
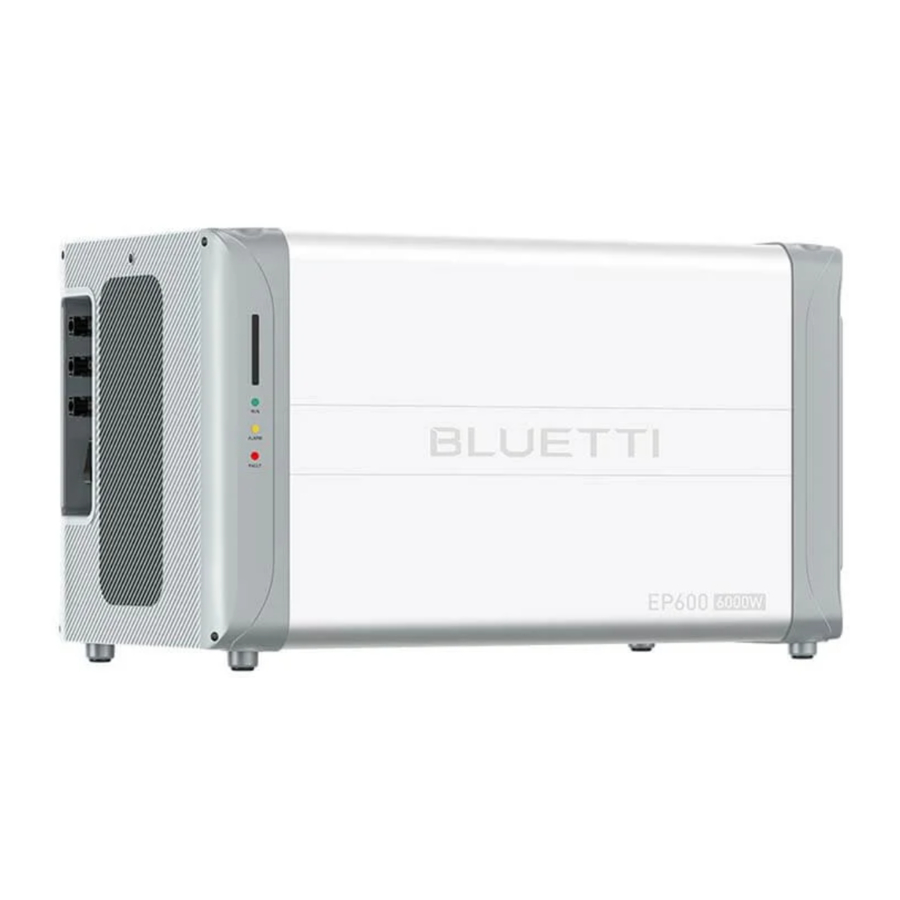
Overview

Installation
Overview

NOTE: The meter is for EP600 ESS with grid-tied PV inverter only, provided by BLUETTI for free.
- This document is only a quick guide for installation. For more details, please refer to the Installation Manual.
- The warranty does not cover any damage to the equipment caused by violation of the guide.
Installation requirements

Wall mounting

Electrical connection
Overview

Connect the communication cable

Note: Make sure the router is set to IEEE 802.11 b/g/n 2.4GHz.
Connect the Grounding Cables

Connect the GRID and BACKUP cables

NOTE: It is forbidden to connect the grid cables to the BACKUP interface of EP600.
Connect the battery power cables

Connect PV cables

NOTE: Please check the open circuit voltage of PV arrays, which should be less than 500V.
Attach the CT

NOTE:
- The arrow inside the CT points to the grid.
- Phase sequence: L1 to R, L2 to S, L3 to T.
- The CT should be tied to the L1, L2 and L3 cables of the main circuit breaker of the grid.
Install the transfer switch

NOTE:
- The neutral cable from the BACKUP terminal of EP600 cannot be connected to the neutral cable of the public grid.
- Connect the L1/L2/L3/N wires from EP600 BACKUP terminal and public grid to the input side of the transfer switch, and the output side to the essential loads.
- If the grid is stable, turn to "II" to use the public grid to power the loads; otherwise turn to "I" to use EP600 UPS mode to avoid the inconvenience caused by power outage.
- If EP600 ESS fails, turn to "II" and contact BLUETTI Customer Support.
Electrical connection mode 1: DC coupling

Electrical connection mode 2: AC coupling

NOTE:
The meter is for EP600 ESS with grid-tied PV inverter only.
- Connect UA/UB/UC/UN cables to the L1/L2/L3/N of PV inverter.
- Connect the CT to the Meter and tie them to L1/L2/L3 cables of the PV inverter.
- Connect the 485-A red wire to pin 21, 485-B black wire to pin 22.
Power on
Step 1 Switch on the DC circuit breakers on EP600.
Step 2 Switch on the DC circuit breakers on B500 battery packs. Press and hold the power button of any battery pack for about 3 seconds, and the green indicator on the button will light up.
Step 3 About 40 seconds later, the indicator on EP600 will stay green.
Step 4 Switch on the AC circuit breakers connected to the EP600 GRID terminal.
Step 5 Power on the system via BLUETTI app.
Step 6 Check the voltage of BACKUP terminal.
Step 7 Switch on the AC circuit breakers connected to the EP600 load port.
Step 8 Check the EP600 system operation in the App.

Service and contact

Company: POWEROAK GmbH
Address: Lise-Meitner-Str. 14 28816 Stuhr Germany
Mail: logi@bluetti.de

Company: POWEROAK ENERGY UK CO.,LTD
Address: Unit 2 NorthGate, Bolsover Business Park, Woodhouse Lane Chesterfield England, S44 6BD
Mail: poweroak.eu@bluetti.com

sale-eu@bluettipower.com
sale-uk@bluettipower.com

@bluetti_official

@ bluetti.inc

@ bluetti_inc

Documents / ResourcesDownload manual
Here you can download full pdf version of manual, it may contain additional safety instructions, warranty information, FCC rules, etc.
Advertisement


Need help?
Do you have a question about the EP600 and is the answer not in the manual?
Questions and answers