Advertisement
Quick Links
Advertisement

Related Manuals for Light Sky SIRENA


Summary of Contents for Light Sky SIRENA
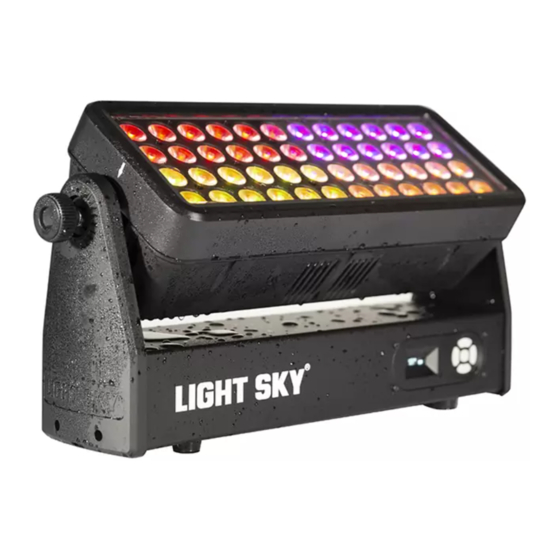
- Page 1 SIRENA...
- Page 2 CONTENTS 1. Safety Instructions......................2 2. Technical Specifications ....................5 2.1 Attachment And Size .....................7 3. Control Panel ........................8 4. How To Set The Unit........................9 4.1 Main Function.......................9 5. Control By Universal DMX Controller .................14 5.1 DMX 512 Connection...................14 5.2 Channel Setting....................15 5.3 Address Setting ....................15 5.4 DMX 512 Configuration..................16 6.
- Page 3 1.Safety Instructions Please read the instruction carefully which includes important information about the installation, usage and maintenance. WARNING Please keep this User Manual for future consultation. If you sell the unit to another user, be sure that they also receive this manual. The following symbols are used to identify important safety information on the product and in this manual: Safety hazard.
- Page 4 The unit must be installed in a location with adequate ventilation, at least 20cm from adjacent surfaces. Be sure that no ventilation slots is blocked, otherwise the unit will be overheated. Before operation, ensure that you are connecting this product to the proper voltage in accordance with the specifications in this manual or on the product’s specification label.
- Page 5 DO NOT operate this product if you see damage on the housing, shields, or cables. Have the damaged parts replaced by an authorized technician at once. Installation: The fixture should be fixed on the clamp. Always ensure that the unit is firmly fixed to avoid vibration and slipping off...
- Page 6 Technical Specifications OPTICAL - Luminous flux: 27000 lm - Light Source: 48pcs*15W RGBL LED - Color temperature: 2200K ~ 8500K adjustable - Lens Angle: 18° (15°/22°/25° optional) - Diffuser Angle: (20°/30°/40°/55° optional) EFFECT - Dimmer: 16Bit, 0-100% linear dimming, four dimming curves are optional - Stroboscopic: 1-25 electron stroboscopic and random stroboscopic - LED frequency : 1000Hz ~ 25KHz CONTROL...
- Page 7 OTHERS - IP rate: IP65 - Working Ambient: -20 ° C t- 45 ° C - Maximum fixture connect in Power: 2 /110V 4 /220V - Maximum current of fixture: 110V Maximum current: 5.6A; 220V maximum current: 2.82A - Optional accessories: hanger assembly, shutters assembly, folding shutters assembly APPROVALS The product implementation standard: GB 7000.1-2015 GB7000.
- Page 8 2.1.Attachment And Size Attachment contents-Fig.1 power cord Size-Fig.2...
- Page 9 3.Control Panel 3 4 5 6 1.Display: To show the various menus and the selected function. 2.Button: OK confirmation key DOWN To the left To the right 3.Power input: connect to the power supply. 4. Power output: connect to the lamp power output adapter. 5.
- Page 10 4.How To Set The Unit 4.1.Main Function Turn on the fixture, press the OK button to enter the menu mode, use the UP/DOWN buttons to find the menu, when the preset menu is shown on the display, press the OK button to confirm, use the UP/DOWN buttons to select a submenu, then press the OK button to save Settings, use the left button to return to the previous menu.
- Page 11 ● Dmx Set Enter MENU, select the Dmx Set function, press the OK button to confirm, use the up/down buttons to select: address code setting, function, automatic mode, automatic running speed, automatic editing address code. Dmx Addr Edit Select Dmx Addr Edit, press the OK button to confirm, the current DMX address will be shown on the display.
- Page 12 ● Information Enter the MENU menu, select the Information function, press the OK button to confirm, use the up/down buttons to select: total running time, device time, software version, clear device time, DMX channel information, RDM settings. Total Time Select Total Time, press the OK button to confirm, you can view the device: total time, total lighting time. Press the left button to return to the previous menu.
- Page 13 SelectDimmer Hz SelectDimmer Hz, press the OK button to confirm, you can use the up and down keys to select: 12K Hz dimming, 6K Hz dimming, 3K Hz dimming, press OK to confirm and exit. DimmerCurve Select DimmerCurve, press the OK button to confirm, you can use the up and down keys to select: linear (default), square dimming, inverse square dimming, S-curve dimming, press the OK button to confirm and exit.
- Page 14 Factory Set Select Factory Set, press the up and down keys to select, press the OK button to confirm, you can use the up and down keys to select: restore factory settings (password: 1111), clear total time (developer option, inoperable), developer (temperature-related power: on/ OFF (default ON); MANUAL or DMX: ON/OFF (default ON);...
- Page 15 5.Control By Universal DMX Controller 5.1.DMX 512 Connection 6.1.DMX 512Connection DMX512 in DMX - output 1 - Shield 2 - Signal (-) - Signal (+) - Not connected - Not connected DMX-input - Shield - Signal (-) - Signal (+) - Not connected - Not connected signal end...
- Page 16 5.2 . Channel Setting Enter the MENU menu, select the Personal Settings function, select the channel mode, press the OK button to confirm, you can use the up and down keys to select:09 channels (default), 24 channels, 20 channels, 16 channels, 01 channels, 03 channels, 04 channels 1, 04 channels 2, 05 channels, 07 channels,Press the OK key to enter the selection confirmation and return to the previous menu.
- Page 17 5.4 DMX 512 Configuration Please control the fixture by referring to the configurations below Channel Value/DMX percentage Function Note Shutter 0..9 No function 10..255 Strobe effect slow to fast Dimmer 0..255 Dimmer 0%...100% 0..255 0-100% Red dimmer from dark to bright Green 0..255 0-100% Green dimmer from dark to bright...
- Page 18 24CH Channel Value/DMX percentage Function Note Shutter 0..9 No function 10..255 Strobe effect slow to fast Dimmer 0..255 Dimmer 0%...100% 0..255 0-100% Red dimmer from dark to bright Green 0..255 0-100% Green dimmer from dark to bright Blue 0..255 0-100% Blue dimmer from dark to bright Lime 0..255 0-100% Lime dimmer from dark to bright...
- Page 19 20CH Channel Value/DMX percentage Function Note Shutter 0..9 No function 10..255 Strobe effect slow to fast Dimmer 0..255 Dimmer 0%...100% Pixel Macro 0..4 No function 5..28 Marcro 1 29..55 Marcro 2 56..76 Marcro 3 77..100 Marcro 4 101..124 Marcro 5 125..148 Marcro 6 149..172...
- Page 20 16CH Channel Value/DMX percentage Function Note Red in Pixel 1 0..255 Red in pixel 1 saturation control (0-100%) Green in Pixel 1 0..255 Green in pixel 1 saturation control (0-100%) Blue in Pixel 1 0..255 Blue in pixel 1 saturation control(0-100%) Lime in pixel 1 0..255 Lime in pixel 1 saturation control(0-100%)
- Page 21 4CH-1 Channel Value/DMX percentage Function Note Dimmer 0..255 Dimmer 0%...100% 0..255 0-100% Red dimmer from dark to bright Green 0..255 0-100% Green dimmer from dark to bright Blue 0..255 0-100% Blue dimmer from dark to bright 4CH-2 Channel Value/DMX percentage Function Note 0..255...
- Page 22 Channel Value/DMX percentage Function Note Shutter 0..9 No function Strobe effect slow to fast 10..255 Dimmer 0..255 Dimmer 0%...100% 0..255 0-100% Red dimmer from dark to bright Green 0..255 0-100% Green dimmer from dark to bright Blue 0..255 0-100% Blue dimmer from dark to bright Lime 0..255 0-100% Lime dimmer from dark to bright...
- Page 23 6.Electrical Connection Diagram -22-...
- Page 24 The position of each fan of the fixture: HeadFan1 HeadFan2 BaseFan1 7.Troubleshooting Following are a few common problems that may occur during operation. Here are some suggestions for troubleshooting: A. The unit does not work, no light and the fan does not work - Check the connected power.
- Page 25 8.Fixture Cleaning It is absolutely essential that the fixture is kept clean to ensure the maximum light-output and allow the fixture to function reliably throughout its life. The fixture must be cleaned regularly to avoid dust, dirt and smoke-fluid residues building up on or within the fixture. The cleaning frequency depends on the application environment.
Need help?
Do you have a question about the SIRENA and is the answer not in the manual?
Questions and answers