Advertisement
Quick Links
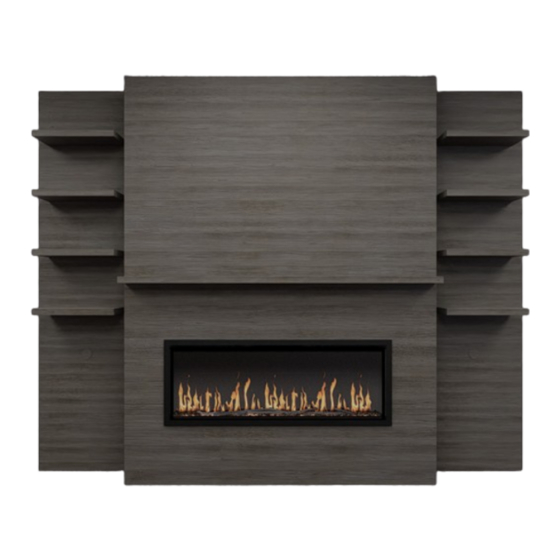
ALLWOOD FIREPLACE MEDIA WALL SYSTEM
ALLWOOD FIREPLACE MEDIA WALL SYSTEM
Owner/Installation Guide
Covers Part Numbers:
AFWS-xxxx-xx
OWS-xxxx-xx
o
o
10x8 - Main - Side
WW-DW-WW
10x8 - Main - Side
WW-DW-WW
ORION SLIM 60" (OR)
SPECTRUM SLIM 60" (SPS)
HOW TO INSTALL VIDEO
07-00050
customerservice@modernflames.com
modernflames.com
Advertisement

Related Manuals for Modern Flames AFWS Series


Summary of Contents for Modern Flames AFWS Series
- Page 1 ALLWOOD FIREPLACE MEDIA WALL SYSTEM ALLWOOD FIREPLACE MEDIA WALL SYSTEM Owner/Installation Guide Covers Part Numbers: AFWS-xxxx-xx OWS-xxxx-xx 10x8 - Main - Side WW-DW-WW 10x8 - Main - Side WW-DW-WW ORION SLIM 60" (OR) SPECTRUM SLIM 60" (SPS) HOW TO INSTALL VIDEO 07-00050 customerservice@modernflames.com modernflames.com...
- Page 2 Assembly, Parts & Hardware List What's in the Box Instruction Guide o Top Facia o Bottom Facia o Bottom Frame o Top Frame o Top Side Shelves (2) o Bottom Side Shelves (2) o Mantle o Hardware Kit: #8-11 x 5/8" Pan Shelf pins 1"...
- Page 3 Assembly, Parts & Hardware List Verify you have the correct wall system for your fireplace by checking the part number. AFWS-Spectrum Slim or OWS-Orion Slim. AFWS/OWS-xxxx-xx Size of wall system Finish of wall system 10x8 - Main - Side WW-DW-WW EXAMPLE OF FINISH WW = WEATHERED WALNUT DW = DRIFTWOOD GRAY...
-
Page 4: Installation And Assembly
Installation and Assembly Installed Allwood dimensions Locate & prep wall for install, measure to verify best fit. • Main unit requires 6 foot wide by 8 foot high area. • Overall depth with mantel is 16-7/8". • Main unit plus 1 side shelf wall requires 8 foot wide by 8 foot high area. •... - Page 5 Installation and Assembly Unpack and separate the contents of the Allwood Fireplace Media Wall System. Reference page 2 to verify the contents. For any content that is missing, contact Modern Flames customer service at 1-877-246-9353 or via email at customerservice@modernflames.com.
- Page 6 Installation and Assembly Locate the studs in the wall for securing the main wall and side shelves. customerservice@modernflames.com modernflames.com...
- Page 7 Installation and Assembly Locate the center of the bottom frame assembly and align with the center of the wall. Ensure that the notch on the sides are towards the bottom and facing the wall. Notch and wall customerservice@modernflames.com modernflames.com...
- Page 8 Installation and Assembly Secure the bottom frame assembly to the wall. It is recommended to screw into at least two studs using the #8 x 2" Flat Head screws. Place the top frame assembly onto the bottom frame assembly ensuring to align the sides to each other.
- Page 9 Installation and Assembly Brackets Brackets Secure the top frame assembly to the wall. Must be secured to at least two studs using the #8x2" Flat Head screws. Bottom frame frame customerservice@modernflames.com modernflames.com...
- Page 10 Installation and Assembly Set up side outlets connections. It is recommended to use an outlet wall adapter. Note: Side outlet styles may vary. Wall adapter is not included. Note: Reference the fireplace guide for the fireplace power requirements. customerservice@modernflames.com modernflames.com...
- Page 11 Installation and Assembly Mount the bottom front facia, which is the one with a cutout for a fireplace, by sliding it onto the bottom frame assembly. Note: Orient the Facia so that the metal strips on the Facia interlock with the metal clips on the Main Unit. Back strips Metal strips &...
- Page 12 Installation and Assembly Place mantel horizontally on top of the front facia. It will be held in place via brackets attached to the mantel. Mantle customerservice@modernflames.com modernflames.com...
- Page 13 Installation and Assembly Mount the top front facia onto the top frame assembly. There are strips on the back of the facia that hook onto clips located on the front side of the top frame assembly. Note: That the front facia does not have a cut-out for a TV and would need to be added if installing one.
- Page 14 Installation and Assembly Place the top and bottom sections of the side shelves on flat surface and join them together using the provided wood securing strips and the #8 x 1-1/4" Flat Head screws. Wood securing strips ship attached to back of shelf sections. Wood securing strips customerservice@modernflames.com modernflames.com...
- Page 15 Installation and Assembly Place the side shelf on its side to insert the four shelves. Once inserted, secure the shelves with provided pins so you can configure them to your preference, after shelves are configured to preferred layout, secure with provided #8x1-1/4" Face frame screws. Only two screws per shelf are needed.
- Page 16 Installation and Assembly 2 Pins per shelf customerservice@modernflames.com modernflames.com...
- Page 17 Installation and Assembly Face frame screws Place wall cleat on wall 3" from the wall unit and 88 1/2" from the floor and make sure angle is facing upward. Wall cleat MUST attach to at least one stud in the wall. Use at least two #8 x 2" Flat Head screws per wall cleat and ensure the wall cleat is leveled when secured to the wall.
- Page 18 Installation and Assembly Angle facing upward Lift the side shelf wall and place over the wall cleat ensuring the angles on the cleats are interlocked and secure. Repeat steps for opposite side shelf. customerservice@modernflames.com modernflames.com...
- Page 19 Installation and Assembly customerservice@modernflames.com modernflames.com...
- Page 20 Installation and Assembly Install a wall anchor into the wall through the hole in the side shelf. Using a #8 x 2-1/2" Flat Head screw with a washer, secure the bottom into place. Install wooden screw cover to hide hardware, orientate the cover to match the direction of the wood grain. Anchor Washer &...
- Page 21 Installation and Assembly Screw Cover Unpack fireplace and reference fireplace install guide for installation instructions. customerservice@modernflames.com modernflames.com...
- Page 22 Installation and Assembly If installing a TV ensure to set up wiring before installing the fireplace. Connect power cord before setting fireplace into place. Fireplace power cord customerservice@modernflames.com modernflames.com...
- Page 23 Installation and Assembly Secure the fireplace by installing 4 screws (supplied with fireplace) into the slots on the sides of the fireplace. Follow fireplace manual for completing installation of fireplace and installation of media and logs. Screws to secure fireplace Installation complete.
- Page 24 Or email us at: customerservice@modernflames.com OUR STAFF IS READY TO PROVIDE ASSISTANCE Thank you for choosing Modern Flames, we appreciate all our customers and hope you have many years of enjoyment of our products. Take a look at our other products from our RPG Brands family of companies GrandCanyonGasLogs.com...
Need help?
Do you have a question about the AFWS Series and is the answer not in the manual?
Questions and answers