Sign In
Upload
Download
Table of Contents
Contents
Add to my manuals
Delete from my manuals
Share
URL of this page:
HTML Link:
Bookmark this page
Add
Manual will be automatically added to "My Manuals"
Print this page
×
Bookmark added
×
Added to my manuals
Manuals
Brands
Philco Manuals
Hob
PHD 61FS
Owner's manual
Philco PHD 61FS Owner's Manual
Induction glass-ceramic hob
Hide thumbs
1
2
Table Of Contents
3
4
5
6
7
8
9
10
11
12
13
14
15
16
17
18
19
20
21
22
23
page
of
23
Go
/
23
Contents
Table of Contents
Bookmarks
Table of Contents
Table of Contents
Part 1: Safety Information
Part 2: Description of the Appliance
Technical Characteristics
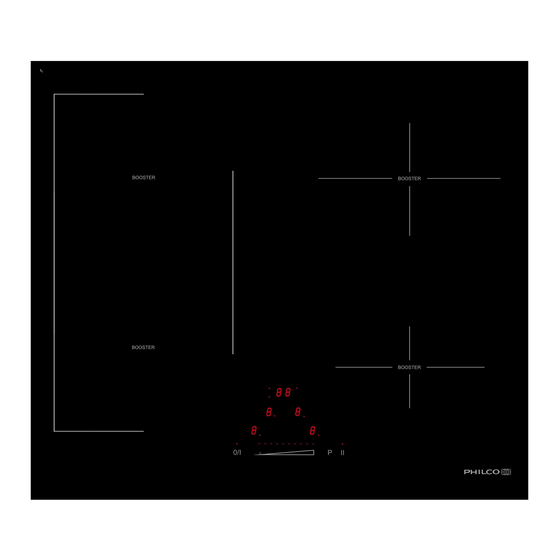
Control Panel
Part 3: Use of the Appliance
Display
Ventilation
Part 4: Starting-Up and Appliance Management
Before the First Use
Induction Principle
Sensitive Touch
Starting-Up
Pan Detection
Residual Heat Indication
Booster and Double Booster Function
Timer
Bridge Function
Control Panel Locking
Part 5: Cooking Advices
Pan Quality
Pan Dimension
Examples of Cooking Power Setting
Part 6: Maintenance and Cleaning
Part 7: What to Do in Case of a Problem
Part 8: Installation Instructions
Part 9: Electrical Connection
Connection of the Hob
Advertisement
Quick Links
Download this manual
INDUCTION
GLASS-CERAMIC HOB
OWNER'S MANUAL
PHD 61FS
PHD 62FS
Table of
Contents
Previous
Page
Next
Page
1
2
3
4
5
Advertisement
Table of Contents
Need help?
Do you have a question about the PHD 61FS and is the answer not in the manual?
Ask a question
Questions and answers
Related Manuals for Philco PHD 61FS
Hob Philco PHD 302 Owner's Manual
(29 pages)
Hob Philco PHD 64 FBI Owner's Manual
(31 pages)
Hob Philco PHD 62FS Owner's Manual
Induction glass-ceramic hob (23 pages)
Hob Philco PHD 64 BBS Owner's Manual
(33 pages)
Hob Philco PHD 64 TB Owner's Manual
(29 pages)
Hob Philco PHD 60 IP Owner's Manual
(29 pages)
Hob Philco PHD 64B Owner's Manual
Induction glass-ceramic hob (64 pages)
Hob Philco PHD 451B Owner's Manual
Induction glass-ceramic hob (72 pages)
Hob Philco PHD 61 TB Owner's Manual
(92 pages)
Hob Philco PHD 64 SB Owner's Manual
(31 pages)
Hob Philco PHD 302 E Owner's Manual
(144 pages)
Hob Philco PH2313IC Instruction Manual
(24 pages)
Hob Philco PHS 692DC Owner's Manual
Glass-ceramic hob (19 pages)
Hob Philco PHS 604 IC Owner's Manual
(27 pages)
Hob Philco PH2728IC Instruction Manual
(51 pages)
Hob Philco PHS 3020 TC Owner's Manual
(132 pages)
This manual is also suitable for:
Phd 62fs
Table of Contents
Print
Rename the bookmark
Delete bookmark?
Delete from my manuals?
Login
Sign In
OR
Sign in with Facebook
Sign in with Google
Upload manual
Upload from disk
Upload from URL


Need help?
Do you have a question about the PHD 61FS and is the answer not in the manual?
Questions and answers