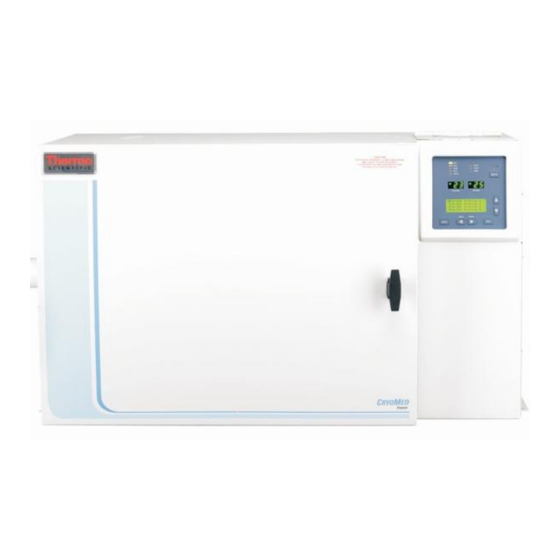
Thermo Scientific Unity Lab Services 7450 Instruction Sheet
Controlled rate freezer printer
Hide thumbs
Also See for Unity Lab Services 7450:
- Operating and maintenance manual (120 pages) ,
- Manual (138 pages) ,
- Operating and maintenance manual (116 pages)
Advertisement
Instruction Sheet
Controlled Rate Freezer Printer Set-UP
The built in thermal printer internal settings are pre-set at the factory, but if
printer needs to be replaced the settings will have to be adjusted to
function correctly with controlled rate freezer. The steps below go over
process of adjusting parameters.
Controlled Rate Freezer Printer Set-Up
Revision Date: January 17, 2018
Advertisement
Table of Contents

Summary of Contents for Thermo Scientific Unity Lab Services 7450
- Page 1 Instruction Sheet Controlled Rate Freezer Printer Set-UP The built in thermal printer internal settings are pre-set at the factory, but if printer needs to be replaced the settings will have to be adjusted to function correctly with controlled rate freezer. The steps below go over process of adjusting parameters.
- Page 2 1. After paper has been installed on printer and plugged in. Review button functions.
- Page 3 2. Below is parameter chart with default settings and required settings to work with controlled rate freezer (CRF). Keep this page handy to make adjustments easier.
- Page 4 3. Gain access to parameter screen by turning power switch off. 4. Next turn power switch on while pressing ONLINE button. Release ONLINE button after a list of current parameters starts printing. 5. The print of current settings is followed by the prompts below. To change the DIP switch settings push the ONLINE button.
- Page 5 Applies to Models Model 7450 & 7470 Series Non-IVF Models 7450, 7451, 7452, 7453, 7454, 7455, 7473, & 7474 IVF Models 7456, 7457, 7458, 7459, 7475, & 7476 5 of 5 www.unitylabservices.com/contactus...


Need help?
Do you have a question about the Unity Lab Services 7450 and is the answer not in the manual?
Questions and answers