Advertisement
Quick Links
Advertisement

Related Manuals for SHANGRI-LA HAMPTON SLHAMPTBSWA


Summary of Contents for SHANGRI-LA HAMPTON SLHAMPTBSWA
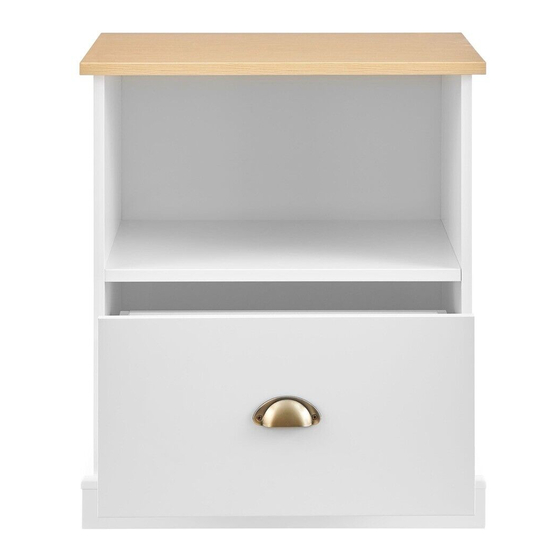
- Page 1 HAMPTON BEDSIDE SLHAMPTBSWA, SLHAMPTBSBA...
- Page 3 COMPONENTS...
- Page 4 Hardware A (x16) B (x16) C Φ6x30 (x20) D Φ4x40 (x13) F (x1) G (x1) H (x1) E Φ3x12 (x18) I (x1) K (x1) L (x2) J Φ4x30 (x4)
- Page 5 ASSEMBLY Step 1: Insert A into both ends of part 9. Repeat this step with the other part labelled 9. A (x4) ✗ ✓ Step 2: Insert C into parts labelled 9 then connect 9 into parts labelled 8. Ensuring the arrows on each B piece are pointing to the corresponding A piece, insert B pieces into parts labelled 8 and secure B to A with a Phillips head screwdriver (not supplied) B (x4)
- Page 6 Step 3: Insert C into part 2. Using a Phillips screwdriver (not supplied), secure parts 8 and 9 onto 2 using D screws. C (x8) D (x10)
- Page 7 Step 4: A (x4) E (x4)
- Page 8 Step 5: B (x2) C (x2) Step 6: B (x2) C (x2)
- Page 9 Step 7: C (x4) D (x4) Step 8: A (x4)
- Page 10 Step 9: B (x4) C (x4) Step 10: A (x4) J (x4)
- Page 11 Step 11: Insert part 14 into the grooves of parts 11, 12 and 13. Attach part 10 onto parts 11 and 12. Ensuring the arrows on each B piece are pointing to the corresponding A piece, insert B pieces into parts labelled 11 and 12 then secure B to A with a Phillips head screwdriver Using a Phillips head screwdriver, attach K to part 10 with E screws.
- Page 12 Step 12:...
- Page 13 Step 13: E (x8) L (x8)
- Page 14 Assembly complete.
- Page 15 NOTES...
- Page 16 Need more information? We hope that this user guide has given you the assistance needed for a simple set-up. For the most up-to-date guide for your product, as well as any additional assistance you may require, head online to help.kogan.com...
Need help?
Do you have a question about the HAMPTON SLHAMPTBSWA and is the answer not in the manual?
Questions and answers