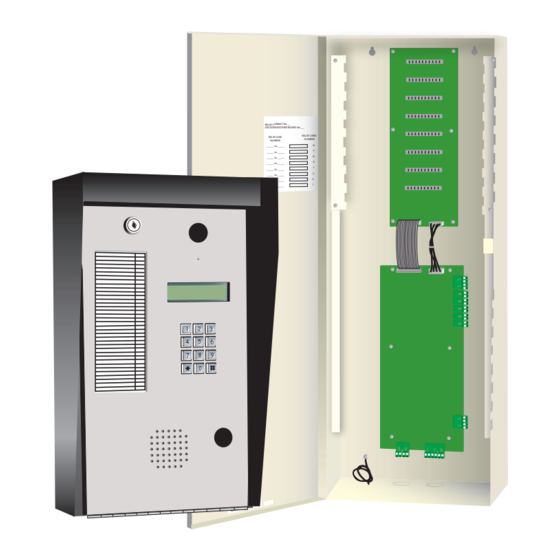
Mircom TAS-2000 Series User Manual
Hide thumbs
Also See for TAS-2000 Series:
- Installation and operation manual (73 pages) ,
- User manual (36 pages)
Summary of Contents for Mircom TAS-2000 Series
- Page 1 Advanced Life Safety Solutions TAS-2000 Series MSW-003 Software User Guide LT-880 Rev. 1 September 2004...
-
Page 3: Table Of Contents
TAS-2000 MSW-003 Software Manual Contents Installing the Software ..............1 Connecting the Hardware ............1 Direct Connect Method (using the RS-485IMA) ....... 1 Dial-Up Method (Using Modem) ..........1 Opening/creating A Job File ............2 Creating an ADC Tenant Database ..........3 Creating an NSL Tenant Database .......... -
Page 5: Installing The Software
TAS-2000 MSW-003 Software Manual Installing the Software To install the TAS-2000 MSW-003 Software, • Run SETUP.EXE on the root directory folder of the MSW-003 CD, or • Use the Windows Control Panel’s Add/Remove Programs’ install feature. Follow the instructions on the screen. Once it is installed, you can run the program by clicking Start->Programs->TAS 2000. -
Page 6: Opening/Creating A Job File
1. Open the TAS-2000 software by clicking Start->Programs->TAS 2000. You will be prompted for a User Name and Password (as shown below). The default for both is “mircom”. 2. Type “mircom” in both spaces and click OK Note: “mircom” must be type in all lower case letters. -
Page 7: Creating An Adc Tenant Database
TAS-2000 MSW-003 Software Manual Creating an ADC Tenant Database Note: If your lobby panel is configured as a Non-Subscriber Line (NSL), skip to Creating an NSL Tenant Database on page 5. The name of the file that is opened displays across the top of the Control Panel window. - Page 8 Creating an ADC Tenant Database • Enter resident keyless code (this is optional because it is used for reference only--it will not be stored on lobby panel) • Enter default elevator code-If feature not used, enter 99 • Select default elevator ID-If feature not used, select ID-099 •...
-
Page 9: Creating An Nsl Tenant Database
TAS-2000 MSW-003 Software Manual Creating an NSL Tenant Database Note: If your lobby panel is configured as an Auto-Dialer (ADC), go to Creating an ADC Tenant Database on page 3. The name of the file that is opened displays across the top of the Control Panel window. - Page 10 Creating an NSL Tenant Database • Enter resident name if using scrolling directory panels, or leave blank if using non-scrolling panels • Enter resident apartment number (this is optional because it is used for reference only--it will not be stored on lobby panel) •...
-
Page 11: Establishing A Direct Connection
Upload or Download data. 4. Verify the Lobby Panel ID by checking the SW2 DIP switch settings on the main board in the lobby panel. Refer to the TAS-2000 Series Installation and Operation Manual for the DIP switch settings. - Page 12 Establishing a Direct Connection 6. From the Control Panel window select “Options” and select the appropriate panel ID from the list. 7. Click OK to continue. 8. Click “Login” on the Control Panel screen. 9. When finished, go to Uploading Data (Lobby Panel to PC) on page 11.
-
Page 13: Establishing A Modem Connection
Upload or Download data. 6. Verify the Lobby Panel ID by checking the SW2 DIP switch settings on the main board in the lobby panel. Refer to the TAS-2000 Series Installation and Operation Manual for the DIP switch settings. - Page 14 Establishing a Modem Connection 8. Select “Options” From the Control Panel window and select the appropriate lobby-ID from the list. 9. Click “Modem Dialup” on the Control Panel screen. 10. Wait until “Connect 2400” is displayed near the bottom of the screen, then click “Login”...
-
Page 15: Uploading Data (Lobby Panel To Pc)
TAS-2000 MSW-003 Software Manual Uploading Data (Lobby Panel to PC) 1. Click the “Upload Data” button. Note that it will over-write records that have the same lobby ID in the database file. 2. Click “OK” to continue.You will be prompted to upload the events log. 3. -
Page 16: Downloading Data (Pc To Lobby Panel)
Downloading Data (PC to Lobby Panel) Downloading Data (PC to Lobby Panel) 1. Click the “Download Data” button. Note that it will over-write existing information on the lobby panel. 2. Click “OK” to download to the TAS-2000 Lobby Panel. The status bar at the bottom of the screen will display the download progress as shown below. -
Page 17: Changing Lobby Panel Parameters
TAS-2000 MSW-003 Software Manual Changing Lobby Panel Parameters 1. Click “Show Parameters” to view the parameters of the panel being pro- grammed. 2. Click the Edit button to change the current settings: 3. Click OK when finished. -
Page 18: Troubleshooting Guide
Troubleshooting Guide Troubleshooting Guide Port is Already Used If the following message is displayed, verify that the correct COM port is selected and connected to the proper connector on your PC. No System Detected If the following message is displayed, check cable connections, and ensure that the correct Lobby ID is selected in the Options menu. - Page 20 Advanced Life Safety Solutions U.S.A. Canada © Mircom 2004 Printed in Canada 25 Interchange Way 60 Industrial Parkway Subject to change without prior notice Vaughan, ON L4K 5W3 Cheektowaga, NY 14227 www.mircom.com Tel: 905-660-4655 Fax: 905-660-4113 Tel: 1-888-660-4655 Fax: 1-888-660-4113...


Need help?
Do you have a question about the TAS-2000 Series and is the answer not in the manual?
Questions and answers