Table of Contents
Advertisement
Quick Links
Advertisement
Table of Contents

Related Manuals for ATEQ F600 Series


Summary of Contents for ATEQ F600 Series
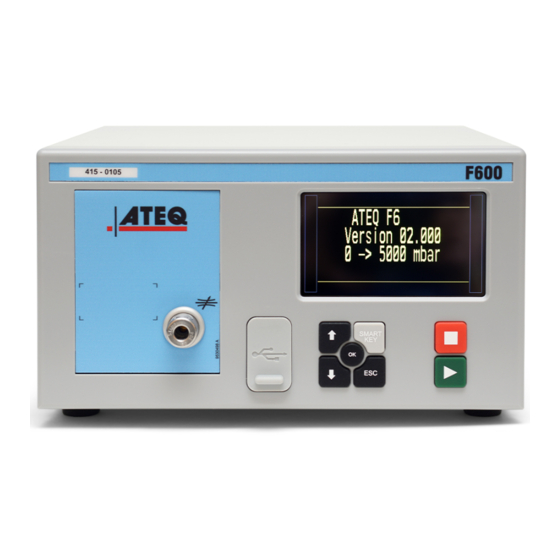
- Page 1 F600 Series – Profinet Manual...
-
Page 2: Table Of Contents
Basic notions ............................5 Hardware installation Hardware configuration ........................7 Cabling ............................... 8 Configuration of the ATEQ device (slave) Setup of the station name ......................... 9 Setup of the Profinet configuration mode ..................10 Setup of the IP address ........................11 Configuration of the master Installation of the Profinet module.................... - Page 3 ATEQ Manufacturer Plants – Measurement Solution, Global Leader 2 / 75 ATEQ 15, rue des Dames, Z.I. info@ateq.com T.: +33 1 30 80 1020 78340 LES CLAYES-SOUS-BOIS ateq.com F.: +33 1 30 54 1100 FRANCE ATEQ K.K. 3 – 41 ATEQ Building, Ikehata info@ateq.co.jp...
-
Page 4: Safety Advisory / Warranty
ATEQ is at your disposal for any information concerning the use of the device under maximum safety conditions. We draw your attention to the fact that ATEQ cannot be held responsible for any accident related to a misuse of the measuring instrument, the workstation or non-compliance of the installation with safety rules. -
Page 5: Preamble
Preamble INTRODUCTION This manual intends to help you for the configuration and the use of your ATEQ F600 device on the 4 / 75 Profinet network. For more information on your ATEQ equipment, refer to the Quick Start Manual. FG_F600_PROFINET_EN_01 / 2020-06-19... -
Page 6: Basic Notions
Long format (Signed Double word) A Long format data is coded with two words (of 16 bits). In the memory range of the ATEQ device or when they are transmitted, both words are coming in the following order: — The first word is the least significant word —... - Page 7 Numerical value All the numerical values are treated with the Long format with fixed comma (10 Thus, their value is expressed in thousandths of unit. So, this value must be multiplied by 1000 to get the value in units. For example, a value of 207055 represents 207.055. So, any numerical value must be divided by 1000 to get the real value: —...
-
Page 8: Hardware Installation
Hardware installation HARDWARE CONFIGURATION Connect your ATEQ equipment to the Profinet fieldbus using its Profinet connectors and compatible 7 / 75 cables. Your device has a Profinet internal board and two Profinet connectors. The Profinet internal board is located inside your device. Two versions are available: —... -
Page 9: Cabling
CABLING M12 - RJ45 cable Cable with male M12 D coded type connector and an RJ45 connector (4 or 8 pins) 8 / 75 Male M12 Pin RJ45 - 4 pins Pin RJ45 - 8 pins Pin Wire color Signal number number number... -
Page 10: Configuration Of The Ateq Device (Slave)
Use this procedure to set the name and the configuration mode of your device. 9 / 75 This configuration can be done with the front panel of your ATEQ device or with the ATEQ Fieldbus Configurator software. SETUP OF THE STATION NAME The station name must be the same on slave and master. -
Page 11: Setup Of The Profinet Configuration Mode
40h-5Fh Exchange zone: cycle result reading or 10 parameters management 60h-FFh Exchange zone: cycle result reading or 20 parameters management From the MAIN MENU screen of your ATEQ device: ➢ CONFIGURATION ➢ AUTOMATISM ➢ FIELDBUS ➢ ACCESS FG_F600_PROFINET_EN_01 / 2020-06-19... -
Page 12: Setup Of The Ip Address
— IP: IP address 11 / 75 — SM: Network mask — GW: Gateway address From the ATEQ device From the MAIN MENU screen of your ATEQ device: ➢ CONFIGURATION ➢ AUTOMATISM ➢ FIELDBUS From the ATEQ Fieldbus Configurator software... -
Page 13: Configuration Of The Master
12 / 75 Identification of the version of the Profinet module You can identify the hardware configuration using your ATEQ device or using a fieldbus configuration software. For the installation and configuration of the Profinet module, you have to select the component that corresponds to the firmware (see Configuration files). -
Page 14: Configuration Files
Configuration files to use for the configuration of the master instrument. Profinet hardware and software compatibilities The table below gives the configuration file to use according the hardware reference of the Profinet 13 / 75 internal board of your ATEQ device (Hilscher hardware reference). Profinet Hilscher Hilscher... -
Page 15: Selection Of The Master Card
SELECTION OF THE MASTER CARD The screenshots used in this manual correspond to the ATEQ Fieldbus Configurator software. Nevertheless, you may use your own software to configure the master. From the Device Assignment screen, select the master card: 14 / 75... -
Page 16: Setup Of The Station Name
SETUP OF THE STATION NAME The screenshots used in this manual correspond to the ATEQ Fieldbus Configurator software. Nevertheless, you may use your own software to configure the master. Select the Device Table screen to set up the station name of the slave instrument: 15 / 75 The station name must be the same on slave and master. -
Page 17: Setup Of The Ip Address
SETUP OF THE IP ADDRESS The screenshots used in this manual correspond to the ATEQ Fieldbus Configurator software. Nevertheless, you may use your own software to configure the master. Setup of the IP address of the master 16 / 75... - Page 18 Setup of the IP address of the slave Select the Scanlist screen to set up the IP address of the slave instrument: 17 / 75 FG_F600_PROFINET_EN_01 / 2020-06-19...
-
Page 19: Setup Of The Profinet Configuration Modes
SETUP OF THE PROFINET CONFIGURATION MODES Five configuration modes are available according to the bytes number available (see Configuration of the ATEQ device (slave)). Setup of the Standard mode (normal) 18 / 75 The parameters configuration must be like the following ones:... - Page 20 Setup of the Standard less mode The parameters configuration must be like the following ones: Input_Data (IB) 96 bytes total: IB = 32 bytes IB = 64 bytes Output_Data (QB) 96 bytes total: QB = 32 bytes 19 / 75 QB = 64 bytes FG_F600_PROFINET_EN_01 / 2020-06-19...
Need help?
Do you have a question about the F600 Series and is the answer not in the manual?
Questions and answers