Table of Contents
Advertisement
Quick Links
INSTRUCTION MANUAL
INSTRUCTION
INSTRUCTION
INSTRUCTION
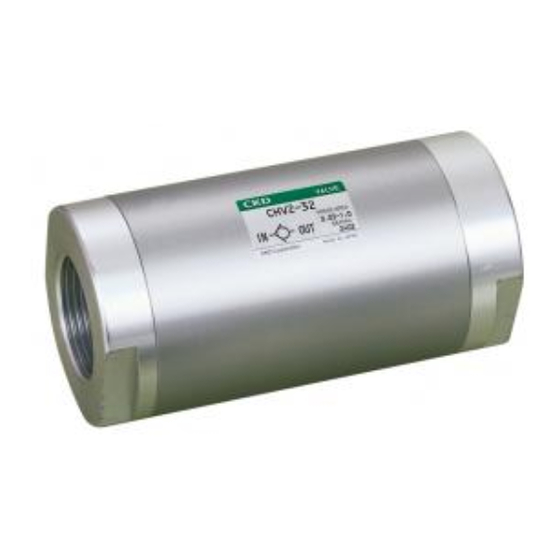
CHECK VALVE
CHECK
VALVE
CHECK
CHECK
VALVE
VALVE
CHV2
CHV2
CHV2
CHV2
●
Please
read
carefully
before
particularly
safety.
●
Retain this instruction manual with the
product
for
whenever necessary.
SM-315295-A
SM-315295-A
SM-315295-A
SM-315295-A
MANUAL
MANUAL
MANUAL
this
instruction
using
this
the
section
further
manual
product,
describing
consultation
Advertisement
Table of Contents

Related Manuals for CKD CHV2


Summary of Contents for CKD CHV2
- Page 1 SM-315295-A SM-315295-A SM-315295-A SM-315295-A INSTRUCTION INSTRUCTION MANUAL INSTRUCTION INSTRUCTION MANUAL MANUAL MANUAL CHECK VALVE CHECK VALVE CHECK CHECK VALVE VALVE CHV2 CHV2 CHV2 CHV2 ● Please read this instruction manual carefully before using this product, particularly section describing safety. ● Retain this instruction manual with the product further...
- Page 2 For Safety Use To use this product safety, basic knowledge of pneumatic equipment, including materials, piping, electrical system and mechanism, is required (ISO 4414 *1 JIS B 8370 *2). We do not bear any responsibility for accidents caused by any person without such knowledge or arising from improper operation.
- Page 3 INDEX CHV2 CHECK VALVE Manual No. SM-315295-A 1. UNPACKING ・・・・・・・・・・・・・・・・・・・・・・・・・・・・・・・・・・・・・ 2. MOUNTING AND INSTALLATION Explanation of activation ・・・・・・・・・・・・・・・・・・・・・・・ Piping ・・・・・・・・・・・・・・・・・・・・・・・・・・・・・・・・・・・・・・・・・・・・・・ 3. MAINTENANCE Disassembling ・・・・・・・・・・・・・・・・・・・・・・・・・・・・・・・・ Trouble Shooting ・・・・・・・・・・・・・・・・・・・・・・・・・・・・・・ Disposal of product ・・・・・・・・・・・・・・・・・・・・・・・・・・・・・・・・・ 4. INTERNAL STRUCTURE AND LISTS OF PARTS ・・・・ 5. PRODUCT SPECIFICATIONS How to Order ・・・・・・・・・・・・・・・・・・・・・・・・・・・・・・・・・...
-
Page 4: Mounting And Installation
1 2 UNPACKING MOUNTING 1. UNPACKING Bags containing product should be opened only when CAUTION CAUTION : CAUTION CAUTION you are ready to connect the product to the pipes immediately afterward. • It bags are opened before the product are ready to be connected to the pipes, the entry of foreign matter from the piping ports could cause the product to fail or malfunction. - Page 5 2 MOUNTING 2.2 Piping 1) Lightly tighten the pipe into the connecting port temporarily by hand, and then tighten the width across flat firmly using the tool. At this time, always tighten the pipe within a recommended tightening torque range. When disconnecting this product from the pipe, loosen the width across flat of the pipe to be disconnected.
-
Page 6: Maintenance
3 MAINTENANCE 3. MAINTENANCE 3.1 Disassembling 1) Fix either width across flat and turn the opposite width across flat counterclockwise using the tool. Either cover is then disassembled. In this state, the cylindrical spring and valve guide can be removed from the inside of the product. - Page 7 4 INTERNAL STRUCTURE 4. INTERNAL STRUCTURE AND LISTS OF PARTS Name of parts Materials Cover A Aluminum alloy O ring Nitrile rubber (Fluoro rubber) Tube Aluminum alloy Valving element Nitrile rubber (Fluoro rubber) Valve guide Polyacetal resin Coil spring Stainless steel Cover B Aluminum alloy O ring...
-
Page 8: Product Specifications
5 PRODUCT 5. PRODUCT SPECIFICATIONS 5.1 How to Order CHV2 - 8 - J - A P Model code (a) Port size (a) Port size Rc1/8 Rc1/4 Rc3/8 Rc1/2 Small flow rate and Rc3/4 compact type Note 1 Rc1 1/4 Rc1 1/2 Note 1 :...
Need help?
Do you have a question about the CHV2 and is the answer not in the manual?
Questions and answers