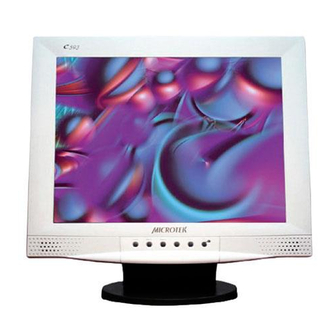
Summary of Contents for Microtek C593
-
Page 2: Installing The Monitor
Please follow the following drawing to remove the plastic back over in order to connect the signal cable and power cable. Plug one end of the 15pin signal cable to the monitor and the other end to the video signal connector at the rear of the system. Tighten... - Page 7 The Monitor control functions are located on the lower center portion of the front panel. These are shown in the figure below and described in the following paragraphs. Use the power switch to turn power ON or OFF. We recommend...
- Page 8 Press the Menu key to activate the OSD screen. The screen below will appear. Note: Perform the procedure above whenever you need to change a setting. For the succeeding sections, this step will not be included, and users will be presumed to have performed the procedure. Use the selection key to move to the desired item.
- Page 9 Use the selection key to select the icon, then press - or +. The screen below will appear. Use the selection key to select the CONTRAST field, then press - & + to get the best contrast optimization. You can adjust R,G,B simultaneously or adjust each Red, Green, and Blue channel separately.
- Page 10 Use the selection key to select the icon, then press - & +. The screen below will appear. If you need to go back to the previous OSD menu screen, press the MENU key. Use the selection key to move to the icon, then press - & + to move the whole screen left or right to the center position.
- Page 11 In the OSD screen, you will see the Horizontal frequency (HF), Vertical frequency (VF), display resolution (MODE) and the monitor Firmware version (ROM LEVEL). These values are automatically detected by the monitor, and the settings cannot be changed by the user.
- Page 13 Preset timing is shown as follows:...


Need help?
Do you have a question about the C593 and is the answer not in the manual?
Questions and answers