Advertisement
UNPACK YOUR UNIT
When you unpack your new unit, make sure that you have removed all the accessories and information papers:
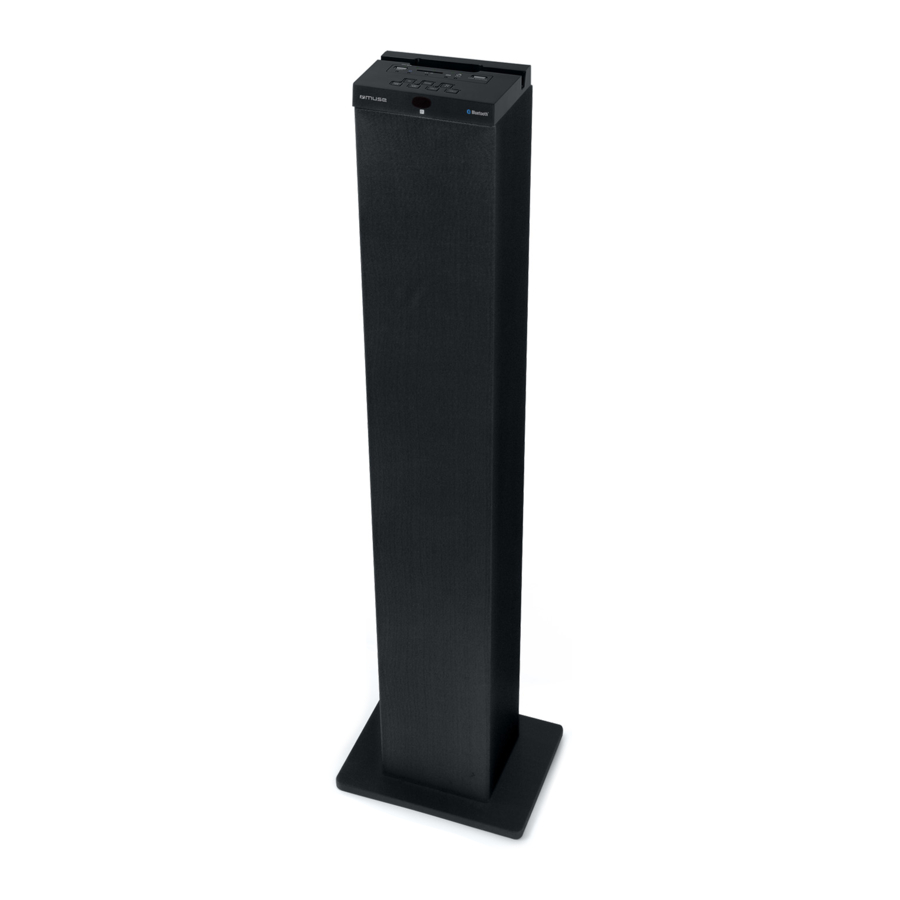
- Speaker tower
- AC adaptor
- User manual
- Remote Control
- 1 piece of Stereo audio connection cable with 3.5 stereo plug
- 2 pieces of Assembly screws / washers
INSTALLATION

|
|
LOCATION AND DESCRIPTION OF CONTROLS
MAIN UNIT


- USB MP3 port
- SD card slot
- AUX input jack
- USB CHARGE
- MODE indicators
![]() /
/ ![]() Play/Pause/FM Scan Button
Play/Pause/FM Scan Button- VOL+ Button
- VOL- Button
- MODE button
![]() / TUNE+ Button
/ TUNE+ Button![]() / TUNE- Button
/ TUNE- Button![]() Standby Button
Standby Button- Antenna
 Play/Pause/FM Scan Button
REMOTE CONTROL

R1. STANDBY Button
R2.  (TUNE -) Button
R3. VOL (Volume)+/- Buttons
R4. MODE Button
R5. (MUTE) Button
R6.  (TUNE+) Button
R7. (Play/Pause) Button
R8.STOP Button
R9.FM SCAN Button
R10. EQ Button
R11. Numeric Buttons
The remote control operates on 1pc "CR2025" lithium battery (included). To power up the remote control, remove the insulation tab from the back of unit.

When you press the number keys (0~9), the unit takes some seconds to react.
Replacing battery for the remote control

- Push and slide out the battery trap.
- Replace the battery by a new CR2025 button cell with the polarity "+" face up.
- Replace the cover.
Notes on batteries
- Never recharge the batteries, apply heat to them or take them apart.
- Battery shall not be exposed to excessive heat such as sunshine, fire or the like.
- Do not throw the batteries in fire!
- Attention should be drawn to the environmental aspects of battery disposal.
- If the remote control is not going to be used for a long time, remove the battery to avoid damage caused by battery leakage corrosion.
- Please respect the environment. Before throwing any batteries away, consult your distributor who may be able to take them back for specific recycling.

Danger of explosion if battery is incorrectly replaced. Replace only with the same or equivalent type.

Do not ingest the battery, Chemical Burn Hazard.
(The remote control supplied with) This product contains a coin/ button cell battery. If the coin/ button cell battery is swallowed, it can cause severe internal burns in just 2 hours and can lead to death. Keep new and used batteries away from children. If the battery compartment does not close securely, stop using the product and keep it away from children. If you think batteries might have been swallowed or placed inside any part of the body, seek immediate medical attention.
POWER SUPPLY
USING THE AC ADAPTOR
- The supplied AC adaptor operates on AC mains supplies of 100-240V ~50/60Hz and should only be connected to a mains supply within these parameters.
- Use the supplied AC adaptor only. Using any other AC adaptor could damage the unit.
- The included AC adaptor is for use with this unit only. Do not use it with other equipments.
- When the unit is not going to be used for long time, disconnect the AC adaptor from the AC outlet.
- Be sure to use it near the wall outlet. If a malfunction occurs, disconnect the plug from the wall outlet at once.
- When the AC adaptor is plugged in, the apparatus is not completely disconnected from the main power source, even when the unit is turned off.
- AC adaptor is used as the disconnect device. It shall remain readily operable and should not be obstructed during intended use. To be completely disconnected the apparatus from supply mains, the AC adaptor of the apparatus shall be disconnected from the mains socket outlet completely.
Note: In a concern of saving energy, when playback has reached to the end or listening volume is set at a very low level and no control is operated on the device for a period of 15 minutes, the unit will automatically switch to Standby mode.
GENERAL OPERATION
- Press
![]() button to turn on or turn off the unit.
button to turn on or turn off the unit. - Press the MODE button repeatedly to select the playback source as desired. The MODE indicators will light green accordingly.
Note: If no USB device or CARD was inserted, USB or CARD mode cannot be selected by MODE button.
- Press the VOL(Volume)+/- Buttons to adjust volume level.
- Press the EQ button to set EQ (equalizers) mode as desired.
- Press the
![]() Button on the remote control to turn off the sound. Press it again to turn it back.
Button on the remote control to turn off the sound. Press it again to turn it back. - If the unit is not used for a long period of time, pull out the plug to turn off the unit completely.
PLAY RADIO
- Press the
![]() button to turn on the unit.
button to turn on the unit. - Press MODE button repeatedly until the FM Indicator turns on.
- Press
![]() /
/ ![]() for step forward/rewind to search located station manually; press and hold / for step forward/rewind to search located station automatically until one station is found then unit will stop to search.
for step forward/rewind to search located station manually; press and hold / for step forward/rewind to search located station automatically until one station is found then unit will stop to search. - Press and hold
![]() button on the unit, or press the FM SCAN Button on the remote control. The unit will start to search all available FM stations then stored into the memory automatically.
button on the unit, or press the FM SCAN Button on the remote control. The unit will start to search all available FM stations then stored into the memory automatically. - After finished FM SCAN, press numeric buttons then wait for approx 3 seconds, you can select 1-20 preset stations. eg: pressing "1", means preset station 1. pressing "2" + "0" means preset station 20. Or press
![]() /
/ ![]() to cycle through and listen to the preset stations.
to cycle through and listen to the preset stations.
To enhance radio reception ability:
FM: Fully unwind the antenna wire. Extend the antenna wire and place it in the position that sounds best.
USB OR SD/SDHC/MMC PLAYBACK
You can connect a USB flash drive (not included) to the USB port or a SD/SDHC/ MMC card (not included) to the memory expansion card slot on the unit to play MP3 files.
- Press
![]() button to turn on the unit. Press the MODE Button repeatedly until the USB indicator or SD indicator turns on. Wait for a few seconds, the unit will play the music files automatically.
button to turn on the unit. Press the MODE Button repeatedly until the USB indicator or SD indicator turns on. Wait for a few seconds, the unit will play the music files automatically.
Note: USB or SD card sources will be automatically selected when inserted in. - Press
![]() to suspend momentarily the playing track. Press
to suspend momentarily the playing track. Press ![]() again to resume playing.
again to resume playing. - Press
![]() button to skip forward to next track and
button to skip forward to next track and ![]() to skip backward to previous track.
to skip backward to previous track. - Using numeric buttons to your desired track. eg: pressing "1", means track 1. pressing "2"+"0"+"9" means track 209.
Note:
- The unit is compatible with the following Memory Device (Source): USB flash drive, SD, SDHC, MMC.
- Supporting format: MP3 (32kbps-320kbps)
- The total number of MP3 files on the Memory Device should not exceed 999.
- If you can not easily insert the memory card, you may have inserted it incorrectly. Try to turn over the card and then insert again.
- For playing files on USB flash drive or SD/SDHC/MMC card, you should plug in the USB flash drive or SD/SDHC/MMC card when the unit is in standby mode. Turn ON the unit and use MODE button to select USB or SD/SDHC/MMC card mode.
- There are many USB devices in the market. We cannot guarantee to support all different models. Please try another USB device if your device is not supported.
- Some SD/SDHC/MMC card may be incompatible.
LISTENING TO AUXILIARY SOURCE
- Connect your auxiliary source (e.g. iPod / iPad / MP3 player) to the AUX jack (3.5mm ).
- Press the
![]() button to turn on the unit. Press the MODE Button repeatedly until the AUX indicator turns on.
button to turn on the unit. Press the MODE Button repeatedly until the AUX indicator turns on. - Start playback from your auxiliary source.
- Adjust the volume to desired level.
- To stop playback, disconnect your auxiliary source from the AUX jack.
USB CHARGER-A Power USB Port
- Connect your device to USB cable (not included) and plug the standard USB plug into the USB charging port on the top of the unit.
- Power on the unit as previous procedures.
- When finished, disconnect the USB cable from the unit.
NOTES:
- The maximum output from the USB charging port is DC 5V
![]() 2.1A. You can charge any rechargeable USB devices charging current less than it, such as iPod, iPhone, iPad, MP3 Player...etc.
2.1A. You can charge any rechargeable USB devices charging current less than it, such as iPod, iPhone, iPad, MP3 Player...etc. - Charging function is not available in Standby mode.
- Some devices may be incompatible.
BLUETOOTH PAIRING & LINKING OPERATION
The Bluetooth® word mark and logos are registered trademarks owned by Bluetooth SIG, Inc. and any use of such marks by New One S.A.S is under license. Other trademarks and trade names are those of their respective owners.
- Turn off the Bluetooth functionality of other devices that were paired with your unit.
- Press the
![]() button to turn on the unit.
button to turn on the unit. - Press MODE button to select Bluetooth mode, The Bluetooth indicator will turn on. Your unit will be in pairing mode with tone voice.
- Turn on Bluetooth functionality on your Bluetooth device. Typically, Bluetooth controls are found on the device's tools or settings menu (see your user manual). Turn on Bluetooth connectivity and make your device "discoverable".
- Clean out the paring list on your Bluetooth device.
- Choose "add a new Bluetooth device" or "setup Bluetooth device" on your device. It will start to search. Once "M-1250BT" shows on your device, select it. If your device prompts you for a pass code, please enter 0000. If the pairing attempt fails or times out, please start pairing procedure again (see steps 2-6).
- After your device and the "M-1250BT" have connected each other, a tone voice can be heard.
- If the pairing fails, perform the following: Press and hold the
![]() button until the Bluetooth indicator blinks quickly to enter the pairing mode. On the Bluetooth device, enable Bluetooth and select "M-1250BT" from the device List (see step 6 above).
button until the Bluetooth indicator blinks quickly to enter the pairing mode. On the Bluetooth device, enable Bluetooth and select "M-1250BT" from the device List (see step 6 above).
Play MUSIC from Bluetooth devices.
Make sure the Bluetooth connection between the unit and the device is active.
- Press
![]() to suspend momentarily the playing track. Press
to suspend momentarily the playing track. Press ![]() again to resume playing.
again to resume playing. - Press
![]() button to skip forward to next track and
button to skip forward to next track and ![]() to skip backward to previous track.
to skip backward to previous track.
Note:  and buttons may not work with some of the players in your Bluetooth source.
Hereby, NEW ONE S.A.S, declares that this MUSE M-1250 BT/ M-1250 BTW is in compliance with the essential requirements and other relevant provisions of Directive 2014/53/EU. The declaration of conformity may be consulted at www.muse-europe.com
STEREO PAIRING
This function makes it possible for you to get stereo surround sound quality. It requires two Bluetooth speakers M-1250 BT/ M-1250 BTW to realize the real Bluetooth radio channel wireless separation, therefore, you've got to purchase two M-1250 BT/ M-1250 BTW.
Tips: it is suggested that the distance between the main speaker and secondary speaker is within 4 meters.

- Turn on the two Bluetooth speakers M-1250 BT/ M-1250 BTW.
- When both speakers are in pairing mode, press and hold MODE button on one Bluetooth speaker which will become the main speaker (L channel), then it will search and connect to the secondary speaker (R channel). They will recognize the left and right channel automatically.
- Connect your main speaker to Bluetooth enabled device (e.g. smart phone).
- Play your song and listen to the sound in stereo.
- Press
![]() button on either speaker to pause playback. Press again to resume playback.
button on either speaker to pause playback. Press again to resume playback. - Press and hold MODE button on main speaker to disconnect the stereo pairing.
TROUBLESHOOTING GUIDE
| Symptom | Cause | Solution |
No power |
AC adaptor not plugged into wall outlet. | Plug it to the wall outlet properly. |
| The unit is in Standby mode. | Press the button to turn on the unit. |
|
No sound |
Volume in minimum. | Adjust volume to a desired level. |
| The connected device is not in playback mode. | Play the music in the connected device. | |
| Sound output of the connected device weak. (AUX IN & BLUETOOTH mode) | Adjust volume of connected device. | |
Sound distortion |
Volume level too high. | Reduce the volume level by press the VOL- button. |
| Volume level of the connected device too high. (AUX IN & BLUETOOTH mode) | Reduce the volume level of the connected device. | |
Bluetooth reception failure |
Not in the Bluetooth mode. | Try to do connection again. |
- The use of apparatus in moderate climates.
- The Marking plate is located at the back of the device.
- Make sure to have a minimum distance of 5 cm around the unit for sufficient ventilation.
- Ensure that the ventilation openings is not covered with items such as newspapers, tablecloths, curtains, etc.
- Do not place naked flame sources, such as lighted candles on the apparatus.
- Do not expose this appliance to dripping or splashing water.
- Do not place objects filled with liquids, such as glass, vase on the device.
- Do not throw batteries into fire! Respect the environment when disposing of used batteries.
- Batteries should not be exposed to excessive heat such as sunshine, fire or other similar heat source.
- AC adaptor is used as the disconnect device. It shall remain readily operable and should not be obstructed during intended use. To be completely disconnected the apparatus from supply mains, the AC adaptor of the apparatus shall be disconnected from the mains socket outlet completely.
- Under the influence of fast transient and / or electrostatic electric phenomenon, the product may malfunction and the user must perform a power reset of the device.
- The normal function of the product may be disturbed by strong Electro-Magnetic Interference. If so, simply reset the product to resume normal operation by following the instruction manual. In case the function could not resume, please use the product in other location.
SPECIFICATIONS
Power source: DC 16.0V  3.0A
3.0A 
Radio Coverage: FM 87.5 -108.0 MHz
Bluetooth Version: V5.0
Bluetooth: 2.402-2.48GHz
RF Output Power: +4 dBm
Bluetooth working distance: Up to 10 meters measured in open space. (Wall and structures may affect range of device)
Remote working distance: Up to 5 meters, +/- 30 degree.

Documents / Resources
References
Download manual
Here you can download full pdf version of manual, it may contain additional safety instructions, warranty information, FCC rules, etc.
Advertisement


Need help?
Do you have a question about the M-1250 BT and is the answer not in the manual?
Questions and answers