Caseta Wireless Wireless Dimming kit Quick Start Guide
- Quick start manual (4 pages)
Advertisement
Introduction
In order to control your lights from an app or remote, you'll need to replace an existing switch with a CasétaT Wireless in-wall dimmer.
Before you install the dimmer, please watch the installation video at www.casetawireless.com/support
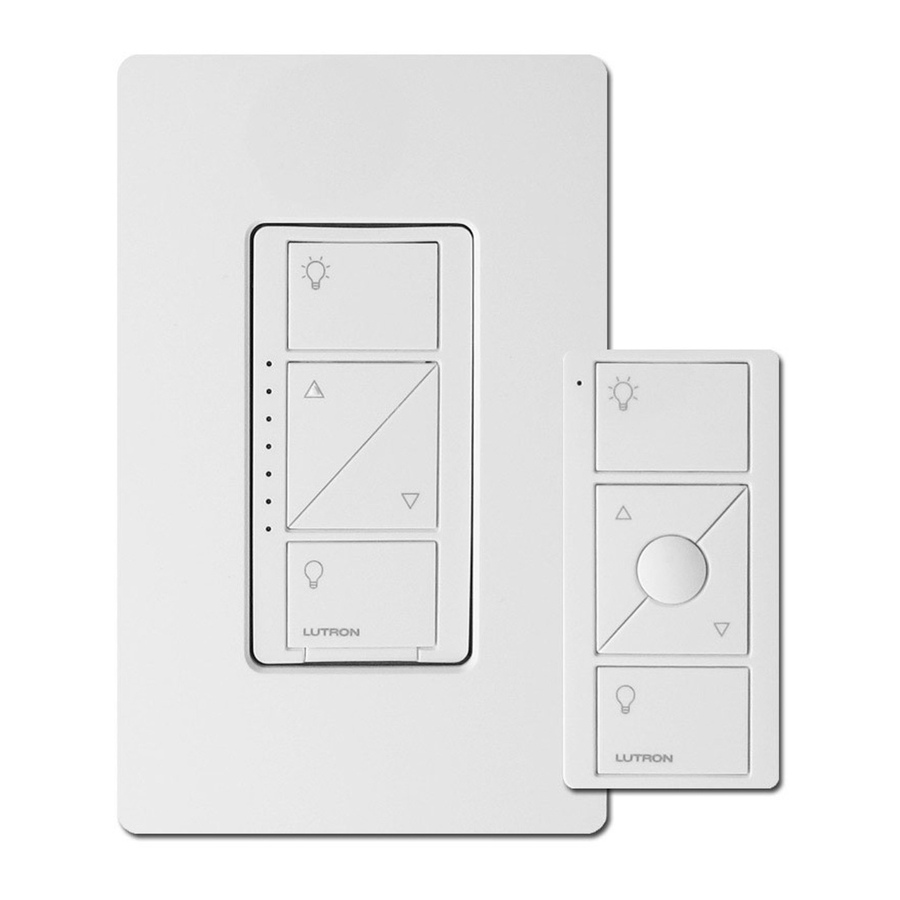
Contents supplied

Tools you'll need

Installing your dimmer
Installation for lights with one wall switch (single-pole)
- Turn power off at circuit breaker!

![]()
SHOCK HAZARD.
May result in serious injury or death. Turn off power at circuit breaker or fuse before installing.


Important note:
Some lights have one wall switch, while others have two or more wall switches (such as stair lights, which have a switch at both the top and bottom of the stairs). We've included instructions for lights with one wall switch (called a single-pole). If your light has more than one switch (called a 3-way), please visit www.casetawireless.com/3way for complete installation instructions and how-to videos.
- Remove existing switch from wall
Remove the wallplate from switch.

Remove the switch and pull it away from the wall.

Disconnect all three wires* from the switch.

* If your switch has more than 3 wires attached, see "Installing CasétaT Wireless in a 3-way switch application" video at www.casetawireless.com/3way - Remove side sections (if necessary)
 Do not remove outside side sections on dimmers at the end of gang.


 Do not remove outside side sections on dimmers at the end of gang.
Important note:
Removing side sections reduces the dimmer's maximum wattage rating. See the chart below for maximum wattage information.
Maximum* wattage derating chart (120 V~ 50/60 Hz)
| Side sections removed | None | 1 side | 2 sides |
| LED & CFL | 150 W | 150 W | 150 W |
| or* | |||
| Incandescent & Halogen | 600 W | 500 W | 400 W |
* For maximum wattage information when mixing light bulb types see www.casetawireless.com/ganging
- Connect the dimmer

- Connect the bare copper (or green) "ground" wire from the wallbox to the green wire on the dimmer using a wire connector.
- Connect either of the remaining wires from the wallbox to either of the remaining wires on the dimmer using a second wire connector.
- Connect the remaining wire from the wall to the remaining wire on the dimmer using a third wire connector.

- Mount the dimmer
Use the screws provided.

- Attach the wallplate
Attach the adapter to the dimmer using the screws provided and snap on the wallplate.

(If you installed the dimmer next to other dimmers or switches, you'll need to install a wallplate with the correct size/number of openings to accommodate all the devices.) - Turn power on at circuit breaker


Using your Caséta Wireless kit
With a smartphone or tablet (Bridge required, sold separately)
The CasétaT Wireless dimmer can be controlled from a smartphone when used with the LutronR Smart BridgeT.
If you are using the dimmer and remote control with the LutronR Smart BridgeT follow the instructions below. 
Note: If you are using the dimmer and remote control with another manufacturer's bridge, please refer to that manufacturer's instructions for set-up
- Download the Lutron ® app
![]()
www.casetawireless.com/LutronApp
![apps.apple.com]()
![play.google.com]()
Apple is a trademark of Apple Inc., registered in the U.S. and other countries. AppStore is a service mark of Apple Inc. - Launch the Lutron ® app

- Use the Lutron app to complete ALL ® remaining steps
![]()
![]()


Without a smartphone or tablet (Bridge not required)
Pairing the dimmer and Pico remote control
- Press and hold "off" button on dimmer

- Press and hold "off" button on remote


Changing the favorite light level on the PicoR remote control (optional)

You can use the round "favorite" button on the PicoR remote control to recall a Favorite favorite light level. We've set it to 50%, but you can change it to any level you like.
- Set desired light level on dimmer

- Press and hold "favorite" button on remote


For advanced features, tips on how to use Caséta Wireless dimmers with CFLs and LEDs, the complete CasétaT Wireless product line, and more, please visit www.casetawireless.com/features
Using your controls


Important notes:
- For indoor use only.
- Operate between 32 ˚F (0 ˚C) and 104 ˚F (40 ˚C).
Device Ratings
In-wall dimmer
PD-6WCL
120 V~ 50/60 Hz
Pico remote control
PJ2-3BRL
3 V 10 mA
10 mA
(1) CR2032 battery (included)
Works with energy efficient dimmable light bulbs:
 LED—up to 150 W
 CFL—up to 150 W
 Halogen—up to 600 W
 Incandescent—up to 600 W
NOTE: You can mix and match dimmable LED and CFLs, as well as halogen and incandescent light bulbs, with Caséta Wireless dimmers.
Dimmable LED and CFL light bulbs vary in their dimming performance. If you're using these bulbs and they flicker or turn off, please visit www.casetawireless.com/lowend for information on adjusting the dimmer for best bulb performance.
For a complete list of compatible dimmable LEDs and CFLs, please visit www.casetawireless.com/bulblist
Compatible light bulbs include:
Cree BA19-08027OMF-12DE26-1U100 CR6-575L
Ecosmart ECS BR30 W27 FL 120 ECS 20 WW FL 50WE 120
Feit A19/OM/LED
Philips 9290002295
Sylvania LED12A19/DIM/O/827 LED21PAR38/DIM/P/930/FL30
Lutron Electronics Co., Inc.
7200 Suter Road
Coopersburg, PA 18036-1299, U.S.A.
Troubleshooting
| Symptoms | Probable cause and action |
| Light does not turn on or in-wall dimmer LEDs do not light up. |
|
| Light does not respond to PicoR remote control. |
|
| Verify bulbs are marked dimmable and visit www.casetawireless.com/lowend for information on adjusting the dimmer for best bulb performance. |
Go to www.casetawireless.com/support for additional troubleshooting suggestions.
Double your warranty
Love CasétaT Wireless dimmers? Have ideas for making them better? Tell us what you think and we'll extend your warranty by 1 year. www.casetawireless.com/register
Go to www.casetawireless.com/support for additional troubleshooting suggestions.
Lutron,  , Claro, and Pico are registered trademarks and FASS, Caséta, and Smart Bridge are trademarks of Lutron Electronics Co., Inc. NEC is a registered trademark of the National Fire Protection Association, Quincy, Massachusetts. Google and the Google logo are registered trademarks of Google Inc., used with permission.
© 2014 Lutron Electronics Co., Inc.

VideosLutron Caseta - Remote & Program New Settings (video)
Documents / Resources
References
![www.casetawireless.com]() Capacity Derating Charts
Capacity Derating Charts![www.casetawireless.com]() Light Bulb Dimmer Compatibility Tool | Lutron
Light Bulb Dimmer Compatibility Tool | Lutron![www.casetawireless.com]() Caseta by Lutron | Smart Light Switches, Controls & Dimmers
Caseta by Lutron | Smart Light Switches, Controls & DimmersApplication Notes | Caséta Wireless | Lutron
Installing Caséta for a light with two switches | Lutron
![apps.apple.com]() App Store - Apple
App Store - Apple![play.google.com]() Google Play
Google PlayApplication Notes | Caséta Wireless | Lutron
![www.casetawireless.com]() http://www.casetawireless.com/lowend
http://www.casetawireless.com/lowend![www.casetawireless.com]() http://www.casetawireless.com/register
http://www.casetawireless.com/register
Download manual
Here you can download full pdf version of manual, it may contain additional safety instructions, warranty information, FCC rules, etc.
Download Caseta Wireless Wireless Dimming kit Quick Start Guide
Advertisement


Need help?
Do you have a question about the Caseta Pico PJ2-3BRL and is the answer not in the manual?
Questions and answers