Advertisement
Quick Links
1100D SERIES WIRELESS RECEIVERS
Installation Guide
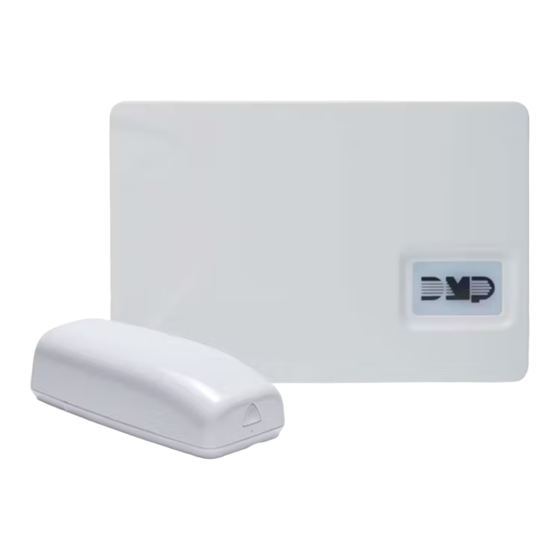
Figure 1: 1100D Wireless Receiver
DESCRIPTION
The 1100D Series Wireless Receiver
provides up to 32 wireless zones for
XT30/XT50 Series panels. The 1100DE
features 128‑bit AES encryption.
The 1100D Series provides Two‑Way,
supervised communication using
900 MHz frequency hopping spread
spectrum technology. The receiver can
be mounted up to 500 feet (152 meters)
from the panel enclosure.
Compatibility
•
XT30 Series panels
•
XT50 Series panels running
firmware Version 102 or higher
•
Encryption requires panel
Version 183 or higher
What is Included?
•
One 1100D Wireless Receiver
•
Hardware Pack
1
PROGRAM THE PANEL
Refer to the panel programming guide as needed.
1.
Reset the panel.
2. At a keypad, enter 6653 (PROG) to access the
PROGRAMMER menu.
3. In SYSTEM OPTIONS, program a HOUSE CODE
between 1 and 50. See House Code Explained
for more information.
4. If you are programming an XT50 Series panel,
select NO at the BUILT IN 1100 WIRELESS
prompt to allow the panel to use the 1100D for
wireless communication.
5. (1100DE only) At the 1100 ENCRYPTION
prompt, select ALL to only add encrypted
wireless devices to the system. Select BOTH
to allow both encyrpted and non‑encrypted
wireless devices to be programmed.
6. (1100DE only) The default passphrase appears
at the ENTER PASSPHRASE prompt. Press
CMD to keep the default. Press any select key
or area to change the passphrase and enter an
8‑character hexidecimal string (0‑9, A‑F).
7.
Press CMD until STOP displays and press
a select key or area to save and exit the
Programmer.
2
MOUNT THE 1100D
Select a Location
When selecting a location to mount the 1100D, keep
in mind that the receiver should be centrally located
between the 1100 Series transmitters used in the
installation and no more than 500 feet (152 meters)
away from the panel. Be sure to mount the receiver
away from large metal objects because it may impair
the receiver's performance. Also, be sure to not use
shielded wire between the panel and receiver. Follow
the directions below to mount the 1100D:
1.
Remove the cover from the plastic housing.
2. Use the included #6 screws to secure the 1100D
to the surface. See Figure 2 for mounting hole
locations.
3
WIRE THE 1100D
1.
Connect the red, yellow, green, and black
wires to the PANEL terminal on the 1100D and
connect the other ends to the 7, 8, 9, and 10
terminals on the panel. See Figure 2.
2. Replace the cover back on to the base. The
panel immediately recognizes the 1100D if the
panel is programmed with a house code.
Advertisement

Related Manuals for DMP Electronics 1100DE Series


Summary of Contents for DMP Electronics 1100DE Series
- Page 1 1100D SERIES WIRELESS RECEIVERS Installation Guide PROGRAM THE PANEL Refer to the panel programming guide as needed. Reset the panel. 2. At a keypad, enter 6653 (PROG) to access the PROGRAMMER menu. 3. In SYSTEM OPTIONS, program a HOUSE CODE between 1 and 50.
- Page 2 XT30/XT50 Series Panel Mounting Holes RJ SUP 1100D Receiver BELL GND RED YEL GRN BLK 11 12 Can be extended Yellow up to 500 feet Green from the panel Black using 22 AWG Figure 2: Wiring the 1100D to the Panel ADDITIONAL INFORMATION 1100D LED Operation INDICATIONS...
- Page 3 Transmitter Supervision Time For listed installations, program the transmitter supervision time in panel zone programming as listed in the following table. Refer to the panel programming guide for complete wireless programming information. SUPERVISION UL STANDARD LISTED ACCESSORIES TIME • 1100R Repeater UL 268 Smoke‑Automatic Fire •...
- Page 4 FCC INFORMATION This device complies with Part 15 of the FCC Rules. Operation is subject to the following two conditions: This device may not cause harmful interference, and this device must accept any interference received, including interference that may cause undesired operation. The antenna used for this transmitter must be installed to provide a separation distance of at least 20 cm (7.874 in.) from all persons.
Need help?
Do you have a question about the 1100DE Series and is the answer not in the manual?
Questions and answers