Advertisement
Table of Contents
This quick installation guide describes how to install and use the hardened compact Ethernet Switch.
-34°C to +74°C, this is the switch of choice for harsh environments constrained by space.
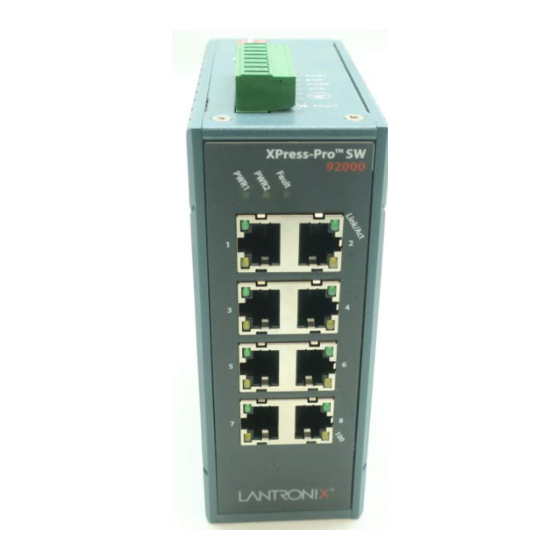
Physical Description
The Terminal Block and Power Inputs
DC Terminal Block Power Inputs: There are two pairs of power inputs can be used to power up this media converter. Redundant power supplies
function is supported. You only need to have one power input connected to run the Switch.
DC JACK Power input: 12VDC.
The 10/100BaseTX and 100BaseFX Connectors
The 10/100BaseTX Connections
The following lists the pinouts of 10/100BaseT/TX ports.
Part Number 900-504a
May 2007
XPress-Pro SW 92000 Quick Start
Capable of operating at temperature extremes of
Pin
Regular Ports
1
Input Receive Data +
2
Input Receive Data -
3
Output Transmit Data +
4
NC
5
NC
6
Output Transmit Data -
7
NC
8
NC
Uplink port
Output Transmit Data +
Output Transmit Data -
Input Receive Data +
NC
NC
Input Receive Data -
NC
NC
1
Advertisement
Table of Contents

Subscribe to Our Youtube Channel
Related Manuals for Lantronix Xpress-Pro SW 92000


Summary of Contents for Lantronix Xpress-Pro SW 92000
-
Page 1: Physical Description
DC Terminal Block Power Inputs: There are two pairs of power inputs can be used to power up this media converter. Redundant power supplies function is supported. You only need to have one power input connected to run the Switch. -
Page 2: Functional Description
Indication POWER Switch is properly connected to power Steady PWR1 and turned on. PWR2 Switch is not connected to power and is (Green) turned off. FAULT 1. Power failure occurred. Steady 2. Port failure occurred (when port fault alarm dip switch is enabled). - Page 3 Assembly, Startup, and Dismantling Assembly: Place the switch on the DIN rail from above using the slot. Push the front of the switch toward the mounting surface until it audibly snaps into place. Startup: Connect the supply voltage to start up the switch via the terminal block (or DC JACK).
Need help?
Do you have a question about the Xpress-Pro SW 92000 and is the answer not in the manual?
Questions and answers