Subscribe to Our Youtube Channel
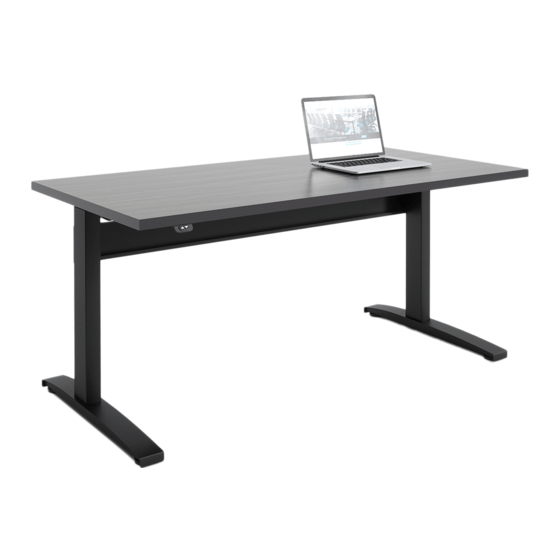
Summary of Contents for RightAngle NewHeight 4 Series
- Page 1 NewHeights™ Series 4 Bonita ET Heavy Duty 2-Leg Workstation Warranty: raproducts.com/warranty Instruction #54549 • Dated: 3/22/2021 1 of 13...
- Page 2 READ ALL INSTRUCTIONS BEFORE USING THIS PRODUCT. USE THIS PRODUCT ONLY AS INSTRUCTED. FAILURE TO COMPLY WITH ALL INSTRUCTIONS AND WARNINGS MAY RESULT IN SERIOUS PROPERTY DAMAGE OR BODILY INJURY. WARNING Basic Safety Instructions Intended Use. This Product is exclusively designed for use as indoor office furniture in compliance with all instructions and safety warnings in the user manual.
-
Page 3: Tools Required For Assembly
Tools Required for Assembly A. Power Driver with Adjustable Torque B. Tape Measure C. #2 Phillips Head Driver Bit D. #2 Square Head Drive Bit (Recommended) Hardware and Tools Included for Assembly (may have extra) E. 5/8” Washer Head Wood Screw x42 1/4”x 5/8”... - Page 4 Step 1 Motor Assembly (V) Lay the worksurface on a protected surface Reference below images for proper with pilot holes facing up. positioning of each motor. LEGS MUST BE IN LOWEST POSITION BEFORE INSTALLING HEX RODS. • Place the left leg column (X) onto the worksurface and align with predrilled pilot holes.
- Page 5 Step 3 Important: Please be aware that 5/8” screws are provided. If your worksurface is 5/8” or thinner, you will need to supply your own hardware. • After hex rod is installed, align motor brackets and corresponding mounting holes on each leg column. •...
- Page 6 Step 5 • Slide cross support (P) over leg cross support brackets. Step 6 • Install bolts and washers (4 sets). Do NOT fully tighten. K&A Manufacturing • 800.298.4351 • www.raproducts.com/install 6 of 13...
- Page 7 Step 7 • Align assembled base with the pre- drilled pilot holes. • Secure the base to the worksurface with washer head wood screws (E). • Do NOT fully tighten until all wood screws are inserted. For proper alignment, first insert screws at the four corners of each leg mounting bracket.
- Page 8 Step 9 • Mount control switch (S) to worksurface using two wood screws (H) • For standard install location, align switch with pre-drilled pilot holes. Upgrade - Programmable Switch Standard Switch NOTE: If you have a 4-button programmable switch, please refer to the installation instructions included with switch.
- Page 9 Step 11 • Install wire management (L) and cord clip (I) to organize the cords and cables with washer head wood screws (E). • Pilot holes are not provided. • See cable mounting diagram on next page for help. Mount the wire management channel (L) with adhesive strips AND two wood screws (E).
-
Page 10: Cable Routing Diagram
Cable Routing Diagram *For tables 48” or smaller, the wire management can be moved. Switch Switch Cable Cord Clip Cable Routing Diagram Control Box Motor Motor Cable Motor Power Cable Motor Use Wire Management Cable Channel to hold extra lengths of cable* Caution: For the safety of the user and the workstation;... -
Page 11: Standard Switch
- To delete the lower container stop press You will hear a musical tone. Troubleshooting: If you are having any problems with the operation, contact RightAngle Products at 800.298.4351 or orders@raproducts.com K&A Manufacturing • 800.298.4351 • www.raproducts.com/install 11 of 13... - Page 12 Optional Programmable Switch (full instructions packaged with switch) Start Up Procedure: • Plug the power cord into a standard 110V receptacle. A power surge protector is recommended. • Press the down arrow until the worksurface reaches its lowest position. • The workstation is ready for use. •...
- Page 13 Mechanical Reset Mode If the table is unresponsive, uneven, or not functioning properly, perform a manual reset. User settings are not reset in this process. There are three methods to reset a workstation: Reset Method A 1. Clear all obstructions from the travel path of the workstation 2.


Need help?
Do you have a question about the NewHeight 4 Series and is the answer not in the manual?
Questions and answers