
Subscribe to Our Youtube Channel
Related Manuals for Teknik Clifton Place 5421116


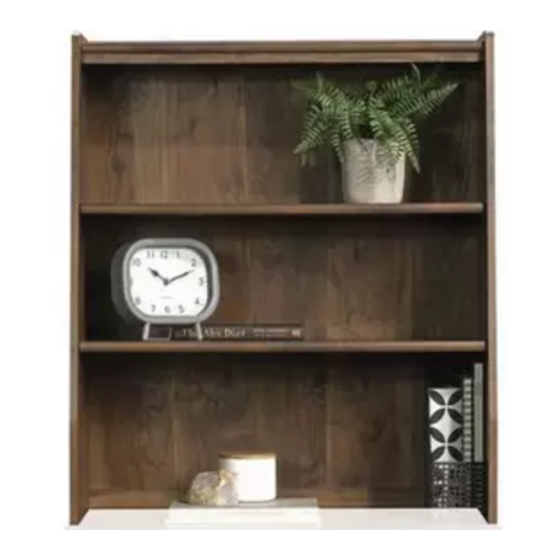
Summary of Contents for Teknik Clifton Place 5421116
- Page 1 Teknik www.teknikoffice.co.uk For thin s 'n such. Hutch Clifton Place Collection | Model 5421116 NOTE: THIS INSTRUCTION BOOKLET CONTAINS IMPORTANT SAFETY INFORMATION. PLEASE READ AND KEEP FOR FUTURE REFERENCE.
- Page 2 Table of Contents Assembly Tools Required Part Identifi cation No. 2 Phillips Screwdriver Tip Shown Actual Size Hardware Identifi cation Assembly Steps 5-14 Hammer Not actual size Français 15-17 Español 18-20 Electric drill with 1/4" bit (ONLY in indicated step) Safety 21-22 Warranty...
-
Page 3: Part Identification
Now you know Part Identifi cation our ABCs. å While not all parts are labeled, some of the parts will have a label or an inked letter on the ed e to help distin uish similar parts from each other. Use this part identifi cation to help identify similar parts. RIGHT END (1) LEFT END (1) TOP (1) -
Page 4: Hardware Identification
Hardware Identifi cation å Screws are shown actual size. You may receive extra hardware with your unit. CAM SCREW - 4 WOOD DOWEL - 4 HIDDEN CAM - 4 SHORT WOOD METAL PIN - 8 RUBBER SLEEVE - 8 BACK CONNECTOR - 6 DOWEL - 4 APPLIQUE CARD - 1 BRACKET - 2... - Page 5 Step 1 Assemble your unit on a carpeted fl oor or on the empty å carton to avoid scratchin your unit or the fl oor. Insert four HIDDEN CAMS (1) into the TOP (C). å Arrow (4 used) The arrow in the HIDDEN CAM must point toward the hole in the ed e of the board.
- Page 6 Step 2 Insert four WOOD DOWELS (3) into the ENDS (A and B). å Turn four CAM SCREWS (2) into the ENDS (A and B). å Insert four SHORT WOOD DOWELS (4) into the MOLDINGS (E). å Pa e 6...
- Page 7 Step 3 Fasten the MOLDINGS (E) to the TOP (C). Use six BLACK å 1-1/8" FLAT HEAD SCREWS (11). Remember: Ri hty ti hty. NOTE: Be sure the SHORT WOOD DOWELS in the å Lefty loosey. MOLDINGS insert into the TOP. BLACK 1-1/8"...
- Page 8 Step 4 Fasten the TOP (C) to the LEFT END (B). Ti hten two å HIDDEN CAMS. NOTE: Be sure the WOOD DOWEL in the LEFT END å inserts into the TOP. Unfold the BACK (H) and slide the BACK into the rooves å...
- Page 9 Step 5 Place the BRACE (D) onto the WOOD DOWEL in the LEFT END (B). å NOTE: Be sure the BACK inserts into the roove in the BRACE. å Fasten RIGHT END (A) to the TOP (C). Ti hten two HIDDEN CAMS. å...
- Page 10 Step Step 6 Carefully turn your unit over onto its front ed es. å Caution Fasten the ENDS (A and B) to the BRACE (D). Use two BLACK å Do not stand the unit upri ht without the 1-1/2" FLAT HEAD SCREWS (10). BACK fastened.
- Page 11 Step Step 7 Carefully turn the Hutch over onto its back. å If you are fastenin the Hutch to the 421114, Lateral File, you will need to complete Steps 1-18 in the 421114 å book before fastenin the Hutch to the Lateral File Top. If you are fastenin the Hutch to the 421115, Library Base, you will need to complete Steps 1-10 in the 421115 å...
- Page 12 Step Step 8 With someone's help, fasten the Library Base Top to the å Library Base Assembly. Ti hten six HIDDEN CAMS. NOTE: Be sure the WOOD DOWELS in the Library Base Top å insert into the Library Base. NOTE: If needed, follow the 421114 or 421115 instruction book å...
- Page 13 Step Step 9 Finish fastenin the Hutch to the Library Base. Use two å BRACKETS (9) and ei ht BLACK 1" PAN HEAD SCREWS (12). BLACK 1" PAN HEAD SCREW (8 used in this step) Pa e 13...
- Page 14 Step Step 10 We recommend usin the FURNITURE TIPPING RESTRAINT KIT (99) for added stability. Fasten a bracket to the back å ed e of the TOP (C) usin the 5/8" screw as shown. Place your unit in its fi nal location a ainst a wall. å...
- Page 15 WARNING Please use your furniture correctly and safely. Improper use can cause safety hazards, or dama e to your furniture or household items. Carefully read the following chart. Look out for: What can happen: How to avoid the problem: • Overloaded shelves. •...
Need help?
Do you have a question about the Clifton Place 5421116 and is the answer not in the manual?
Questions and answers