Advertisement
Quick Links
Owner's Manual
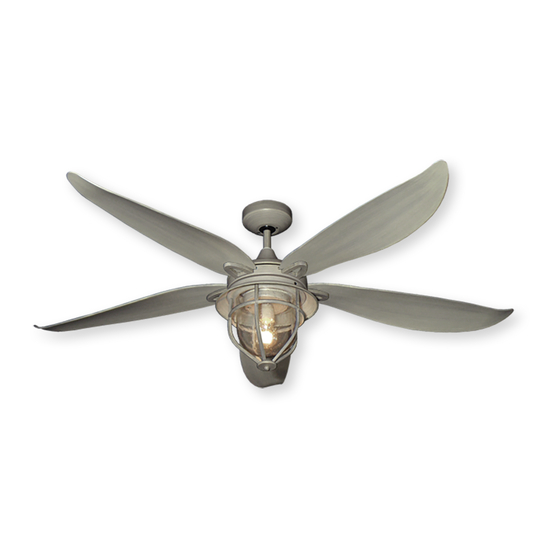
St. Augustine
These instructions contain 4 pages:
Page 1: Foreword
Page 2: Unpack and inspect parts contained, and pre-installation notes
Page 3: Light /Cover Installation
Page 4: Hanging system installation
Page 5: Wiring connections, Canopy and Blade installation and Remote Setting
Toll Free 1-855-676-7247
WARNING: Read and follow these instructions carefully and be mindful of all warnings shown throughout.
Model No:
59DFG-L
HS-1233-F
Net Weight
8.46 KGS
18.6 LBS
Advertisement

Related Manuals for TroposAir 59DFG-L


Summary of Contents for TroposAir 59DFG-L
- Page 1 Owner’s Manual St. Augustine Model No: 59DFG-L HS-1233-F These instructions contain 4 pages: Page 1: Foreword Page 2: Unpack and inspect parts contained, and pre-installation notes Page 3: Light /Cover Installation Page 4: Hanging system installation Page 5: Wiring connections, Canopy and Blade installation and Remote Setting Net Weight 8.46 KGS...
- Page 2 READ AND SAVE THESE INSTRUCTIONS WARNING : TO REDUCE THE RISK OF FIRE, ELECTRICAL SHOCK, OR INJURY TO PERSONS, PLEASE OBSERVE THE FOLLOWING: To ensure success of installation, be sure read these instructions and review the diagrams thoroughly before beginning. To avoid possible electric shock, be sure electricity is turned off at the main power box before wiring.
- Page 3 Unpack and inspect fan carefully to be certain all contents are included. Hardware Bag Mounting Bracket For Mounting Bracket: Flat Washer x2 Star Washer x2 Downrod Spring Washer x2 Assembly Machine Screw x2 Wood Screw x2 For Wire Connection Canopy Wire Nut x3 For Blade Installation Yoke...
- Page 4 1. LIGHT/COVER INSTALLATION Hint: Lay the motor assembly on the styrofoam packing with the light wires up, 1A. Installing the Light Pan Install Screw and tighten Note: Three screws are pre-installed on motor assembly for light Rotate Light pan installation. You will need to remove one and loosen two of these screws.
- Page 5 2. HANGING SYSTEM INSTALLATION 2A. Installing mounting bracket to ceiling outlet box Install mounting bracket to outlet box in ceiling Outlet Box by using screws included with the outlet box and washers from the hardware bag. Mounting Bracket 2B. Installing Downrod and Yoke Remove cross pin, washer and cotter pin from downrod.
- Page 6 3. WIRING CONNECTION 3A. Insert receiver into mounting bracket Receiver Note: Do not squeeze all the wires while inserting the receiver into the mounting bracket. Mounting Bracket 3B. Making electrical wire connections Follow separate instructions enclosed with the remote control. 4.
Need help?
Do you have a question about the 59DFG-L and is the answer not in the manual?
Questions and answers