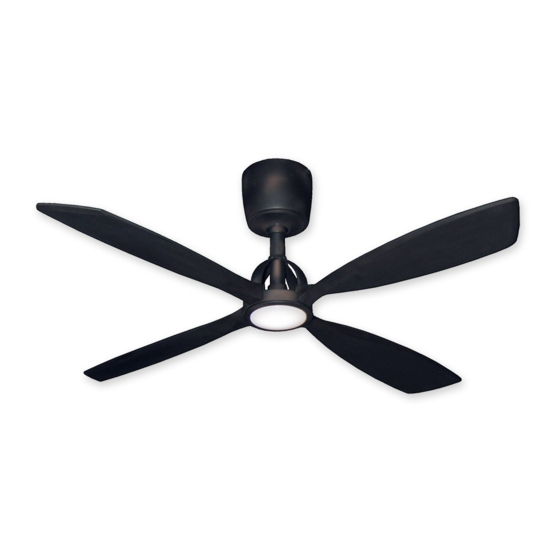
Table of Contents
Advertisement
Quick Links
Owner's Manual
Ninja
These instructions contain 5 pages:
Page 1: Foreword
Page 2: Unpack and inspect parts contained, and Hanging system installation
Page 3: Wire connections
Page 4: Mounting Motor Assembly and Canopy installation
Page 5: Blade and Light installation, and Remote setting
Toll Free 1-855-676-7247
WARNING: Read and follow these instructions carefully and be mindful of all warnings shown throughout.
Model No:
56DFJF-L
HS-1276-B
Net Weight
7.88 KGS
17.4 LBS
Advertisement
Table of Contents

Summary of Contents for TroposAir Ninja
- Page 1 Owner’s Manual Ninja Model No: 56DFJF-L HS-1276-B These instructions contain 5 pages: Page 1: Foreword Page 2: Unpack and inspect parts contained, and Hanging system installation Page 3: Wire connections Page 4: Mounting Motor Assembly and Canopy installation Page 5: Blade and Light installation, and Remote setting Net Weight 7.88 KGS...
- Page 2 READ AND SAVE THESE INSTRUCTIONS WARNING : TO REDUCE THE RISK OF FIRE, ELECTRICAL SHOCK, OR INJURY TO PERSONS, PLEASE OBSERVE THE FOLLOWING: To ensure success of installation, be sure read these instructions and review the diagrams thoroughly before beginning. To avoid possible electric shock, be sure electricity is turned off at the main power box before wiring.
- Page 3 Unpack and inspect fan carefully to be certain all contents are included. Hardware Bag Mounting Bracket For Mounting Bracket: Flat Washer x6 Star Washer x2 Blade x4 Spring Washer x6 Machine Screw x2 Wood Screw x4 Motor Assembly For Wire Connection Wire Nut x3 For Mounting Motor Allen wrench x1...
- Page 4 2. WIRING CONNECTIONS Hook Cable into Mounting Bracket 2A. Hanging the fan for wiring Note: Three flange screws are pre-installed on mounting pan Mounting for mounting the motor assembly. You will need to remove Bracket these screws to hang motor assembly for wiring. Lift fan assembly to the mounting bracket, and hook cable into slot in the mounting bracket to hold motor in place temporarily while making...
- Page 5 3. MOUNTING MOTOR ASSEMBLY 3. Mounting the motor assembly Arrange wires and connectors carefully into mounting pan. Flatten out the wires coming out of center nut Tip: Bundle the wire group with a rubber band or twist tie. Do not let wires get pinched while securing the motor. Align three flanges with the three openings in mounting bracket and lift motor assembly into place.
- Page 6 5. BLADE INSTALLATION 5. Installing the blades Blade Screws (3) Slide blade onto blade arm so that screw holes are facing upwards. Secure with blade screws, starting with one of the innermost holes to best align the other holes. Blade Repeat for remaining blades.


Need help?
Do you have a question about the Ninja and is the answer not in the manual?
Questions and answers