
Related Manuals for Vent-Axia Lo-Carbon Calido


Summary of Contents for Vent-Axia Lo-Carbon Calido
- Page 1 Lo-Carbon Calido MVHR Unit Installation & Operation Instructions Stock Ref. N° 411133 ...
-
Page 2: Important Information
Important information: - According to the standard EN 60335, the following shall be considered. This appliance can be used by children aged from 8 years, and persons with reduced physical, sensory or mental capabilities, or lack of experience and knowledge if they have been given supervision or instruction concerning use of the appliance in a safety way and understand the hazards involved. -
Page 3: Table Of Contents
Environment Contents Thank you for purchasing the Vent-Axia Lo-Carbon Calido. Please read this manual carefully to understand how to use this product correctly to achieve the best possible effect. Keep this manual in a safe place for future reference. -
Page 4: Safety Instructions For Users
Safety instructions for users Safety instructions for the installer. The symbols mean: Do not Make sure that you do this Do not disassemble Indicates fatal risks or risks of serious injury. WARNING - According to the standard EN 60335, the following shall be considered. This appliance can be used by children aged from 8 years, and persons with reduced physical, sensory or mental capabilities, or lack of experience and knowledge if they have been given supervision or instruction concerning use of the appliance in a safety way and understand the hazards involved. -
Page 5: Name Of Each Parts
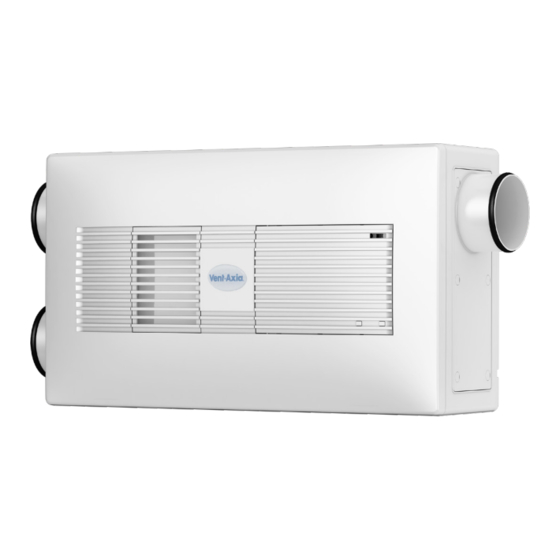
Name of each parts The figure below shows Calido, for example. (Supply air) (Outside air) (Exhaust air) RA (Return air) Important parts: 1: Heat recovery ventilation unit 2: Outdoor air Filter (OA filter) 3: Return air Filter (RA filter) 4: Front panel 5: Remote Control (optional on request) ... - Page 6 Name of each parts Control panel & Remote Control (optional on request) Calido [10] [11] [2]([13]) [5] [12] [4] [13] [3] ([12]) - When the unit is in standby, you cannot use settings. - Settings with remote control (optional on request) and control panel can be used after the unit is started with button 4.
-
Page 7: How To Use
How to use How to use Calido. Turn on/off the main power switch. [1] Press the edge of the grille to open. [2] Pull the lever sideways to unlock the front panel [3] Remove the front panel down to release it. [4] Turn on the main switch. - Page 8 How to use Speed control - Main unit Push to change the flow into 20, 40 or 60m³/h High - Remote Control (optional on request) Select, Low Mid High Humidity control - Main unit Push to change the moisture sensitivity (9 steps, 40-88%) Settings NOTE: - Calido is factory set to start at a moisture level of 88%.
- Page 9 How to use Mode control - Remote control (optional on request) - Main unit Calido Press choice of Mode location. Summer Summer Normal Summer Comfort Function: Normal, Eco or Comfort 5°C 18°C Outside air Supply air 21°C 7°C Return air ...
- Page 10 How to use Filter Maintenance The light for filter maintenance lights up when selected period listed, (default 180 days). Change the air filter according to the instructions, see page 12. Replacement Filters Ref:‐ 411158 Once changed, reset signal for filter control by pressing the filter button. Push Depending on how quickly the filters become clogged there are four different service intervals to choose from.
- Page 11 How to use Balancing the airflow. Auto-Balancing is performed after the installation of Calido is complete. Starting the auto-balancing: - Balanced control of the air flow rates (low, moderate, high) is achieved by auto balancing the unit. The fan runs at maximum speed for 60 min. to stabilise the temperature.
-
Page 12: Maintenance
Maintenance Cleaning front panel Wipe the front panel and the frame with a damp cloth. NOTE: Do not use solvents. Replacement air filter Ref:-411158 Proceed as follows to replace the two air filters: Outside air filter OA and Return air filter RA. Start by turning off the main switch. -
Page 13: Safety Instructions For The Installer
Safety instructions for the installer Safety instructions for the installer The following instructions should be strictly observed in order to prevent injury to the users and other people, or damage to property. The symbols mean: Do not Make sure that you do this Do not disassemble Indicates fatal risks or risks of serious injury WARNING... -
Page 14: Dimension And Installation
Dimension / Installation Dimension: Calido 85 Parts included in delivery: Screws for mounting the main unit 4pcs Screws for mounting plate Screws for the SA adapters Screw cap, SA adapters Screw SA duct Mounting plate Wall Seal A Wall Seal B Drilling Template Long bit 200mm PH2... - Page 15 Installation [3] Fix the mounting plate on the ceiling with six screws. [4] Drill two small holes in the inner wall marked on the drilling template. [5] Drill a hole through the wall with a long narrow drill. (be sure to drill straight) [6] Then use the template holes on the outside of the wall to mark the second hole position.
- Page 16 Installation [8] Insert included wall seal A and wall seal B on OA/EA side of the fan to prevent air leakage. The external wall grille described below is an optional accessory for Calido. Stock Ref 411163 [9] Seal between the frame (C) and the outside of the wall so no ventilation air can enter between the wall and the frame.
- Page 17 Installation [13] The supply connection cable must it pre-installed before the Calido is put into place. A: Pull the lever sideways to unlock the front panel B: Remove the front panel to release it. C: Remove the two screws holding the terminal box cover. [13] [14] The back of the unit is prepared with cable channels for cable.
- Page 18 Installation [16] Fix the unit with four screws in [17] Install the duct to the SA adapter and fix the mounting plate. Use the the duct and adapter with supplied screw. long bit 200mm PH2 that’s included. Use the duct more than 1.5m.
- Page 19 Installation Instructions for optional assembly of return air adapter Stock Ref:411164 Mounting kit. [20] Important: Relieve the weight of the pipes so that the front cover cannot come loose from its brackets, which results in leakage. [22] When using exhaust air adapter, access to service and filter replacement must be provided.
-
Page 20: Specifications
Model Name Lo-Carbon Calido Ref Number 411133 Standard with pre heater Model type Voltage / Frequency [V] [Hz] 230VAC 50Hz Free blowing capacity [m³/h] 90 * Power consumption 14,4 21,7 When the heater is on < 375 < 375 ... - Page 21 ...
- Page 22 ...
- Page 23 ...
-
Page 24: Warranty
Fax: 01293 565169 TECHNICAL SUPPORT: Tel: 0344 8560594 Fax: 01293 532814 As part of the policy of continuous product improvement Vent-Axia reserves the right to alter specifications without notice. EU Authorised Representative: Vent-Axia Bedrijvenweg 17 7442 CX Nijverdal Nederland authorisedrep@vent-axia.nl 411137 A 1022 The Vent‐Axia Guarantee ...
Need help?
Do you have a question about the Lo-Carbon Calido and is the answer not in the manual?
Questions and answers