
Related Manuals for Vent-Axia Centra Series


Summary of Contents for Vent-Axia Centra Series
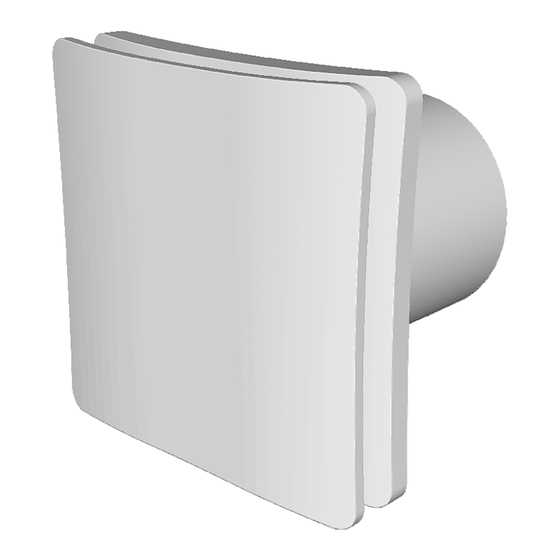
- Page 1 Centra CONTINUOUS EXTRACT FAN Installation and Wiring Instructions Stock Ref. N° 44 17 82 B 220-240V~50Hz IPX4 PLEASE READ INSTRUCTIONS IN CONJUNCTION WITH ILLUSTRATIONS. PLEASE SAVE THESE INSTRUCTIONS.
- Page 2 C. Ensure that the mains supply (Voltage, Frequency, and Phase) complies with the rating label. D. The Fan should only be used in conjunction with the appropriate Vent-Axia products. E. The fan should only be used in conjunction with fixed wiring.
- Page 3 A. INSTALLATION IMPORTANT: The fan should only be used in conjunction with fixed wiring. PANEL/CEILING MOUNTING For panel/ceiling mounting the fan should be installed into a closed duct system of at least 1.2m long or protected by an exterior air grille that must comply with the standard requirements of your country to prevent access to the fans impeller.
- Page 4 C. SETUP WARNING: THE FAN AND ANCILLARY CONTROL EQUIPMENT MUST BE ISOLATED FROM THE POWER SUPPLY DURING THE INSTALLATION / OR MAINTENANCE. Accessing the control settings – (Fig. 4 and 5) Loosen the screw in the bottom of the grille and remove the front grille. Carefully pull the inner cap from the centre of the fan away from the chassis.
- Page 5 Fig.1 Continuous trickle (6l/s or 9l/s) with no boost facility Fig.2 Continuous boost (15l/s) with no trickle facility Fig.3 Continuous trickle with boost facility Fig.4. Removing the grille for wiring and setting the controls 1. Loosen screw. 2. Pull grille slightly away from 3.
- Page 6 Fig.5. Accessing the control settings Fig.6. Removing the front grille panel for cleaning. Fig.7. Speed Selection Fig.8. Airflow detection system SW1 Dip switch JUMPER IMPORTANT: DO NOT CHANGE DIP SWITCH 2. LEAVE IN OFF POSITION Off (factory set) 9l/s = Remove Jumper Connector 6l/s = Replace Jumper Connector (factory set) Auto sensing mode = Push switch (SW1)
- Page 7 PRODUCT FICHE For Residential Ventilation Units (Complying Commission Delegated Regulation (EU) No 1254/2014 Name: Vent‐Axia Lo‐Carbon Centra Model ID (Stock Ref.) : dMEV ‐ 441782 SEC Class C SEC Value ('Average') 26.23 SEC Value ('Warm') 11.86 SEC Value ('Cold') 51.31 Label Required? (Yes/No=Out of scope) No Declared as: RVU or NRVU/UVU or BVU RVU‐UVU Speed Drive 2‐Speed Type HRS (Recuperative, Regenerative, None) None Thermal Eff: [ (%), NA(if none)] N/A Max. Flow Rate (m3/h) 54.00 Max. Power Input (W): (@Max.Flow Rate) 2.40 LWA: Sound Power Level (dB) ...
- Page 8 Vent-Axia guarantees its products for two years from date of purchase against faulty material or workmanship. In the event of any part being found to be defective, the product will be repaired, or at the Company’s option replaced, without charge, provided that the product:- ...
Need help?
Do you have a question about the Centra Series and is the answer not in the manual?
Questions and answers