Advertisement
INSTRUCTIONS
X17™ XFU 3-WAY FIELD-ADJUSTABLE
FLOODLIGHT INSTALLATION
RAB Lighting is committed to creating high-quality, affordable, well-designed and energy-efficient LED lighting and controls that make it easy for electricians to install
and end users to save energy. We'd love to hear your comments. Please call the Marketing Department at 888-RAB-1000 or email: marketing@rablighting.com
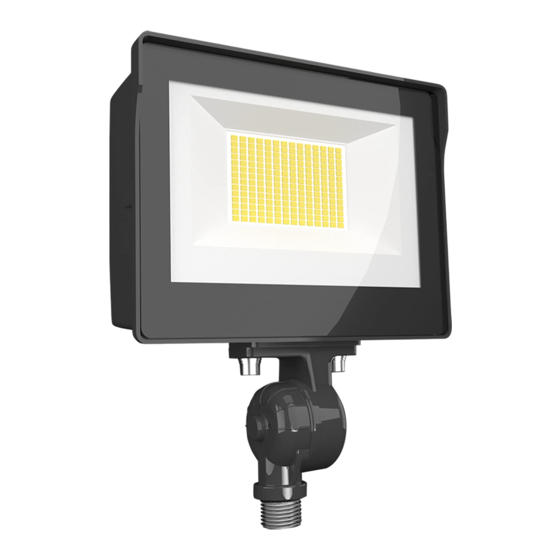
X17 XFU 60/50/30W Knuckle
IMPORTANT
READ CAREFULLY BEFORE INSTALLING FIXTURE. RETAIN THESE INSTRUCTIONS FOR FUTURE REFERENCE.
RAB fixtures must be wired in accordance with the National Electrical Code and all applicable local codes. Proper grounding is
required for safety. THIS PRODUCT MUST BE INSTALLED IN ACCORDANCE WITH THE APPLICABLE INSTALLATION CODE BY A PERSON
FAMILIAR WITH THE CONSTRUCTION AND OPERATION OF THE PRODUCT AND THE HAZARDS INVOLVED.
WARNING: Make certain power is OFF before installing or maintaining fixture. No user serviceable parts inside.
WARNING: Do not use an electric generator to test LED fixtures.
WARNING: Min 75°C SUPPLY CONDUCTORS.
KNUCKLE MOUNT
To ensure weatherproof seal, apply weatherproof silicone sealant
around the edge of the junction box (not supplied). This is especially
important with an uneven wall surface.
1. Secure the fixture to a 1/2" NPS hole in the junction box or
landscape post as shown in Fig. 1. Seal arm thread using
Teflon® tape or silicone sealant.
2. Make appropriate wire connections per NEC in an approved
enclosure (not included) see Fig. 7.
3. The Knuckle Arm allows 180° of vertical aiming adjustment
depending on the mounting position as shown in Fig. 2.
Fig: 1
TRUNNION MOUNT
To adjust the angle of the Fixture using the Trunnion (Fig. 4):
1. Loosen the Pivot Bolts and Angle Locking Screws.
2. Make appropriate wire connections per NEC in an approved
enclosure (not included) see Fig. 7.
3. Adjust fixture to desired angle.
4. Tighten Pivot Bolts and Angle Locking Screw.
X17 XFU 60/50/30W Trunnion
Pole
Knuckle Arm
Fig: 2
X17 XFU 60/50/30W Slipfitter
SLIPFITTER MOUNT
1. Place the Slipfitter over the Tenon and secure the Fixture with
the Locking Bolts (4) on the side of the Slipfitter as shown in
Fig. 3.
2. Make appropriate wire connections per NEC in an approved
enclosure (not included) see Fig. 7.
3. Loosen the Locking Bolts (4) and swivel Fixture to desired angle.
4. Tighten the Locking Bolts (4).
Fixture
Slipfitter Mount
Fig: 3
Fig: 4
Angle Locking Screw
Pivot Bolt
Locking Bolt (4)
Tennon
Wire
Advertisement
Table of Contents

Related Manuals for RAB X17 XFU 60W


Summary of Contents for RAB X17 XFU 60W
- Page 1 FLOODLIGHT INSTALLATION RAB Lighting is committed to creating high-quality, affordable, well-designed and energy-efficient LED lighting and controls that make it easy for electricians to install and end users to save energy. We’d love to hear your comments. Please call the Marketing Department at 888-RAB-1000 or email: marketing@rablighting.com...
- Page 2 FLOODLIGHT INSTALLATION RAB Lighting is committed to creating high-quality, affordable, well-designed and energy-efficient LED lighting and controls that make it easy for electricians to install and end users to save energy. We’d love to hear your comments. Please call the Marketing Department at 888-RAB-1000 or email: marketing@rablighting.com...
Need help?
Do you have a question about the X17 XFU 60W and is the answer not in the manual?
Questions and answers