Advertisement
Quick Links
INSTRUCTIONS
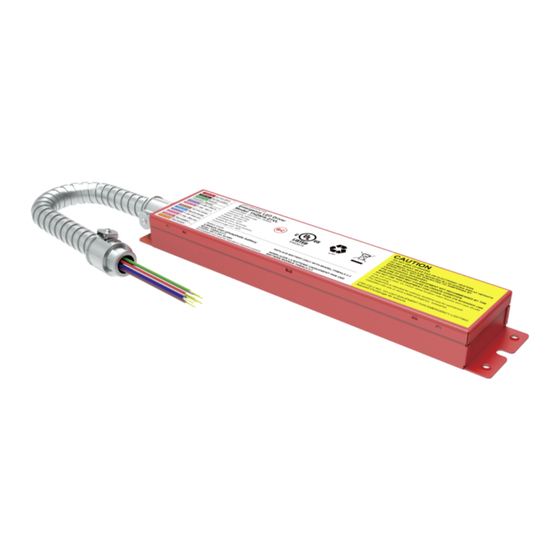
EMERGENCY DRIVER
and end users to save energy. We'd love to hear your comments. Please call the Marketing Department at 888-RAB-1000 or email: marketing@rablighting.com
DRI-21-EMGR-DC-D10
M I PORTANT
READ
CAREFULLY BEFORE INSTALLING FIXTURE. R TAIN THESE INSTRUCTIONS FOR FUTURE REFERENCE.
required for safety. THIS PRODUCT MUST BE INSTALLED IN ACCORDANCE WITH THE APPLICABLE INSTALLATION CODE BY A PERSON
FAMILIAR WITH THE CONSTRUCTION AND OPERATION OF THE PRODUCT AND THE HAZARDS INVOLVED.
WARNING:
AC power must be o before proceeding with assembly or installation of emergency driver.
CAUTION: DO NOT USE OUTDOORS.
CAUTION: DO NOT MOUNT NEAR GAS OR ELECTRONIC HEATERS.
CAUTION: EQUIPMENT SHOULD BE MOUNTED IN LOCATIONS AND AT HEIGHTS WHERE IT WILL NOT BE SUBJECTED TO TAMPERING BY
UNAUTHORIZED PERSONNEL.
CAUTION: THE USE OF ACCESSORY EQUIPMENT NOT RECOMMENDED BY THE MANUFACTURER MAY CAUSE AN UNSAFE CONDITION.
CAUTION: DO NOT USE THIS EQUIPMENT FOR OTHER THAN ITS INTENDED USE.
CAUTION: Use with grounded, UL Listed, damp location rated xtures and case should be grounded.
CAUTION: The equipment is intended for ordinary locations and for permanent installation into one or more listed emergency luminaires.
IMPORTANT: The products are produced with built-in batteries, which could be stocked for one year at most without being used.
If clients keep them for more than one year, the batteries may be damaged. This is not covered in the warranty.
NOTE: 1. Install this product properly by "licensed electrician".
2. Damp location installation is OK.
3. Keep away from ammable materials in an area with good heat dissipation.
4. Charge the battery consistently for >24 hours for the rst time usage to activate the whole battery cells of
discharging/charging duration.
OPTIONAL ACCESSORIES
The T-BAR mounting bracket is sold separately as an optional
accessory kit (BRACKET/TG/DRI). Call our experts at 888
722-1000 for more information.
E
MOUNTING METHOD
Mounting method 1
With T-BAR mounting bracket (Fig. 1)
Advertisement

Subscribe to Our Youtube Channel
Related Manuals for RAB DRI-21-EMGR-DC-D10


Summary of Contents for RAB DRI-21-EMGR-DC-D10
- Page 1 INSTRUCTIONS EMERGENCY DRIVER and end users to save energy. We’d love to hear your comments. Please call the Marketing Department at 888-RAB-1000 or email: marketing@rablighting.com DRI-21-EMGR-DC-D10 M I PORTANT READ CAREFULLY BEFORE INSTALLING FIXTURE. R TAIN THESE INSTRUCTIONS FOR FUTURE REFERENCE.
- Page 2 INSTRUCTIONS EMERGENCY DRIVER and end users to save energy. We’d love to hear your comments. Please call the Marketing Department at 888-RAB-1000 or email: marketing@rablighting.com MOUNTING METHOD (cont’d) FAILURE MODE 0.5 second fast ashing-represents failure mode (No battery or Mounting method 2 open circuit in emergency mode or LED load wattage is higher than With Straps (Fig.
- Page 3 INSTRUCTIONS EMERGENCY DRIVER and end users to save energy. We’d love to hear your comments. Please call the Marketing Department at 888-RAB-1000 or email: marketing@rablighting.com Dimensions 13” 330mm 12 3/8” 315mm Wiring Diagram Easy Answers rablighting.com Tech Help Line e-mail Free Lighting Layouts ©...
Need help?
Do you have a question about the DRI-21-EMGR-DC-D10 and is the answer not in the manual?
Questions and answers