Table of Contents
Advertisement
Quick Links
INSTRUCTIONS
SHARK® INSTALLATION
RAB Lighting is committed to creating high-quality, affordable, well-designed and energy-efficient LED lighting and controls that make it easy for electricians to install
and end users to save energy. We'd love to hear your comments. Please call the Marketing Department at 888-RAB-1000 or email: marketing@rablighting.com
READ CAREFULLY BEFORE INSTALLING FIXTURE. RETAIN THESE INSTRUCTIONS FOR FUTURE REFERENCE.
RAB fixtures must be wired in accordance with the National Electrical Code and all applicable local codes. Proper grounding
is required for safety. THIS PRODUCT MUST BE INSTALLED IN ACCORDANCE WITH THE APPLICABLE INSTALLATION CODE BY A
PERSON FAMILIAR WITH THE CONSTRUCTION AND OPERATION OF THE PRODUCT AND THE HAZARDS INVOLVED.
WARNING: Make certain power is OFF before installing or maintaining fixture. No user serviceable parts inside.
CAUTION: For proper weatherproof function all gaskets must be seated properly and all screws inserted and tightened
firmly. Apply weatherproof silicone sealant around the edge of the ceiling mounting box and/or junction box. This is
especially important with an uneven ceiling surface. Silicone all plugs and unused conduit entries.
SURFACE MOUNTING
The fixture is suitable for outdoor applications in wet locations
either ceiling or wall mounted.
1. Use appropriate mounting screws (not supplied) to secure the
Surface Mounting Brackets (4 included) to Mounting Surface.
WARNING: Mount Surface Mouting Brackets (4) farther away
from each other and symmetrical about the center as shown
in Fig. 1. Surface Mounting Brackets(4) must be aligned with
each other to secure Housing.
2. Electrical splices can be easily made using 6ft Cord attached to
one end of the Housing. In order to use an alternate Conduit
Plug entry point, follow steps below.
3. Unlatch the Lens and Tray Assembly from Housing. Tether
Cables will prevent Lens and Tray Assembly from falling down
as shown in Fig. 1.
4. Feed supply wires through one of the Conduit Plugs (8) to
make electrical splices. Cord-grips (4) are provided and can be
used based on the application.
5. Secure Lens and Tray Assembly to Housing by Latch. Be careful
not to pinch wires. Check that the Gasket is fully seated.
6. Use appropriate UL approved wire connectors as required by
code to complete connection with supply wires. Be careful not
to pinch wires.
WARNING: To prevent wiring damage or abrasion, do not
expose wiring to edges of sharp objects.
7. Snap Housing on Surface Mounting Brackets (4) as shown in
Fig. 2. Ensure that the Housing is secure to Surface Mouting
Brackets.
8. Use Silicone or teflon tape on all Conduit Plugs (8) and on the
threads of all conduit entry points. If outdoor surface is irregular,
use caulk to seal any gaps around the Housing.
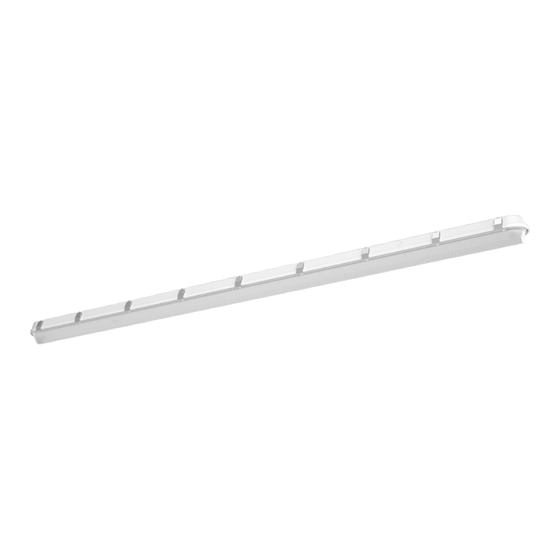
SHARK - 8FT
Fig: 1
Fig: 2
Mounting Surface
Surface Mounting Bracket (4)
82
"
(2084mm)
17.8"
(453mm)
Latch
Gasket
Conduit Plug (8)
Lens and Tray
Assembly
6ft Cord
Housing
Tether
Cable
Lens and Tray
Assembly
Surface Mouting
Bracket
Latch
Advertisement
Table of Contents
Troubleshooting

Subscribe to Our Youtube Channel
Related Manuals for RAB SHARK - 8FT


Summary of Contents for RAB SHARK - 8FT
- Page 1 SHARK® INSTALLATION RAB Lighting is committed to creating high-quality, affordable, well-designed and energy-efficient LED lighting and controls that make it easy for electricians to install and end users to save energy. We’d love to hear your comments. Please call the Marketing Department at 888-RAB-1000 or email: marketing@rablighting.com...
- Page 2 SHARK® INSTALLATION RAB Lighting is committed to creating high-quality, affordable, well-designed and energy-efficient LED lighting and controls that make it easy for electricians to install and end users to save energy. We’d love to hear your comments. Please call the Marketing Department at 888-RAB-1000 or email: marketing@rablighting.com...
- Page 3 SHARK® INSTALLATION RAB Lighting is committed to creating high-quality, affordable, well-designed and energy-efficient LED lighting and controls that make it easy for electricians to install and end users to save energy. We’d love to hear your comments. Please call the Marketing Department at 888-RAB-1000 or email: marketing@rablighting.com ANGLE SURFACE MOUNTING Angle Surface Mounting Brackets Fig.
- Page 4 SHARK® INSTALLATION RAB Lighting is committed to creating high-quality, affordable, well-designed and energy-efficient LED lighting and controls that make it easy for electricians to install and end users to save energy. We’d love to hear your comments. Please call the Marketing Department at 888-RAB-1000 or email: marketing@rablighting.com...
- Page 5 19724 MICROWAVE SENSOR FOR D10 Thank you for buying RAB lighting fixtures. Our goal is to design the best quality products to get the job done right. We’d like to hear your comments. Call the Marketing Department at 888-RAB-1000 or email: marketing@rabweb.com...
- Page 6 19724 MICROWAVE SENSOR FOR D10 Thank you for buying RAB lighting fixtures. Our goal is to design the best quality products to get the job done right. We’d like to hear your comments. Call the Marketing Department at 888-RAB-1000 or email: marketing@rabweb.com Fig.
- Page 7 19724 MICROWAVE SENSOR FOR D10 Thank you for buying RAB lighting fixtures. Our goal is to design the best quality products to get the job done right. We’d like to hear your comments. Call the Marketing Department at 888-RAB-1000 or email: marketing@rabweb.com...
Need help?
Do you have a question about the SHARK - 8FT and is the answer not in the manual?
Questions and answers