
Related Manuals for HOOKE ROAD BXG.8202


Summary of Contents for HOOKE ROAD BXG.8202
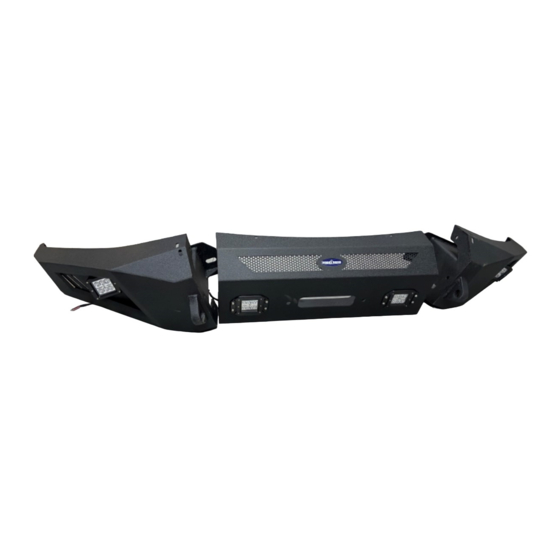
- Page 1 BXG.8202 Front Bumper (1)Contents: (2)Tools required: A. 19mm Socket Wrench; B. 18mm Wrench; C. 13mm Wrench; D. 5mm HEX Socket Wrench;...
-
Page 2: Installation Time
About 1-2 hours, 2 people may be needed. Installation time may differ according to your mechanical skill level. (PLEASE VERIFY ALL PARTS ARE PRESENT AND READ INSTRUCTIONS CAREFULLY BEFORE STARTING INSTALLATION!) To view the electronic version (BXG.8202), please scan the QR code. -
Page 3: Installation Instruction
(4)Installation instruction: Step 1: Remove the original bolts. Ready to install this bumper. Step 2: Assemble the Part “D” & ”E” into your car with those bolts(H, N, O). - Page 4 Step 3: Assemble the Part “A” & the Part “B” with those bolts(H, N, O, P).
- Page 5 Step 4: Install the D-Rings. As the picture showed. Step 5: Assemble the Part “B” & the Part “C” with those bolts(I, M, L, S).
- Page 6 Step 6: Install the assembled bumper to your car frame with those bolts(H, N, O,...
- Page 7 Step 7: Install the Part ”U” with those bolts(K, R, Q, T).
- Page 8 Step 8: Lif up the bumper. Adjust the position of the bumper. Tighten all the bolts.
- Page 9 Step 9: The installation is complete. We hope you enjoy a wonderful off-road life with this quality Hooke Road product! Attention: 1.The product parts in this instruction may differ slightly from the actual product contents but generally does not affect the installation of the product.
Need help?
Do you have a question about the BXG.8202 and is the answer not in the manual?
Questions and answers