Advertisement
Quick Links
Advertisement

Related Manuals for HOOKE ROAD BXG.8929-S


Summary of Contents for HOOKE ROAD BXG.8929-S
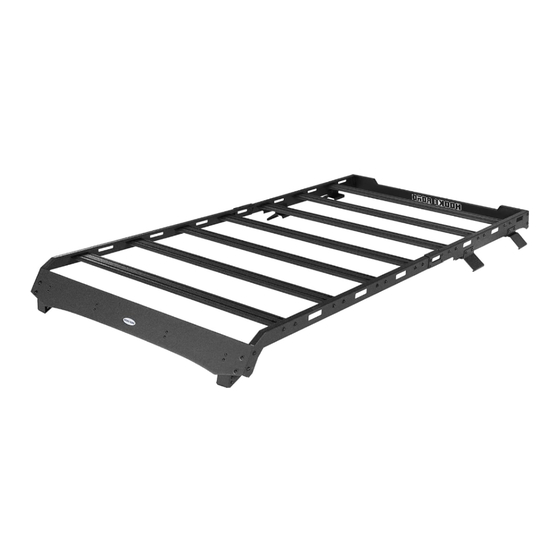
- Page 1 BXG.8929-S Roof Rack (1) Contents:...
- Page 2 Part Name Size(mm) Picture Button Head Socket Cap Bolts Screws M8*16 Button Head Socket Cap Bolts Screws M8*25 Button Head Socket Cap Bolts Screws M6*20 Button Head Socket Cap Bolts Screws M6*16 Button Head Socket Cap Bolts Screws M6*10 Flat Washer M8*20*1 Flat Washer M6*16*1...
- Page 3 About 2 hours, 2-3 people may be needed. Installation time may differ according to your mechanical skill level. (PLEASE VERIFY ALL PARTS ARE PRESENT AND READ INSTRUCTIONS CAREFULLY BEFORE STARTING INSTALLATION!) To view the electronic version (BXG.8929-S), please scan the QR code.
- Page 4 (4) Installation instruction: Step 1: First, please open the package to ensure that you have received all the accessories. This roof rack is divided into two parts, front and rear. Assemble the rear half first, then connect the rear side side rails and rear faring using M8*16 screws and nuts.
- Page 5 Step 3: When installing the brackets, distinguish between the outer bracket and the inner bracket. The outer bracket is larger than the inner bracket. Differentiate between the left and right sides based on the shape of the bracket's end. The angled edge is for the driver's side, while the right angle is for the passenger side.
- Page 6 Step 5: Lift the assembled rear half of the roof rack and secure the rear mounting bracket into the vehicle's recess. Tighten the bracket's installation screws once it is fully inserted. Inside Outside...
- Page 7 Step 6: Assemble the front part. Install the short crossbar into the front faring. First, place the Tee Sliding Slot Nuts inside the grooves of the short aluminum bars, align them with the holes on the front faring, and secure them using M6*10 screws and M6*12*1 flat washers.
- Page 8 Step 8: Remove the cover above the front glass of the original vehicle, Put the assembled front fairing into your vehicle. Install it into your vehicle with the factory bolts. Step 9: Next, you need to install the side rails on both sides of the front fairing, using M8*16 screws, washers, and nuts for assembly.
- Page 9 Step 10: Install four crossbars into the front half part using M6*16 screws and washers, and tighten the screws. Step 11: Finally, connect the front and rear sections using the connecting brackets. Use M6*12 screws and M6*16*1 washers and nuts for assembly. Each side requires two connecting brackets, and an inner connecting bracket should also be installed.
- Page 10 Step 12: The installation is complete. We hope you enjoy a wonderful off-road life with this quality Hooke Road product! Attention: 1.The product parts in this instruction may differ slightly from the actual product contents but generally does not affect the installation of the product.
Need help?
Do you have a question about the BXG.8929-S and is the answer not in the manual?
Questions and answers