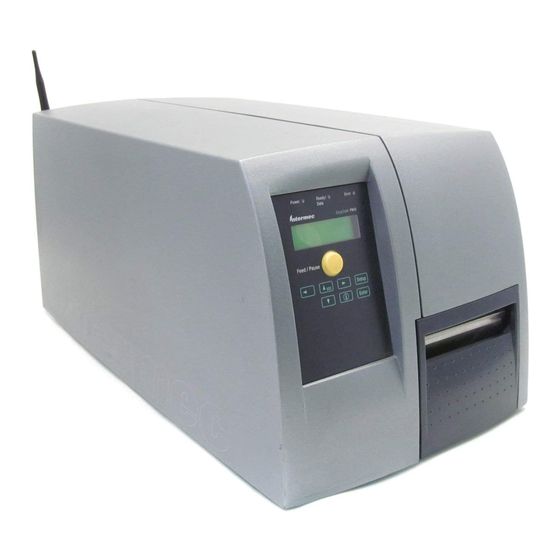
Intermec EasyCoder PM4i User Manual
Rfid kit (gen 2, 869/915 mhz)
Hide thumbs
Also See for EasyCoder PM4i:
- User manual (186 pages) ,
- Installation instructions manual (40 pages) ,
- Safety instructions (24 pages)
Table of Contents
Advertisement
Quick Links
Advertisement
Table of Contents

Related Manuals for Intermec EasyCoder PM4i


Summary of Contents for Intermec EasyCoder PM4i
-
Page 1: Rfid Kit
User’s Guide RFID Kit (Gen 2, 869/915 MHz) for the EasyCoder® PM4i Printer... - Page 2 The information contained herein is proprietary and is provided solely for the purpose of allowing customers to operate and service Intermec- manufactured equipment and is not to be released, reproduced, or used for any other purpose without written permission of Intermec.
-
Page 3: Table Of Contents
Contents Before You Begin ... v Global Services and Support ... v Who Should Read This Manual?... v Related Documents ... vi Patent Information ... vi Installation ...1 Introduction to RFID ...1 Applications of Use ...3 Media Recommendations ...3 RFID Operation in Fingerprint ...4 Limitations ...4 Printing ...4 RFID Setup ...5... - Page 4 RFID Kit (Gen 2, 869/915 MHz) User’s Guide...
-
Page 5: Before You Begin
Who Should Read This Manual? This document is for the person who is responsible for configuring and operating the EasyCoder PM4i equipped with an RFID Kit (Gen 2, 869/915 Mhz). This document provides you with information about the features of the RFID Kit (Gen 2, 869/915 Mhz) and how to configure, operate, maintain, and troubleshoot it. -
Page 6: Related Documents
Click Service & Support > Manuals. In the Select a Product field, choose the product whose documentation you want to download. To order printed versions of the Intermec manuals, contact your local Intermec representative or distributor. Patent Information This product is covered by one or more of the following U.S. patents: 4,739,328;... -
Page 7: Installation
Installation The kit comes either factory installed or can be installed on-site by an authorized service technician. Please acknowledge the following important notice: If you open the electronics cover, you will void the warranty and may cause damage to the internal components. Opening the electronics cover exposes the user to shock hazards which may result in injury or death. - Page 8 RFID technology uses frequencies within the range of 50 kHz to 2.5 GHz. As shown in the illustration, an RFID system typically includes the following components: • RFID tag or transponder that contains data about an item. • Antenna used to transmit the RF signals between the reader and the RFID tag.
-
Page 9: Applications Of Use
Applications of Use The RFID Kit (Gen 2, 869/915 MHz) is an optional device for the EasyCoder PM4i that provides the printer with capacity to read and write to RFID tags. The internal RFID radio module operates on the UHF band at 869 or 915 MHz depending on region. -
Page 10: Rfid Operation In Fingerprint
RFID Operation in Fingerprint The information in this section concerns users running Fingerprint firmware on their PM4i printer. Be sure to also keep the EasyCoder PM4i User’s Guide and the Fingerprint 8.70.0 Programmer’s Reference Manual handy, for additional information on procedures and RFID commands. -
Page 11: Rfid Setup
RFID module is installed. RFID,RETRIES Specifies the number of labels the printer will retry to access after a failed read or write operation. The default is 1, and allowed values range from 0 to 10. Before moving the label roll to try accessing the next tag, the text string specified by RFID,VOIDTEXT will be printed on the failed label. - Page 12 Specifies the distance (in number of dots) the label will be moved to align the tag under the antenna to enable successful read and write operations. The label is moved before the printer attempts to access the tag. A negative value will retract the label, while a positive value will cause the label to be moved forward prior to RFID operations.
-
Page 13: Changing The Setup
IP communication channel. Acquire the printer’s IP address from the console (Setup > Network > IP Address), open your web browser and enter the number into the address field. This opens up the printer’s home page. In the main menu, select Configuration. This brings up a list of folders on the left-hand side of the window. -
Page 14: Rfid Operation In Ipl
RFID Operation in IPL The information in this section concerns users running IPL on their PM4i printer. Be sure to also keep the EasyCoder PM4i User's Guide and the IPL Programmer's Reference Manual handy, for additional information on setup procedures and RFID commands. -
Page 15: Rfid Setup
To print a test label, press Setup on the printer’s console. Go to Test/Service > Testprint > Config > RFIDlabel. -
Page 16: Changing The Setup
are allowed. To ensure the media is not retracted past the printhead, the maximum backward motion is restricted electronically. Note: For 4x3" and 4x6" labels you will be required to change the Tagadjust variable. Set Tagadjust to +112 (for printhead resolution 203 dots/inch) or +166 (for printhead resolution 300 dots/inch). -
Page 17: Accessing Rfid Setup Via Tcp/Ip
IP communication channel. Acquire the printer’s IP address from the console (Setup > Network > IP Address), open your web browser and enter the number into the address field. This opens up the printer’s home page. In the main menu, select Configuration. This brings up a list of folders on the left-hand side of the window. -
Page 18: Troubleshooting
Possible Causes and Suggested Remedies: • The inlay could be broken. Replace the label. • You are not currently using RFID media. Load the printer with RFID media. • The current TAGADJUST value is incorrect. Align the label with the edge of the tear bar (Fingerprint) or press the Feed button to position the label at the start-of-print point (IPL). - Page 19 Disable it with the following commands: SETUP "RFID,DISABLE" <SI>J0 Problem: After the printer has been loaded with a new roll of RFID media, it is unable to write to the tags. Possible Causes and Suggested Remedies: • The printer has not yet identified the RFID media type. If RFID media is changed without the printer having been...
- Page 20 turned OFF, it resets the inlay type and waits for a TESTFEED to identify the new RFID media. A TESTFEED should take care of this problem. Problem: RFID operations yield "Not supported by tag type" error messages. Possible Causes and Suggested Remedies: • A command tries to access a tag data segment that is not available on the current RFID media.
- Page 21 ISO 18000-6B tags work fine, but reading Class 1 tags yield a "No tag found" error message. Possible Causes and Suggested Remedies: • ISO 18000-6B tags are addressed with the IM3 or IM5 RFID reader. For these modules, Class 1 support has not been implemented yet. Class 1 tags require an MPR6100 RFID Radio Module. An MPR6100 can be ordered from Intermec Sales as part of an upgrade kit ("RFID Kit (Class 1, 915 MHz"). RFID Kit (Gen 2, 869/915 MHz) User's Guide...
- Page 22 Problem: "RFID" does not show up in the SETUP tree. Possible Causes and Suggested Remedies: • The printer is not communicating properly with the RFID hardware. - Contact Intermec Support (see the “Before You Begin” section). RFID Kit (Gen 2, 869/915 MHz) User’s Guide...
- Page 24 Intermec Technologies Corporation Corporate Headquarters 6001 36th Avenue West Everett, WA 98203 U.S.A. tel 425.348.2600 fax 425.355.9551 www.intermec.com RFID Kit (Gen 2, 869/915 MHz) User's Guide *1-960653-01* P/N 1-960653-01...