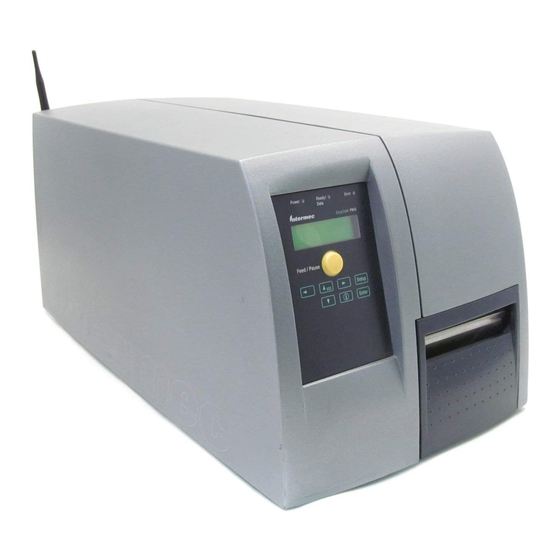
Intermec EasyCoder PM4i Installation Instructions Manual
Hide thumbs
Also See for EasyCoder PM4i:
- User manual (186 pages) ,
- Installation instructions manual (40 pages) ,
- Safety instructions (24 pages)
Subscribe to Our Youtube Channel
Summary of Contents for Intermec EasyCoder PM4i
- Page 1 Installation Instructions RFID Kit (Gen 2, 869/915 MHz) for the EasyCoder® PM4i Printer...
- Page 2 The information contained herein is proprietary and is provided solely for the purpose of allowing customers to operate and service Intermec- manufactured equipment and is not to be released, reproduced, or used for any other purpose without written permission of Intermec.
- Page 3 Patent Information This product is covered by one or more of the following U.S. patents: 4,739,328; 4,786,907; 4,864,158; 4,888,591; 4,999,636; 5,030,807; 5,055,659; 5,280,159; 5,504,485; 5,521,601; 5,550,547; 5,673,037; 5,763,867; 5,777,561; 5,825,045; 5,828,318; 5,828,693; 5,850,181; 5,850,187; 5,942,987; 5,995,019; 6,078,251; 6,121,878; 6,122,329; 6,172,596; 6,195,053; 6,249,227; 6,280,544; 6,286,762; 6,286,763; 6,288,629;...
- Page 4 Germany, Greece, Ireland, Luxembourg, The Netherlands, Portugal, Spain, Sweden, United Kingdom, Norway, Switzerland. Mölndal 2005-11-14 ..............Per-Ove Jacobsson Site Manager /. Intermec assumes no responsibility regarding the CE Directive if the printer is handled, modified, or installed in other manners than those described in the manuals. RFID Kit (Gen 2, 869/915 MHz) Installation Instructions...
-
Page 5: Table Of Contents
Contents About These Instructions .............. vi Printer Firmware Recommendations ..........vi Limitations ................... vi Contents of Installation Kit ............1 Step-by-Step Instructions ...............2 RFID Kit (Gen 2, 869/915 MHz) Installation Instructions... -
Page 6: About These Instructions
About These Instructions These instructions describe the physical installation of an RFID Kit (Gen 2, 869/915 MHz) in the Intermec EasyCoder PM4i printer. For a complete list of RFID commands and functionality, please refer to the reference manual for your operating system (IPL or Fingerprint). -
Page 7: Contents Of Installation Kit
Contents of Installation Kit IM5 Reader Module I/O Board Paper Guide with RFID Antenna and cable IM5 Data Cable IM5 Power Cable Bracket assy RSMA/SMA to Dual Slot I/O Bus RFID Label MMCX Adapter Cable Cable Spacer Screw Five MRT 4x6 Two MRT Spacer Screw Two Hexagon... -
Page 8: Step-By-Step Instructions
Step-by-Step Instructions The installation described in this section must only be performed by an authorized service technician. Intermec assumes no responsibility for personal injury or damage to the equipment if the installation is performed by an unauthorized person. Take precautions against electrostatic discharges, for example by wearing grounded wrist straps. - Page 9 Open the printer’s side door. Turn the LSS adjustment screw counterclockwise to move the position of the Label Stop Sensor so that it does not obstruct the small hole leading into the electronics compartment. RFID Kit (Gen 2, 869/915 MHz) Installation Instructions...
- Page 10 Carefully slide the upper paper guide out along the support shaft. Loosen the edge guide and remove both items from the shaft. Route the antenna connection cable through the opening in the center deck. Slide the replacement paper guide (with antenna) and the edge guide onto the shaft. RFID Kit (Gen 2, 869/915 MHz) Installation Instructions...
- Page 11 Lay the printer down on its side, electronic compartment facing down. Remove the six screws (A-F). Replace screws E and F with the M4x16 screws supplied with the installation kit. Put the printer back on its feet. Remove the four screws that hold the cover to the center section.
- Page 12 Slide the I/O board halfway into the empty slot next to the printer’s CPU board (1). Connect the two using the I/O bus cable (2). Slide the board all the way in and affix it to the CPU board with the spacer screw and a M4x6 screw (3). Secure the I/O board with two M3 screws in the printer’s rear plate (4).
- Page 13 Thread the bracket assy onto the long screws (referred to as E and F in step 5) protruding through the bottom of the chassis and secure the assy with two hexagon lock nuts (1). Remove the original M4x6 screw that holds the EasyLAN board and attach the vertical bracket with a 10 mm spacer and the original screw (2).
- Page 14 Attach the IM5 reader module to the bracket assy using three M4x6 screws and a 20 mm spacer screw (1). Connect the IM5 power cable to connector P3, and the IM5 data cable to connector P4 on the I/O board (2). Connect the adapter cable to the radio module.
- Page 15 [View from above] Connect the antenna cable to the adapter cable (3). Reassembly 1 Reattach the console cable to the CPU board while putting back the cover over the electronics compartment. Fasten the four screws in the center deck. 2 Tip the printer over on its side. Insert and fasten the screws in the empty holes in the bottom plate.
- Page 16 Intermec Technologies Corporation Corporate Headquarters 6001 36th Avenue West Everett, WA 98203 U.S.A. tel 425.348.2600 fax 425.355.9551 www.intermec.com RFID Kit (Gen 2, 869/915 MHz) Installation Instructions *1-960654-01* P/N 1-960654-01...


Need help?
Do you have a question about the EasyCoder PM4i and is the answer not in the manual?
Questions and answers