Table of Contents
Advertisement
Advertisement
Table of Contents

Summary of Contents for Secure radbot 1
- Page 1 1 Intelligent radiator thermostat Instruction manual...
-
Page 2: Table Of Contents
Page no. What’s in the box? Safety instructions Compatibility Getting started About Radbot 1 Get to know your Radbot 1 Installing Radbot 1 Finding an ideal location Removing the old thermostat Fitting the correct adaptor Installing the batteries Fitting Radbot 1... -
Page 3: What's In The Box
What’s in the box? Quick reference guide Radbot 1 Intelligent 2 X AA batteries radiator thermostat Adaptors M30x1.5 M30x1.0 M28x1.5 RAVL... -
Page 4: Safety Instructions
Take care when installing and using Radbot 1 as radiators and pipes may be hot if your heating is on. Radbot 1 is for indoor use only and must be protected from humidity. -
Page 5: Get To Know Your Radbot 1
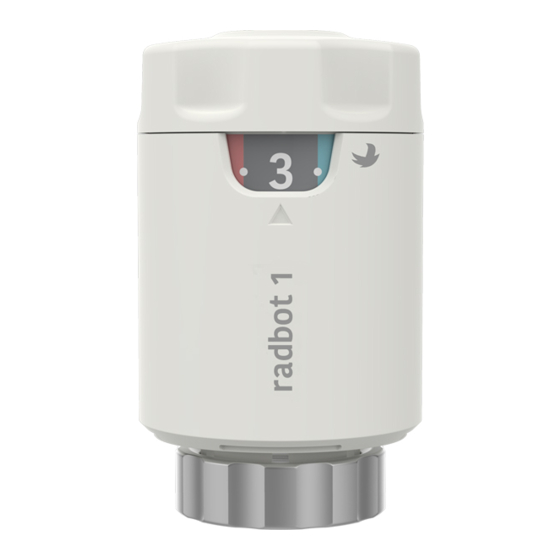
Get to know your Radbot 1 Boost button Provides 30 mins heating boost Control wheel Used to set the comfort level Temperature dial Shows comfort setting on a scale of 1-5 Retaining ring Used to secure radbot to your radiator valve... -
Page 6: Installing Radbot 1
Installing Radbot 1... -
Page 7: Finding An Ideal Location
Do not cover the thermostat behind curtains, radiator panels or furniture. Radbot 1 must not be installed in the same room as your main thermostat. This can cause your heating to be permanently on if the thermostat is set to a higher... -
Page 8: Removing The Old Thermostat
Loosen the retaining ring at the base of the valve and lift o the old thermostat. Tip - Replace leaking or corroded valves before you install Radbot 1. Get advice from a plumber if you are unsure how to do this. -
Page 9: Installing The Batteries
Pressing the boost button or turning the temperature wheel prior to installation can move the valve plunger from its factory set position making it di cult to install Radbot 1. If this happens accidentally, remove the batteries for ~ 2 minutes, reinsert and wait 60 seconds then restart the process. -
Page 10: Using Radbot 1
Using Radbot 1... -
Page 11: Setting The Temperature
Temperature set back Radbot 1 saves energy by setting back the temperature in a room when it detects the room is not being used. In works to save energy. As the dial is turned towards the cold end of the scale, the... -
Page 12: Using The Boost Function
Pressing the boost rather than adjusting the temperature dial is the best option for a temporary increase in heat as Radbot 1 will automatically revert to a normal temperature without anyone having to remember to turn the dial back down. -
Page 13: Replacing The Batteries
Note: We recommend that new batteries should be inserted within 5 mins of removing the old batteries to ensure Radbot 1 retains its internal memory of recent occupancy events and heating schedule. Maintenance Batteries Under typical operating conditions the batteries should last 2 years. -
Page 14: Troubleshooting
Radiator will Radbot 1 has not been Check connection and if loose, not turn o tightened su ciently to push down Radbot 1 and tighten the valve - pin not able to close retaining nut valve Radbot 1 will not... -
Page 15: Technical Specifications
Low Battery Low battery warning Repeated medium flash every 2s until battery is exhausted or replaced. Most Radbot 1 features will not operate. Fault When a hardware or software Continual rapid flashing, more unrecoverable failure is... - Page 16 Secure Meters (UK) Ltd Secure House, Lulworth Close, Chandler’s Ford Eastleigh, SO53 3TL, United Kingdom Secure Meters (Sweden) AB Repslagaregatan 43, Box 1006, SE-611 32 Nykoping, Sweden BGX7 0 1 - 3 3 4...


Need help?
Do you have a question about the radbot 1 and is the answer not in the manual?
Questions and answers