Advertisement
Available languages
Available languages
Para Español, vea páginas 3-4.
Pour le français, consulter les pages 5-6.
H-5861
1-800-295-5510
uline.com
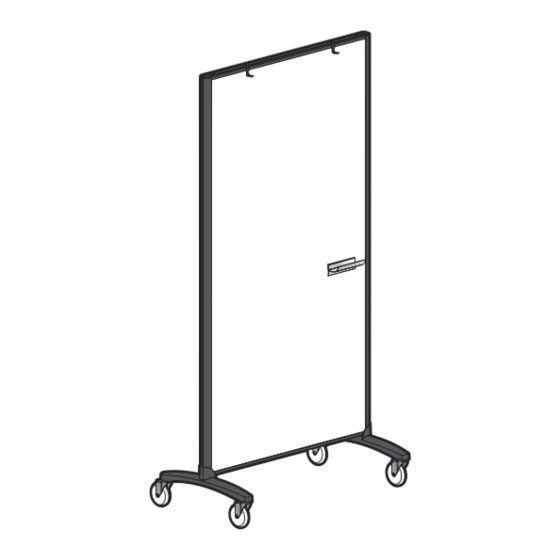
4 x 6' DRY ERASE
BOARD/PARTITION
TOOL INCLUDED
Allen Wrench
PARTS
3/8 x 1½"
Locking
Screw x 2
Washer x 2
Locking
Non-locking
Caster x 2
Caster x 2
Easel Foot x 2
Board x 1
Easel Pad
Marker Tray x 1
Hook x 2
PAGE 1 OF 6
0722 IH-5861
Advertisement
Table of Contents

Related Manuals for U-Line H-5861


Summary of Contents for U-Line H-5861
- Page 1 Para Español, vea páginas 3-4. Pour le français, consulter les pages 5-6. H-5861 1-800-295-5510 uline.com 4 x 6' DRY ERASE BOARD/PARTITION TOOL INCLUDED Allen Wrench PARTS 3/8 x 1½" Locking Screw x 2 Washer x 2 Locking Non-locking Caster x 2...
- Page 2 ASSEMBLY ATTACH CASTERS AND FEET Figure 1 Insert stem of the locking caster into hole under easel foot and press into place. (See Figure 1) 2. Repeat with the non-locking caster. 3. Align center hole in easel foot with threaded hole in bottom of easel board.
- Page 3 H-5861 800-295-5510 uline.mx PANEL SEPARADOR PIZARRÓN BLANCO/ TABLERO PARA ANUNCIOS DE 1.2 X 1.8 M (4 X 6') HERRAMIENTA INCLUIDA Llave Allen PARTES 2 Tornillos de 2 Rondanas de 3/8 x 1½" Seguridad 2 Ruedas 2 Ruedas sin con Seguro...
- Page 4 ENSAMBLE COLOCACIÓN DE LAS RUEDAS Y LAS PATAS Diagrama 1 Inserte el vástago de la rueda con seguro dentro del orificio debajo de la pata de caballete y presione para ajustar en su lugar. (Vea Diagrama 1) 2. Repita con la rueda sin seguro. 3.
- Page 5 H-5861 1-800-295-5510 uline.ca TABLEAU EFFAÇABLE À SEC/TABLEAU D'AFFICHAGE DE 1,2 X 1,8 M (4 X 6 PI) OUTIL INCLUS Clé Allen PIÈCES Vis de Rondelle de 3/8 x 1 ½ po x 2 verrouillage x 2 Roulette Roulette non verrouillable x 2 verrouillable x 2...
- Page 6 ASSEMBLAGE FIXATION DES ROULETTES ET DES PIEDS Figure 1 Insérez la tige de la roulette verrouillable dans le trou sous le chevalet et enfoncez-la. (Voir Figure 1) 2. Répétez la procédure avec la roulette non verrouillable. 3. Alignez le trou central du chevalet avec le trou fileté en dessous du panneau.
Need help?
Do you have a question about the H-5861 and is the answer not in the manual?
Questions and answers