Advertisement
Available languages
Available languages
H-5831
π
H-5832
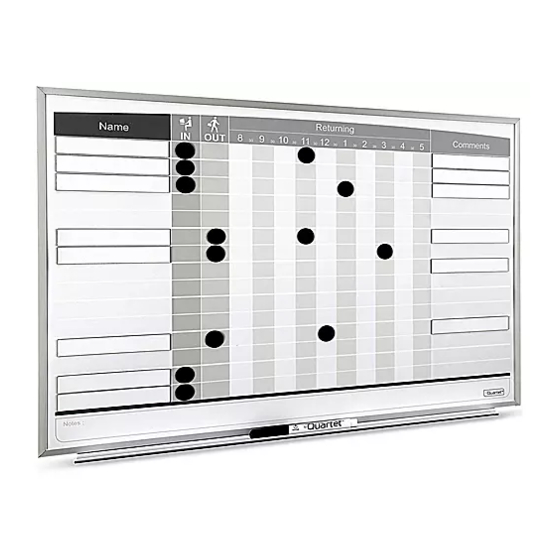
IN/OUT STAFF BOARD
TOOLS NEEDED
Tape Measure
Phillips Screwdriver
1. Align tray end
caps with marker
tray and press into
place.
(See Figure 1)
PAGE 1 OF 6
1-800-295-5510
uline.com
Board
OPTIONAL MARKER TRAY INSTALLATION
Figure 1
Name
Hammer
PARTS
Hanging Bracket
x 2
Left and Right Tray End Caps
2. Insert marker tray
at approximately
a 15° angle into
back channel
of board frame.
Rotate tray to fully
engage bottom
of channel.
(See Figure 2)
NOTE: Attach tray to side of frame with logo
label.
Para Español, vea páginas 3-4.
Pour le français, consulter les pages 5-6.
Returning
IN
OUT
8
9
10
11
12
1
2
3
4
5
Drill
1/4" Drill Bit
Drywall Anchor
#10 Screw
x 2
x 2
x 1
Comments
Figure 2
0521 IH-5831
Advertisement
Table of Contents

Subscribe to Our Youtube Channel
Related Manuals for U-Line H-5831


Summary of Contents for U-Line H-5831
- Page 1 Para Español, vea páginas 3-4. Pour le français, consulter les pages 5-6. H-5831 π 1-800-295-5510 H-5832 uline.com Returning IN/OUT STAFF BOARD Name Comments TOOLS NEEDED Tape Measure Phillips Screwdriver Hammer Drill 1/4" Drill Bit PARTS Hanging Bracket Drywall Anchor #10 Screw...
-
Page 2: Maintenance
MOUNTING 4" Board Location 15° Figure 3 Figure 4 Figure 5 Figure 6 4" 1/4" Drill Bit 7/8" Determine board location. To position top hanging 2. Insert wall anchors into holes flush with the wall. brackets, mark center hole of hanger 4" from Insert screws through hanging brackets into the wall outside edge of board and 7/8"... -
Page 3: Herramientas Necesarias
H-5831 π 800-295-5510 H-5832 uline.mx Returning TABLERO DE Name Comments PERSONAL PRESENTE O AUSENTE HERRAMIENTAS NECESARIAS Metro Desarmador de Cruz Martillo Taladro Broca de 1/4" PARTES 2 Soportes para Colgar 2 Taquetes para 2 Tornillos #10 Panel de Yeso 1 Tapas para los Extremos de... -
Page 4: Instalación
INSTALACIÓN 10 cm (4") Ubicación del Tablero 15° Diagrama 3 Diagrama 4 Diagrama 5 Diagrama 6 10 cm (4") Broca de 1/4" 2 cm (7/8") Elija la ubicación del tablero. Para colocar los soportes 2. Inserte los taquetes en los orificios a ras de la pared. superiores para colgar, marque el orificio central del Inserte los tornillos en la pared a través de los soportes soporte a 10 cm (4") hacia un costado y 2 cm (7/8") -
Page 5: Outils Requis
H-5831 π 1-800-295-5510 H-5832 uline.ca Returning Name Comments TABLEAU DE PRÉSENCE DES EMPLOYÉS OUTILS REQUIS Ruban à mesurer Tournevis cruciforme Marteau Perceuse Mèche de 1/4 po PIÈCES Support d'accrochage Ancrage pour Vis de calibre 10 x 2 cloison sèche x 2... -
Page 6: Montage
MONTAGE 10 cm (4 po) Emplacement du tableau 15 ° Figure 3 Figure 4 Figure 5 Figure 6 10 cm (4 po) Mèche de 1/4 po 2 cm (7/8 po) Déterminez l'emplacement du tableau. Afin de 2. Insérez les ancrages dans les trous à fleur du mur. positionner les supports d'accrochage supérieurs, Insérez les vis dans les ancrages en les faisant marquez le trou central du support à...
Need help?
Do you have a question about the H-5831 and is the answer not in the manual?
Questions and answers