
Related Manuals for Stinger SG-3


Summary of Contents for Stinger SG-3
- Page 1 SG-3 BUGGY SEAT KIT FITTING INSTRUCTIONS 03 5924 6065 info@stingergolf.com.au stingergolf.com.au...
- Page 2 SG-3 Mount Bar with 2x Clamps • 1x Allen Key Figure 1 2. Turn the SG-3 upside down and using a Phillip screw driver, unscrew the cable support clip as per images below. Keep screw and clip aside for future use. Figure 4 Figure 2 Figure 3 3.
- Page 3 4. Place clamps on each side of the SG-3 Buggy main frame and screw into place lightly as per images below. Please note: Do not fully tighten screws at this point in time. Figure 9 Figure 8 5. Rotate both clamps 180 degrees as per image below. This should now look like figure 10 when in position.
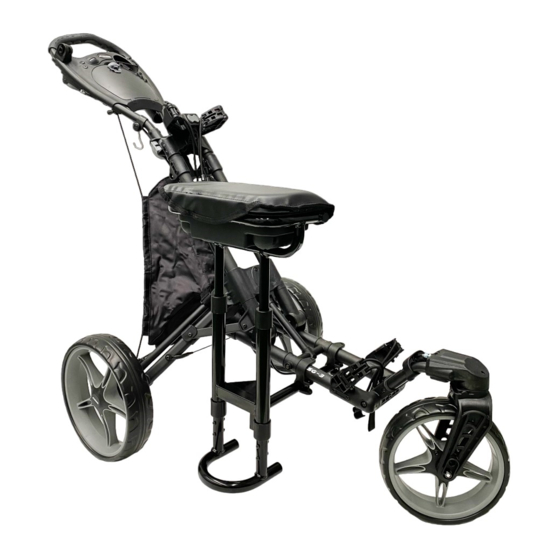
- Page 4 This is with the SG-3 buggy turned back to the upright position. Figure 14 8. Once Seat Mount Bar is in the correct position, please tighten all clamp screws as per image below. Figure 15 9. Place the SG-3 Seat on the mounting bar as per image below.
Need help?
Do you have a question about the SG-3 and is the answer not in the manual?
Questions and answers