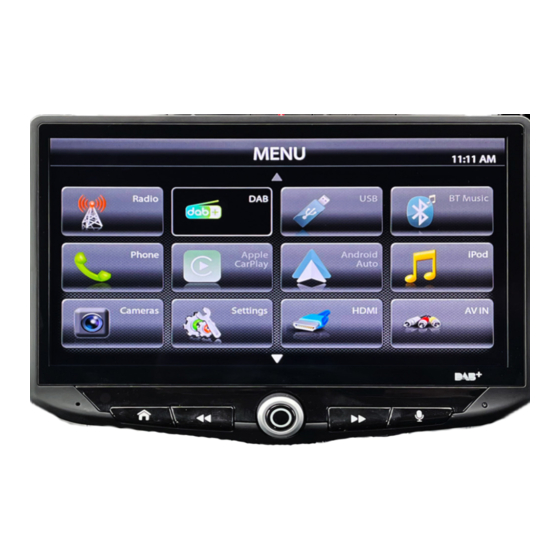
Summary of Contents for Stinger HEIGH10 UN1810E-VX1
- Page 1 INSTALLATION GUIDE INTEGRATED INFOTAINMENT TOUCH SCREEN SOLUTION FOR VAUXHALL ASTRA J 2009 - 2016 PART NUMBER: UN1810E-VX1 Copyright © 2023 StingerElectronics-EU.com...
- Page 2 Please note: Not compatible for models with navigation systems / amplified systems. CONTENTS • HEIGH10® unit with fitting accessories and wiring • Black double DIN fascia plate (with accessories) • Vehicle retention interface with plug-and-play harness • Vehicle specific antenna adapter (AM/FM) • Stinger stereo patch lead • Instruction manual www.stingerelectronics-eu.com...
- Page 3 FITTING GUIDE STEREO REMOVAL www.stingerelectronics-eu.com...
- Page 4 FITTING GUIDE STEREO REMOVAL 1. Lift up the gear stick cover and remove the two screws from either side of the frame. 2. Give the fascia a firm pull in order to release the clips. 3. Lift up the tabs under the heater vents in order to reveal two additional screws and remove these.
- Page 5 FITTING GUIDE FASCIA PLATE SET-UP 1. With the HEIGH10® unit configured correctly, attach the fascia brackets to the relevant sides of the radio module using the screws within the kit. Place into the vehicle and roughly test fit with the fascia to measure whether the brackets need moving forwards/backwards.
-
Page 6: About This Product
ABOUT THIS PRODUCT CTHVX01 CAN-Bus Steering Wheel Control Interface with built-in speaker for Vauxhall/Opel vehicles. Retains vehicle settings menu, vehicle chimes and OEM phone buttons (if equipped) WIRING COLOUR CODES Purple Right Rear Speaker + Yellow Permanent 12V Purple/Black Right Rear Speaker - Black Ground Green... - Page 7 FITTING GUIDE 1. Remove and disconnect the original head unit. 2. Connect the 12 way molex connector of the head unit patch lead (supplied separately) to the interface. 3. Connect the opposite end of head unit patch lead to the head unit steering wheel control input on the back of the aftermarket head unit.
- Page 8 STEERING WHEEL CONTROL FUNCTIONALITY Original Button Function Volume + Volume + Volume - Volume - Up Arrow Track + Down Arrow Track - Source (Short Press) Enter Settings Menu (Long Press) Pick Up/Speech Pick Up Mute/Hang Up Hang Up Navigating the Settings Menu 1.
- Page 9 E-Mail: stinger.eu@aampglobal.com Mon - Fri 9am - 5.30pm GMT If you would like to download a digital copy of this manual, or any other product, then please visit the www.Stinger- Electronics-EU.com website. This manual is considered correct at the time of printing but is subject to change. For the latest manuals & updates, refer to our website.


Need help?
Do you have a question about the HEIGH10 UN1810E-VX1 and is the answer not in the manual?
Questions and answers