Stinger HEIGH10 Installation Manual
Integrated infotainment touch screen solution for ford transit 2012 - 2021 (v362)
Hide thumbs
Also See for HEIGH10:
- User manual (176 pages) ,
- Installation manual (108 pages) ,
- Installer setup manual (9 pages)

Subscribe to Our Youtube Channel
Related Manuals for Stinger HEIGH10


Summary of Contents for Stinger HEIGH10
- Page 1 INSTALLATION GUIDE INTEGRATED INFOTAINMENT TOUCH SCREEN SOLUTION FOR FORD TRANSIT 2012 - 2021 ( V362) PART NUMBER: UN1810E-FD2 Copyright © 2023 StingerElectronics-EU.com...
-
Page 2: About This Product
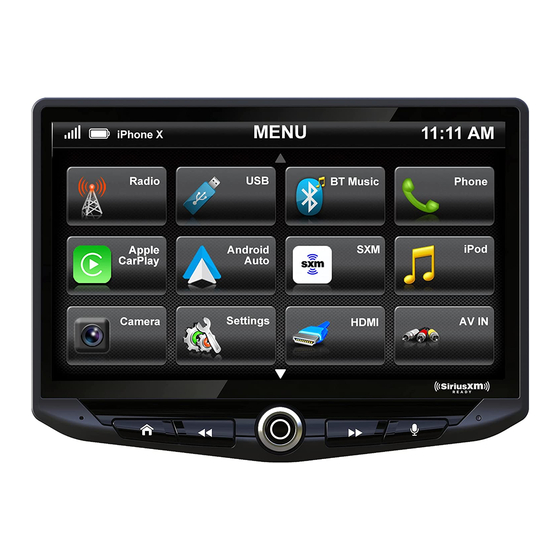
All in one easy to install, plug-and-play package. The HEIGH10® is designed to enhance screen size and infotainment features for drivers which include Apple CarPlay, Android Auto, DAB+, and Bluetooth streaming. Paired with the vehicle retention interface, key vehicle settings will be retained and controlled through the HEIGH10®... - Page 3 FITTING GUIDE STEREO REMOVAL First, turn off the vehicle and remove the key from the ignition. Locate the plastic trim panel that surrounds the radio and climate control unit. It is located on the center console, directly below the radio. Use a panel removal tool or a flathead screwdriver to carefully pry off the trim panel.
- Page 4 FITTING GUIDE Take the HEIGH10® components and begin to assemble the core components in accordance with the “Installation Manual” that comes with unit. HEIGH10 ASSEMBLY www.stingerelectronics-eu.com...
- Page 5 FASCIA PLATE SET-UP 1. With the HEIGH10® unit configured correctly, attach the fascia brackets to the relevant sides of the radio module using the screws within the kit. Place into the vehicle and roughly test fit with the fascia to measure whether the brackets need moving forwards/backwards.
-
Page 6: Prior To Installation
ABOUT THIS PRODUCT CTSFO008.2 CAN-Bus Steering Wheel Control Interface for Ford vehicles. Retains steering wheel controls, park- ing sensor audio and allows time/date change from the steering wheel. WIRING COLOUR CODES Purple Right Rear Speaker + Yellow Permanent 12V Purple/Black Right Rear Speaker - Black Ground Green... - Page 7 FITTING GUIDE 4. Connect the 14 way molex connector to the interface 5. Connect the male power/speaker ISO harness to the female power/speaker ISO harness from the aftermarket head unit. For aftermarket head units without an ISO connector, please refer to “Wiring Colour Codes” on Pg. 2. www.stingerelectronics-eu.com...
-
Page 8: Setting The Time & Date
FITTING GUIDE 6. Connect the female vehicle specific connectors on the harness to the male vehicle con- nector from the vehicle. 7. Connect the chime speaker box to the loom via the 4 pin connector and the red/white RCA connectors to the stereo Aux Input. 8. - Page 9 E-Mail: stinger.eu@aampglobal.com Mon - Fri 9am - 5.30pm GMT If you would like to download a digital copy of this manual, or any other product, then please visit the www.Stinger- Electronics-EU.com website. This manual is considered correct at the time of printing but is subject to change. For the latest manuals & updates, refer to our website.
Need help?
Do you have a question about the HEIGH10 and is the answer not in the manual?
Questions and answers