
Related Manuals for Threshold Corinna W71102-3S


Summary of Contents for Threshold Corinna W71102-3S
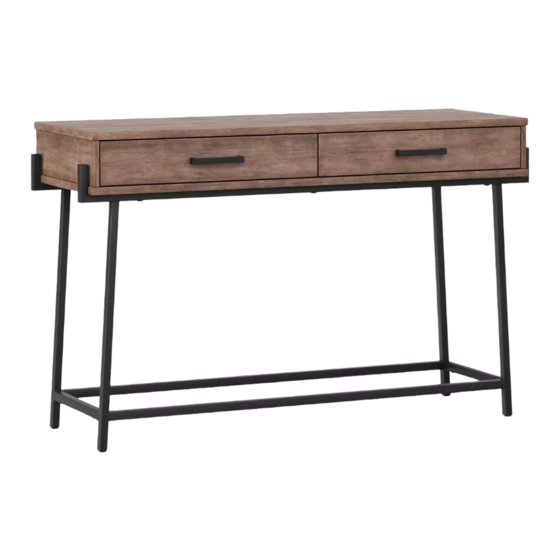
- Page 1 Corinna Console Table Style #: W71102-3S DPC-item #: 249-17-0466 (Store) Style #: W71102-3Sd DPC-item #: 249-94-0201 (Display) >> Assembly instructions © 2019 Target. The Bullseye Design is a trademark of Target Brands, Inc. All rights reserved.
-
Page 2: Before You Begin
Congratulations on your latest Target purchase. Now what? Don’t start sweating over this box of parts. This will be easy. We did the hard work for you. All you need to do is follow our simple instructions and you’ll be on your way to transforming your room in no time. Good luck –... - Page 3 WARNING Children have died from furniture tip-over. To reduce the risk of furniture tip-over: ALWAYS install tip-over restraint provided. ⚫ NEVER put a TV on this product. ⚫ NEVER allow children to stand, climb or hang ⚫ on drawers, doors, or shelves. NEVER open more than one drawer at a time.
- Page 4 hardware (H1) x 16 (H2) x 24 (H3) x 24 (H4) x 8 (H5) x 1 1/4” x 5/8” bolt lock washer flat washer 1/4” x 1 1/2” bolt hex wrench (H6) x 2 Spare hardware tipping restraint hardware kit (inside plastic bag)
- Page 5 exploded diagram Table top Front/back frame Upper stretcher Lower stretcher...
- Page 6 step 1: attach stretchers between frames NOTE: DO NOT fully tighten all bolts until you finish assembling all parts. Once assembled, go back and fully tighten all bolts. This will make the assembly easier. (H1) x 16 (H2) x 16 1/4”...
- Page 7 step 2: attach assembled base to table top NOTE: DO NOT fully tighten all bolts until you finish assembling all parts. Once assembled, go back and fully tighten all bolts. This will make the assembly easier. (H2) x 8 (H3) x 8 lock washer flat washer (H4) x 8...
- Page 8 step 3: attach handle to each drawer 3.1. Stand the unit upright. 3.2. The table top comes with the handles pre-assembled to the inside of the utility drawers. 3.3. Unscrew the small bolts to remove the handles. Reinstall the handle to each drawer front with the same bolts.
- Page 9 step 4: install the tipping restraint hardware kit Wooden stud Wall Nylon strap Short screw Wall (H6) x 2 tipping restraint hardware kit (inside plastic bag) Floor leveler Long screw Metal bracket Tools required: Phillips screwdriver, stud finder, tape measure, pencil, power drill and 1/8” drill bit. 4.1.
-
Page 10: Care And Maintenance
Care and Maintenance • Use a soft, clean cloth that will not scratch the surface when dusting. • Use of furniture polish is not necessary. Should you choose to use polish, test first in an inconspicuous area. • Using solvents of any kind on your furniture may damage the finish. •... - Page 11 The maximum recommended weight allowance is 90.8 kg / 200 lb for top surface. The maximum recommended weight allowance is 9.1 kg / 20 lb for drawer. Death or serious injury may occur when children climb on audio and/or video equipment furniture. A remote control or toys placed on the furnishing may encourage a child to climb on the furnishing and as a result may tip over onto the child.
Need help?
Do you have a question about the Corinna W71102-3S and is the answer not in the manual?
Questions and answers