
Related Manuals for Threshold Cambridge T71113-4A


Summary of Contents for Threshold Cambridge T71113-4A
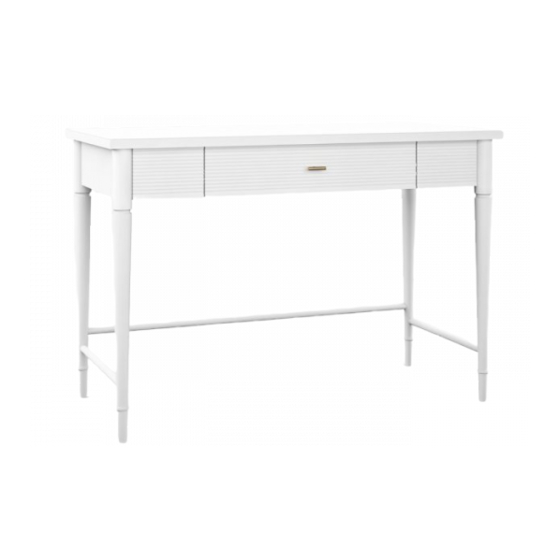
- Page 1 Cambridge Turned Leg Desk Off White Style # T71113-4A DPC-item #: 249-14-5144 / 249-94-0067 >> Assembly instructions...
-
Page 2: Before You Begin
Congratulations on your latest Target purchase. Now what? Don’t start sweating over this box of parts. This will be easy. We did the hard work for you. All you need to do is follow our simple instructions and you’ll be on your way to transforming your room in no time. Good luck –... - Page 3 table of contents Introduction Hardware Parts list Assembly 6-10 Care and maintenance and warranty Important safety information Serious or fatal crushing injuries can occur from furniture tip-over. To help prevent tip-over: • Install tip-over restraint provided. • Place heaviest items in the lowest drawers. •...
- Page 4 hardware (H1) x 8 (H2) x 8 (H3) x 8 (H4) x 6 2 1/2” bolt lock washer flat washer 1 1/2” screw (H5) x 1 (H6) x 2 Spare hardware hex wrench tipping restraint hardware kit (inside plastic bag)
-
Page 5: Item Description
ITEM DESCRIPTION QUANTITY Desk top Left front leg Right front leg Left back leg Right back leg Back stretcher Side stretcher... - Page 6 step 1. NOTE: DO NOT fully tighten all bolts until you finish assembling all parts. Once assembled, go back and fully The slant holes will face the floor tighten all bolts. This will make the when the unit is turned upright assembly easier.
- Page 7 step 2. The slant holes will face the floor NOTE: DO NOT fully tighten all bolts when the unit is turned upright until you finish assembling all parts. Once assembled, go back and fully tighten all bolts. This will make the assembly easier.
- Page 8 step 3. (H4) x 6 1 1/2” screw Go back and fully tighten all the bolts. Proceed to fasten the bottom stretchers (F and G) in place.
- Page 9 step 4. Stand the unit upright. The table top comes with the handle pre-assembled to the inside of the utility drawer. Unscrew the small bolt to remove the handle. Reinstall the handle to the front of the utility drawer with the small bolt.
- Page 10 step 5. Wooden Wall Short screw Wall (H6) x 2 tipping restraint hardware kit Metal bracket Long screw Tools required: Phillips screwdriver, mallet, power drill, and 1/8” drill bit. Position the unit at the desired location against a wall. Follow the instructions printed on plastic bag containing tipping restraint hardware to attach tip-over restraint between the unit and wall. NOTE: You must use this tipping restraint to attach this unit to the wall, to prevent accidents and/or injures.
-
Page 11: Care And Maintenance
Care and Maintenance • Use a soft, clean cloth that will not scratch the surface when dusting. • Use of furniture polish is not necessary. Should you choose to use polish, test first in an inconspicuous area. • Using solvents of any kind on your furniture may damage the finish. •... - Page 12 The maximum recommended weight allowance is 90.8 kg / 200 lb for top surface. The maximum recommended weight allowance is 9.1 kg / 20 lb for drawer. Death or serious injury may occur when children climb on audio and/or video equipment furniture. A remote control or toys placed on the furnishing may encourage a child to climb on the furnishing and as a result may tip over onto the child.
Need help?
Do you have a question about the Cambridge T71113-4A and is the answer not in the manual?
Questions and answers