Table of Contents
Advertisement
Quick Links
Advertisement
Table of Contents

Related Manuals for Uplift Desk C-Frame


Summary of Contents for Uplift Desk C-Frame
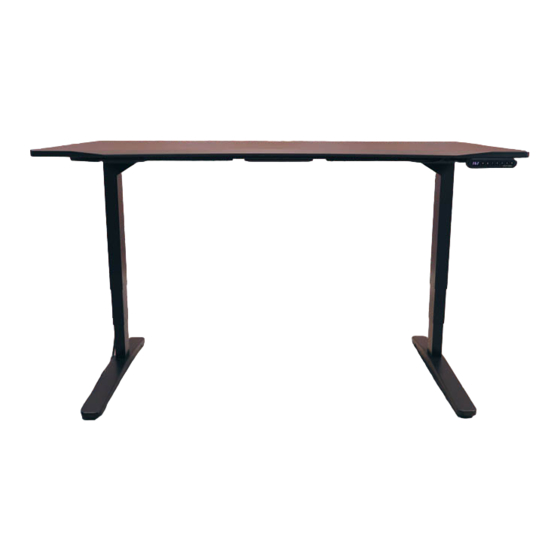
- Page 1 ® 2-Leg Standing Desk T-Frame C-Frame V2 Frame (C-Frame and T-Frame) C-Frame T-Frame C-Frame T-Frame two person assembly For assembly assistance, visit upliftdesk.com/2leg-com, or call 800-349-3839, 355 lb or email support@upliftdesk.com Patent Pending, ©2021 UPLIFT Desk®. All Rights Reserved...
- Page 2 Thank you for choosing UPLIFT Desk.
-
Page 3: Safety And Warnings
Never use the desk if the power cord or plug is damaged as this can cause a risk of fire and electric shock. Contact UPLIFT Desk for a replacement power cord if it is damaged in any way. © UPLIFT Desk • 800-349-3839 • 512-614-3152 • info@upliftdesk.com • upliftdesk.com... - Page 4 (right and left, qty 2) (qty 2) Phillips Head (qty 4) Screwdriver The assembly steps and components that are specific to the C-Frame type are noted by this “C” icon. T-Frame Feet & Side Brackets Box Components Foot Side Logo...
-
Page 5: Component Diagram
Insert the 4mm Allen Wrench (H6) into the side marked with the number “4”. Push the Allen Wrench all the way into the slot of the handle until it “snaps” securely into place. © UPLIFT Desk • 800-349-3839 • 512-614-3152 • info@upliftdesk.com • upliftdesk.com... - Page 6 When assembling the Legs in the orientation shown, the Logo Plate will need to be attached upside-down so that it is right-side-up when the desk is flipped over. E. Repeat this step for the second Leg assembly. © UPLIFT Desk • 800-349-3839 • 512-614-3152 • info@upliftdesk.com • upliftdesk.com...
- Page 7 1/2”. To ensure this, we recommend wrapping a piece of tape around Tape your drill bit 1/2” from the tip. Stop drilling just before the tape touches the desktop. © UPLIFT Desk • 800-349-3839 • 512-614-3152 • info@upliftdesk.com • upliftdesk.com...
- Page 8 (P3). Select the one that can be positioned as shown and attach it to the Crossbar End (P5) in the orientation shown using two M8x10 Machine Screws (H7), but do not tighten the screws yet. © UPLIFT Desk • 800-349-3839 • 512-614-3152 • info@upliftdesk.com • upliftdesk.com...
- Page 9 Step 5. E. Tighten all screws installed so far in this step, eight for a C-Frame and six for a T-Frame. © UPLIFT Desk • 800-349-3839 • 512-614-3152 • info@upliftdesk.com • upliftdesk.com...
- Page 10 1/8” drill bit. IMPORTANT: DRILL NO DEEPER THAN 1/2”. D. Attach the Keypad with two #10x5/8” Wood Screws (H14). Be careful to not over-tighten to avoid stripping. © UPLIFT Desk • 800-349-3839 • 512-614-3152 • info@upliftdesk.com • upliftdesk.com...
-
Page 11: Step 10 - Cable Connections
Control Box. Do not attempt to connect the Leg Cable Extension with the cable running over the top of the Control Box. Doing so will damage the Leg Cable Extension and the Control Box. © UPLIFT Desk • 800-349-3839 • 512-614-3152 • info@upliftdesk.com • upliftdesk.com... - Page 12 Step 11 - Feet Attachment A. Place one of the Feet (P1) on top of one of the Legs as shown. Note: If you are assembling a C-Frame, make sure the long end of the Foot is facing towards the front of the desk in the same direction as the long ends of the Side Brackets.
-
Page 13: Accessory Installation
If the Anchor Plates are required, attach them using two of the M8x10 Machine Screws (H7) per Anchor Plate and tighten the screws using the 5mm Allen Wrench (H8) and Allen Wrench Handle (H15). © UPLIFT Desk • 800-349-3839 • 512-614-3152 • info@upliftdesk.com • upliftdesk.com... -
Page 14: Step 13 -Desk Placement
C. Release the button. Your desk is now ready for use! If you are using an Advanced Keypad, see additional Keypad instructions for further information on how to use your Keypad. © UPLIFT Desk • 800-349-3839 • 512-614-3152 • info@upliftdesk.com • upliftdesk.com... - Page 15 4. Hold the DOWN button once more until the desk lowers slightly, then raises slightly, and the display changes back to the numeric height setting, then release. © UPLIFT Desk • 800-349-3839 • 512-614-3152 • info@upliftdesk.com • upliftdesk.com...
- Page 16 To set new minimum and maximum height settings, you will need to first remove the current minimum and maximum settings. © UPLIFT Desk • 800-349-3839 • 512-614-3152 • info@upliftdesk.com • upliftdesk.com...
-
Page 17: Troubleshooting
Perform Reset procedure above If the error message persists after performing the Reset Procedure above or if there is a height difference between the Legs which exceeds 1.5’’, contact UPLIFT Desk at the email address or phone number listed on these instructions. - Page 18 Notes © UPLIFT Desk • 1-800-349-3839 • info@upliftdesk.com • www.upliftdesk.com...
- Page 19 Notes © UPLIFT Desk • 1-800-349-3839 • info@upliftdesk.com • www.upliftdesk.com...
- Page 20 Copyright Notice: This guide is a component of the UPLIFT Desk™. This guide is a part of the scope of delivery, even if the item is resold. This guide ©...
Need help?
Do you have a question about the C-Frame and is the answer not in the manual?
Questions and answers