GVS T Series User Manual
Outdoor station
Hide thumbs
Also See for T Series:
- User manual (42 pages) ,
- User manual (25 pages) ,
- User manual (24 pages)

Related Manuals for GVS T Series


Summary of Contents for GVS T Series
- Page 1 User Manual Outdoor Station T Series 2-Wire Outdoor Station(Surface Mounting) User Manual_V1.0 T-OS06/T-OS10...
-
Page 3: Table Of Contents
Content Chapter 1 Function Overview................. 1 1.1 Function......................1 1.2 Parameter......................1 Chapter 2 Product Introduction................2 2.1 Front View......................2 2.2 Product Dimension..................3 2.3 Interface Introduction..................4 Chapter 3 Installation....................5 3.1 Installation Height................... 5 3.2 Installation Steps..................... 6 Chapter 4 User Instruction..................8 4.1 Calling resident.................... -
Page 4: Chapter 1 Function Overview
Chapter 1 Function Overview This product is an Outdoor Station in 2-wire analog video door phone system. Twin-core cable is adopted to connect into the system. It supports video intercom with Indoor Monitor and door unlocking. With the Relay Actuator Control Module connected, it also supports unlocking 2 door. -
Page 5: Chapter 2 Product Introduction
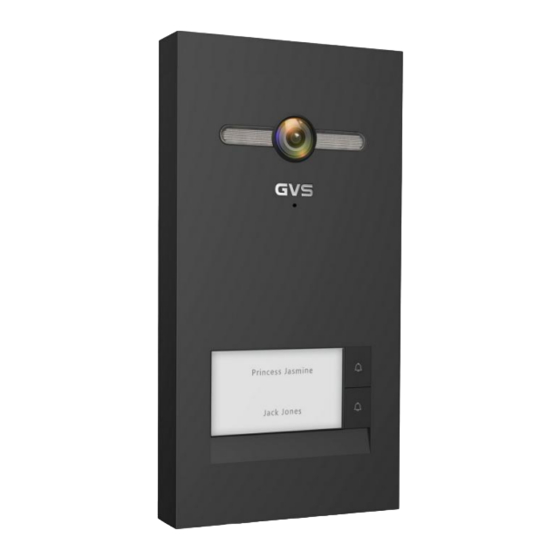
Chapter 2 Product Introduction 2.1 Front View... -
Page 6: Product Dimension
2.2 Product Dimension Unit:mm... -
Page 7: Interface Introduction
2.3 Interface Introduction ② ① ③ Interface① Unlock time setting; Interface② calling volume setting; Interface③ BUS-A , BUS-B: Bus interface; NO, COM , NC: Normal open/close interface; GS: Door status detection interface; DOOR SW: Unlock inside; GND: Common ground. -
Page 8: Chapter 3 Installation
Chapter 3 Installation 3.1 Installation Height Suggested Installation Height: camera is 1.6m above the ground... -
Page 9: Installation Steps
3.2 Installation Steps Step 1: Drill holes on the wall according to the installation size (149.5×64.5mm), fix the capsules into the hole (it is recommended to align the device to the center of the reference line ), then place the device and fasten with self-tapping screws(Pic 2). Pic 2 Pic 1 Step 3: Assemble the metal case... - Page 10 3.3 System Wiring Remarks: Indoor Monitor Power Supply Outdoor Station Remarks: The outdoor station is suitable for villa system with one or two apartments, and it is possible to make connection with large system; Support multiple Indoor Monitors(maximum Qty is 4pcs) in one apartment, address of all Indoor Monitors in one apartment should be same;...
-
Page 11: Chapter 4 User Instruction
Power supply is limited, so only 2 monitors are allowed to be operated at the same time (intercom function is not limited); The wiring above is recommended for villa system. If there are multiple Indoor Monitors in one apartment,wiring with distributors(Star topology) are recommended. Chapter 4 User Instruction 4.1 Calling resident Single Calling Function Outdoor Station T-OS06 :... -
Page 12: External Camera Extension
4.3 External camera extension Outdoor Station is supported to work with Camera Interface for external camera extension. As Outdoor Station been well configured with Camera Interface, while Outdoor Station is calling Indoor Monitor, or Indoor Monitor is monitoring Outdoor Station, the displays can be switch between different cameras. For further information please refer to the user manual of Camera Interface. - Page 13 after short press. When a device is already NO. 5, one short press more will make this device become device NO. 1, cyclically. After address setting, long press any button for 3 seconds to exit setting mode with a long beep, or the setting mode will exit automatically if no operation for over 15 seconds.
Need help?
Do you have a question about the T Series and is the answer not in the manual?
Questions and answers