GVS T Series User Manual
7” indoor monitor
Hide thumbs
Also See for T Series:
- User manual (42 pages) ,
- User manual (22 pages) ,
- User manual (13 pages)
Table of Contents
Advertisement
Quick Links
Advertisement
Table of Contents

Subscribe to Our Youtube Channel
Related Manuals for GVS T Series


Summary of Contents for GVS T Series
- Page 1 User Manual Indoor Monitor T Series - 7” Indoor Monitor User Manual_V1.0 T-IS10...
-
Page 3: Table Of Contents
Content Chapter 1 Function Overview ......................2 Chapter 2 Product Description .......................3 2.1 Appearance ........................3 2.2 Dimension ........................4 2.3 Interface Introduction .......................5 2.4 Parameter ......................... 5 Chapter 3 Basic Function .......................6 3.1 Power-up .......................... 6 3.2 Call Answer ........................6 3.3 Function Details ....................... 7 3.3.1 Record ........................ -
Page 4: Chapter 1 Function Overview
Chapter 1 Function Overview This product is a part of the two-wire analog video door phone system. The system being connected via 2 core wires, consists of Power Supply, Outdoor Station, and Indoor Station. The functions and characteristics of this product are as follows: Support visual intercom, remote unlock ... -
Page 5: Chapter 2 Product Description
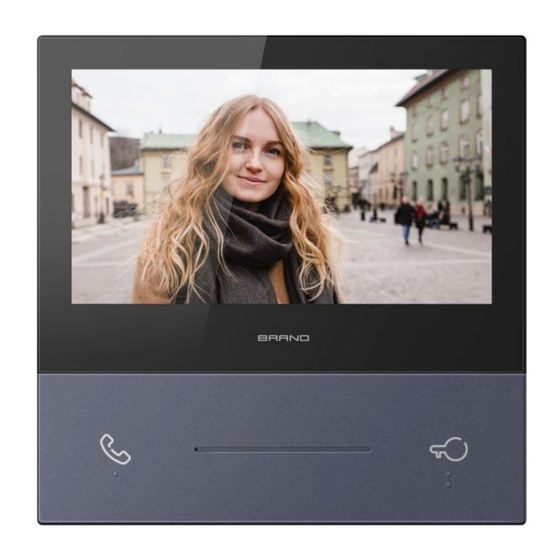
Chapter 2 Product Description 2.1 Appearance Touch Key Instruction: (1) : Call/answer/end up the call; (2) : Unlok the door. -
Page 6: Dimension
2.2 Dimension... -
Page 7: Interface Introduction
2.3 Interface Introduction ② ③ ① ④ ⑤ (1) Number ①: Two-wire bus interface; (2) Number ②: Independent power interface (DC 21 ~ 32V); (3) Number ③: Master/Slave monitor selection/impedance matching switch; (4) Number ④: RS485 interface; (5) Number ⑤: Doorbell interface. 2.4 Parameter Working Voltage: DC 21 ~ 32V Quiescent Current: ≤... -
Page 8: Chapter 3 Basic Function
Chapter 3 Basic Function 3.1 Power-up Power on for the first time (bus power supply +32V or independent power supply DC +12-32V) → enter the Language Setting interface, select the corresponding language, click OK → enter the main interface. Note: If there is no operation for 1 minute in the Language Setting interface, the system language will default to English, and enter the main interface. -
Page 9: Function Details
6. During the calling, you can press the icon to capture a photo of the visitor, and press to record the current calling interface. Attention: (1) By default, the system automatically captures a photo of the visitor in the first 3S of the calling. -
Page 10: Wallpaper
1. Clear: Click the Clean All button to clear all call records. 2. Delete: Select the record to be deleted, swipe left to display the delete button, and click delete. 3. View: The user can view the latest 200 call records, click the record to view the snapshot pictures or videos during the call, and the record can be deleted by clicking the Delete button. -
Page 11: Call
1. Click to select the background image, and click Finish to set the selected image as the main interface background. 2. Reset: To change the wallpaper back to the default image; Cancel: Cancel the operation and return to the main interface. 3.3.3 Call Call is used for initiating external intercom and indoor intercom. -
Page 12: Voice Message
corresponding indoor monitor. 2. Call Guard Unit Enter 200 in the input box and click the icon to call the guard unit. 3. Indoor Intercom Click the Indoor Intercom button to make a call to another indoor monitor in the same apartment, as shown in the figure below. -
Page 13: Monitor
1. Record Message Click the red button on the left to start recording → click the red button again to end; a voice message will be generated. (Note: The max time of voice recording is 30S, and the recording will be ended automatically when it exceeds 30S) 2. - Page 14 1. Monitor and Unlock (1) Basic workflow: switch left and right to select the monitored device Monitoring Unlock Monitoring ended (2) During surveillance, resident can click the icon to unlock the door. (3) Click the icon to end monitoring. 2. Surveillance Capture and video Record (1) During the surveillance, click the icon on the screen to take a snapshot manually.
-
Page 15: Setting
When the bound mobile APP remotely monitors the outdoor station, the major monitor enters the cloud intercom state and can not be operated, and those slave monitors enter the standby state and cannot monitor the outdoor station. 3.3.6 Setting Click the icon on the main interface to enter the setting interface, and you can set various parameters of the indoor monitor, such as Display Setting, Warning Tone, etc. - Page 16 (1) Ringing Volume: Slide the slider to adjust the ringing volume. (2) Key Volume: Slide the slider to adjust the key pressing volume. (3) Key Sound: Select the key sound. (4) Ring: Select the ringtone. 3. Do not disturb Click the Do not disturb item on the left menu bar to enter the Do not disturb interface. (1) Do not disturb: Click the Do not disturb icon to mute the ringing, (2) When there are multiple monitors in one apartment, long press the Do not disturb icon to mute all monitors synchronously, and short press this icon to mute the current device only.
- Page 17 (1) Language Setting: English, Italian, Spanish, French, German, Hebrew can be selected. 5. Network Click the Network item on the left menu bar to enter the Network Setting interface. (1) Wi-Fi switch: To turn on/off WiFi. (2) Available Networks: Available WiFi list, click to connect the selected available WiFi. 6.
- Page 18 (1) Add new mobile account: Click the Add new mobile account button → enter the interface for adding a cloud intercom account, and open the Smart Home + APP to scan the QR code on the interface. (2) Delete mobile account: Click the Delete mobile account button → enter the account list interface, click Unbind account →...
- Page 19 7. About About is mainly used to view the Software Version, MCU Version, Cloud Intercom, Room Number, Gateway, MAC, Center Server and Sip Server of the device. Click About on the left menu bar to enter the About interface. 8. Password Setting Password Setting is mainly used to reset the user password.
- Page 20 Reset user password workflow: Enter the project password, click the OK button, if the password is correct → jump to the user password setting interface, enter the old password, new password and the confirmed new password, click the OK button. 9.
- Page 21 Enter the project password 801801 to enter the Configuration Setting interface. (1) Password Resetting: Reset the user password to the initial user password 666666. (2) Clear all data: Clear all data, including: passwords, images, videos, etc.
- Page 22 Enter the user password (the initial user password is 666666) to enter the User Setting interface. (1) Room Number Setting: Set the room number, the address range of room number: 1~200. (2) Factory Reset: restore the factory settings, after factory reset, all setting values are restored to their default values.
-
Page 23: Chapter 4 Installation
Chapter 4 Installation 4.1 Installation Height... -
Page 24: Installation Notices
4.2 Installation Notices Step 1: ① Drive the screws on the bracket with the holes on the 86 box. Fasten the screws to fix the bracket Step 2: ② After finishing the wiring of the Indoor Monitor, align the slot behind the Indoor Monitor to the hook of the bracket.
Need help?
Do you have a question about the T Series and is the answer not in the manual?
Questions and answers
jai tout brancher le viophone ne fonctionne pas tu sonne il repond pas a lunite interieur
The GVS T Series intercom may not be responding to the indoor unit due to several possible reasons:
1. Power Supply Issue – Ensure the indoor unit is receiving the correct voltage (DC 21~32V) and that the power source is functioning properly.
2. Wiring Connection – Check if the two-wire bus interface is correctly connected without polarity issues, as the system is designed for positive and negative wiring without polarity.
3. Busy or Offline Status – If the indoor unit is busy or offline, the system will not respond. Verify its status.
4. Configuration Settings – Ensure the device is properly configured and that the call settings are correct.
5. Software or Firmware Issues – If the device firmware is corrupted or outdated, it may cause the intercom to malfunction. Try resetting or updating the firmware.
6. Impedance Matching Switch – Check if the master/slave monitor selection and impedance matching switch settings are correct.
7. Incorrect Installation – Ensure the unit is installed according to the recommended height and setup guidelines.
If the issue persists, further troubleshooting may be required.
This answer is automatically generated