Digi XLR PRO Getting Started Manual
Long range radio solution
Hide thumbs
Also See for XLR PRO:
- User manual (156 pages) ,
- Getting started manual (19 pages) ,
- User manual (134 pages)
Table of Contents
Advertisement
Quick Links
Advertisement
Table of Contents

Related Manuals for Digi XLR PRO


Summary of Contents for Digi XLR PRO
- Page 1 XLR PRO Long Range Radio Solution Getting Started Guide...
- Page 2 Information in this document is subject to change without notice and does not represent a commitment on the part of Digi International Inc.. Digi provides this document “as is,” without warranty of any kind, expressed or implied, including, but not limited to, the implied warranties of fitness or merchantability for a particular purpose.
-
Page 3: Table Of Contents
Set up radio 1 as a mobile device Set up radio 2 as a remote device Perform range testing Step 5: Access the XLR PRO web configuration interface Connect an XLR PRO to the network Access the XLR PRO Configuration and Management page... -
Page 4: Before You Begin
Set up and test serial communications using XCTU • Set up a range test using XCTU • Access the XLR PRO web configuration interface Gather together required materials To follow along with the steps in this guide, you need the following: Item... -
Page 5: For Additional Information
Note Only one computer is required to follow along with the steps in this guide. However, you can use two computers—one for each XLR PRO. For range testing, a laptop is recommended. XCTU software Version 6.1.3 (or later) Ethernet switch To access the XLR PRO web configuration interface, you need to be able to connect the XLR PRO to your network. -
Page 6: Identify Kit Contents
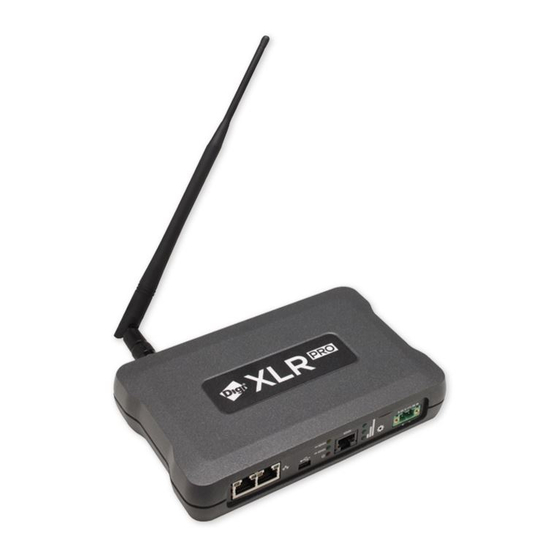
Step 1: Connect XLR PRO hardware Identify kit contents Carefully unpack and verify the contents of each XLR PRO kit. Each kit should include the following items: Antenna XLR PRO USB to RS-232 Serial Converter Power Supply Network Cable RJ45/DB9 Adapter... -
Page 7: Connect Xlr Pro Hardware
Ethernet or bridging For a serial connection: • Connect the XLR PRO serial port (RJ45) using a network cable, the RJ45/DB9 adapter, and the USB to RS-232 converter cables. For Ethernet or Ethernet bridging: • Connect an XLR PRO Ethernet port using a network cable. -
Page 8: Step 2: Download And Install Xctu Software
Step 2: Download and install XCTU software Digi International XCTU is a free multi-platform application that enables developers to interact with Digi RF modules through a simple-to-use graphical interface. It includes tools that make it easy to set- up, configure, and test Digi RF modules. -
Page 9: Step 3: Set Up And Test Serial Mode Using Xctu
PoE device and void your XLR PRO warranty. 2 For both XLR PROS, attach an antenna to the XLR PRO before powering on the device. 3 Position the XLR PROs at least one to two meters apart to protect the XLR PRO circuitry during data transmissions. - Page 10 Stop Bits: Select 1. Flow Control: Select None. e Click Finish. XCTU discovers the XLR PRO and displays it in the list of radio modules. In the list of radio modules, click the XLR PRO. XCTU reads and displays the XLR PRO configuration.
- Page 11 Flow Control: Select None. c Click Finish. XCTU discovers the XLR PRO and displays it in the list of radio modules. d In the list of radio modules, click the newly added XLR PRO. XCTU reads and displays the XLR PRO configuration.
-
Page 12: Test Serial Communications
Radio 2. To test two-way communications, type sample text in the console of Radio 2, and the text is transmitted and displayed in the console of Radio 1. Radio 1 Console Radio 2 Console XLR PRO Getting Started Guide... -
Page 13: Step 4: Set Up A Range Test
This section describes how to set up a pair of XLR PROs using XCTU software to perform a range test. The range test demonstrates two XLR PROs communicating at varying distances. In these instructions, the first XLR PRO is called Radio 1 and the second XLR PRO is called Radio 2. •... -
Page 14: Set Up Radio 1 As A Mobile Device
Configure the BR parameter (RF data rate) to the desired speed. Keep in mind that lower RF data rates have longer ranges. b Click and select Range Test. The Radio Range Test screen appears. c Choose your device from the list of local radios. XLR PRO Getting Started Guide... -
Page 15: Set Up Radio 2 As A Remote Device
(RSSI) update for each radio after each reception. 5 Move Radio 1 around to see the resulting signal strength at different distances. You can also test different data rates by reconfiguring the BR parameter on both radios. XLR PRO Getting Started Guide... -
Page 16: Step 5: Access The Xlr Pro Web Configuration Interface
2 Connect the XLR PRO to the network: a Using a network cable, connect the XLR PRO to a network device. b Allow the DHCP server to issue an IP address for the XLR PRO. This could take up to five minutes. -
Page 17: Access The Xlr Pro Configuration And Management Page
Access the XLR PRO Configuration and Management page Browse to the XLR PRO web configuration page: 1 Open a browser and type in the IP address for the XLR PRO. The XLR PRO Web Configuration Authentication Required dialog appears. 2 Enter the default username and password. The username is admin and the default password is password. - Page 18 © 2014 Digi International Inc. All rights reserved.
Need help?
Do you have a question about the XLR PRO and is the answer not in the manual?
Questions and answers