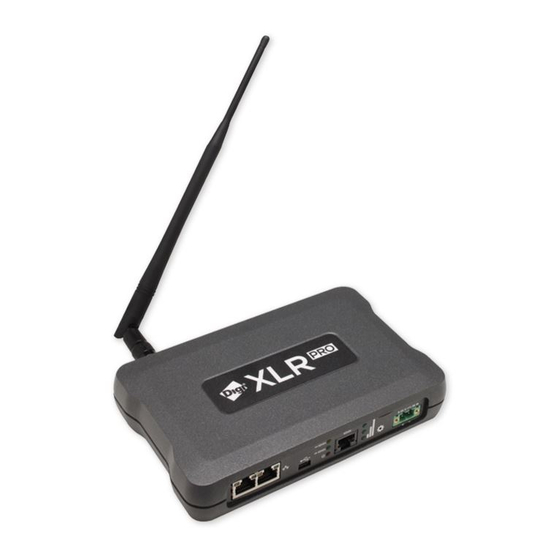
Digi XLR PRO Getting Started Manual
Radio frequency modem
Hide thumbs
Also See for XLR PRO:
- User manual (156 pages) ,
- Getting started manual (18 pages) ,
- User manual (106 pages)
Table of Contents
Advertisement
Quick Links
Download this manual
See also:
User Manual
Advertisement
Table of Contents

Subscribe to Our Youtube Channel
Summary of Contents for Digi XLR PRO
- Page 1 XLR PRO Radio Frequency (RF) Modem Getting Started Guide...
-
Page 2: Set Up Radio
Information in this document is subject to change without notice and does not represent a commitment on the part of Digi International. Digi provides this document “as is,” without warranty of any kind, expressed or implied, including, but not limited to, the implied warranties of fitness or merchantability for a particular purpose. - Page 3 877.912.3444 or visit us at www.digi.com/support. Online: www.digi.com/support/eservice XLR PRO Radio Frequency (RF) Modem Getting Started Guide...
-
Page 4: Table Of Contents
Download and install XCTU Launch XCTU Step 3: Set up and test serial mode using XCTU Set up a pair of XLR PRO RF modems Download and install USB driver Connect the XLR PRO modems to your PC Set up radio 1... -
Page 5: Gather Required Materials
Before you begin This guide provides instructions for setting up a pair of XLR PRO (or XLR PRO INTL) modems to transport data. By working through the steps in this guide, you will learn how to do the following: Connect XLR PRO hardware... -
Page 6: For More Information
To access the XLR PRO web configuration interface, you need switch to be able to connect the XLR PRO to your network. For more information XLR PRO Radio Frequency (RF) family of products includes the following publications: Part Title number... -
Page 7: Step 1: Connect Xlr Pro Hardware
Step 1: Connect XLR PRO hardware XLR PRO kit contents The following table shows the XLR PRO accessories kit. Item Description XLR PRO modem Power supply Network cable Mini USB cable XLR PRO Radio Frequency (RF) Modem Getting Started Guide... -
Page 8: Connect The Hardware
Description RJ45/DB9F adapter Antenna Note: Australian kit only: Power plug adapter kit (UK, EU, AS) Connect the hardware The following figure shows how to connect the XLR PRO cables and antenna. XLR PRO Radio Frequency (RF) Modem Getting Started Guide... -
Page 9: For A Serial Connection
Step 1: Connect XLR PRO hardware Connect the hardware For a serial connection Connect the XLR PRO mini USB port to a USB type A port on your computer or laptop using a mini USB cable. For Ethernet or Ethernet bridging Connect an XLR PRO Ethernet port using a network cable. -
Page 10: Step 2: Download And Install Xctu
Step 2: Download and install XCTU Digi International XCTU is a free multi-platform application that enables developers to interact with Digi RF modules through a simple-to-use graphical interface. It includes tools that make it easy to set- up, configure, and test Digi RF modules. -
Page 11: Step 3: Set Up And Test Serial Mode Using Xctu
Step 3: Set up and test serial mode using XCTU This section describes how to set up a pair of XLR PRO RF modems using XCTU software to test serial communications. Note In these instructions, the first XLR PRO is called radio 1 and the second XLR PRO is called radio 2. - Page 12 Flow Control: Select None. 5. Click Finish. XCTU discovers the XLR PRO RF modem and displays it in the list of radio modules. 6. In the list of radio modules, click the XLR PRO RF modem. XCTU reads and displays the configuration.
-
Page 13: Test Serial Communications
Flow Control: Select None. 5. Click Finish. XCTU discovers the XLR PRO RF modem and displays it in the list of radio modules. 6. In the list of radio modules, click the XLR PRO RF modem. XCTU reads and displays the configuration. -
Page 14: Step 4: Set Up A Range Test
The range test demonstrates two XLR PROs communicating at varying distances. In these instructions, the first XLR PRO is called Radio 1 and the second XLR PRO is called Radio 2. Radio 1: Functions as the local, mobile device connected to a laptop. -
Page 15: Set Up Radio 2 As A Remote Device
3. At this point, you can disconnect radio 2 from the PC, but Radio 2 must remain connected to the antenna and power source. Perform range testing 1. Go back to the XCTU display for radio 1. XLR PRO Radio Frequency (RF) Modem Getting Started Guide... - Page 16 Range test. The Radio Range Test dialog appears. 5. In the Select the local radio device area, select radio 1. XCTU automatically selects the Discovered device option, and the Start Range Test button is active. XLR PRO Radio Frequency (RF) Modem Getting Started Guide...
- Page 17 7. Move Radio 1 around to see the resulting signal strength at different distances. You can also test different data rates by reconfiguring the BR (data rate) parameter on both radios. When the test is complete, click Stop Range Test. XLR PRO Radio Frequency (RF) Modem Getting Started Guide...
-
Page 18: Step 5: Access The Xlr Pro Web Configuration Interface
2. Connect the XLR PRO to the network: a. Using a network cable, connect the XLR PRO to a network device. b. Allow the DHCP server to issue an IP address for the XLR PRO. This could take up to five minutes. - Page 19 You can use the XLR PRO Configuration and Management page to view or set configuration options. Note If you have a Device Cloud account, you can add the XLR PRO RF modems to your Device Cloud inventory. For step-by-step instructions, see the XLR PRO User Guide.


Need help?
Do you have a question about the XLR PRO and is the answer not in the manual?
Questions and answers